Retractable extension cord
From DDL Wiki
(→Parts List) |
(→Parts List) |
||
| Line 156: | Line 156: | ||
| Rubber | | Rubber | ||
| Purchased | | Purchased | ||
| - | | [[Image:External_Clamp. | + | | [[Image:External_Clamp.jpg|100px|thumb|center|Hose]] |
|- | |- | ||
Revision as of 20:34, 9 September 2012
Contents |
Executive Summary
Retractable cords are essential and practical for household purposes because their adjustable length allows users to use electrical appliances in any place they desire. For our extensive user study we chose to purchase a Bayco 30’ retractable cord reel. During our user study, we have identified the major stakeholders to be the manufacturer, customer, retailer, and distributor. Each of these major stakeholders have different needs and requirements from the product. Through examining the product review page we have found that customers generally use this product in garages for using power tools and other electrical hardware. Most of the product reviews we consulted show that most users feel satisfied with the length of the cord and its relatively cheap pricing. The negative reviews that we found reveal some reliability and durability issues with the product.
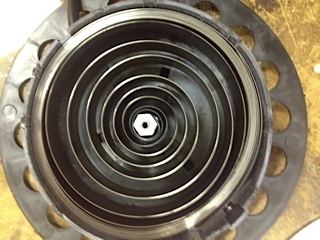
Upon disassembling the product, we were able to analyze the mechanical and electrical components of the product. We found that the dispensing process of the cord from the circular casing to be a bit rough as we needed to put a little bit of force into pulling on the cord at times. We were also able to examine the main ratcheting mechanism that holds the cord in place as well as the spring coil that retracts the cord back into its casing. We will conduct further analysis on each components of the product to find possible areas for design improvements.
Major Stakeholder Analysis
Listed below are the major stakeholders for the retractable light, which include the manufacturer, customer, retailer, and distributor. The manufacturer generally would strive for low cost to mass produce the product for profit. The customer generally would need the product to be low cost, durable, and safe to use since they desire the product quality they pay for. The retailer would strive for low bulk pricing so that they can purchase the product in large quantity to sell to the customer. The distributor generally would need the product packaging to be durable and able to protect the product during the shipping process.
Manufacturer
- Low material costs
- Limited number of parts
- Ease to assemble
- Ability to be mass produced
- Environmentally friendly manufacturing processes
- Easy to package and ship
Customer
- Easy to use and install
- Multiple mounting options
- Low cost
- Durability
- Portable or light weight
- Ergonomic design
- Good aesthetics
- Multiple length adjustment positions
- Waterproof
- Safe to use
- Ability to customize cord length and reel cover color
- Easy to repair or disassemble
Retailer
- Good aesthetics
- Small packaging size
- Good performance
- Low bulk pricing
Distributor
- Low weight
- Durable product packaging
- Space optimized packaging
- Packaging protects product
Product User Study
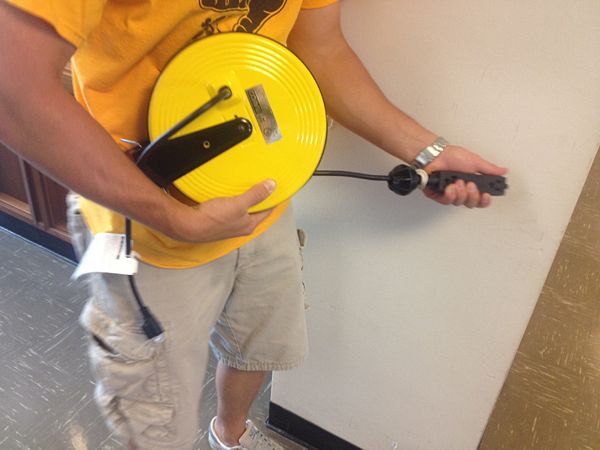
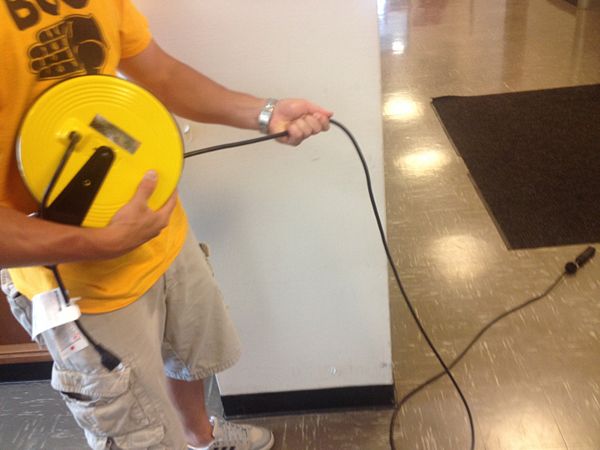
The Bayco Retractable Cord Reel utilizes a spring-loaded, rotational, ratcheting mechanism to provide the user with the functionality of a normal extension cord but with the added benefit of being able to easily retract and store the full length of the cord.
Installation and Daily Use
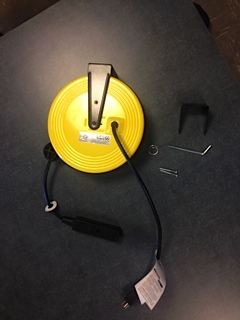
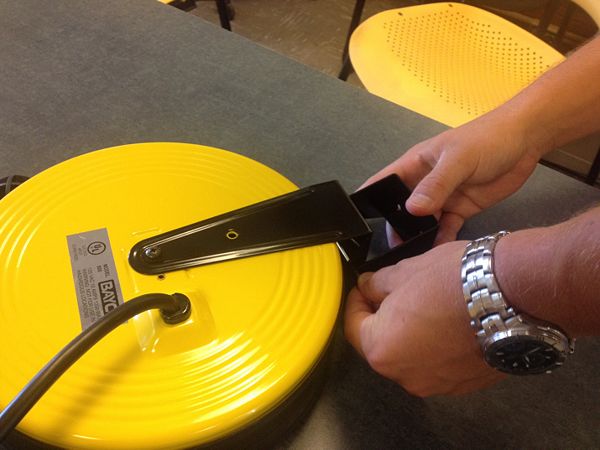
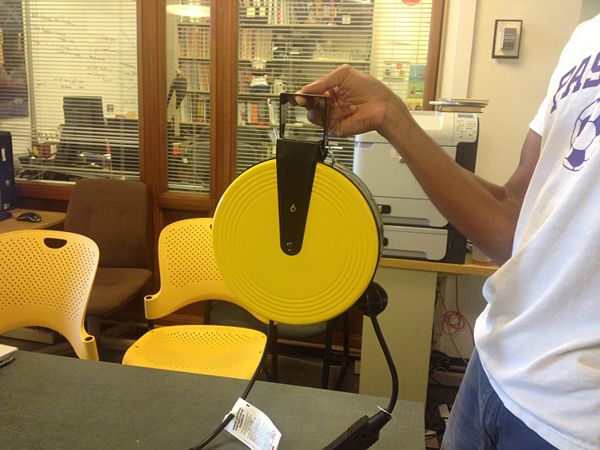
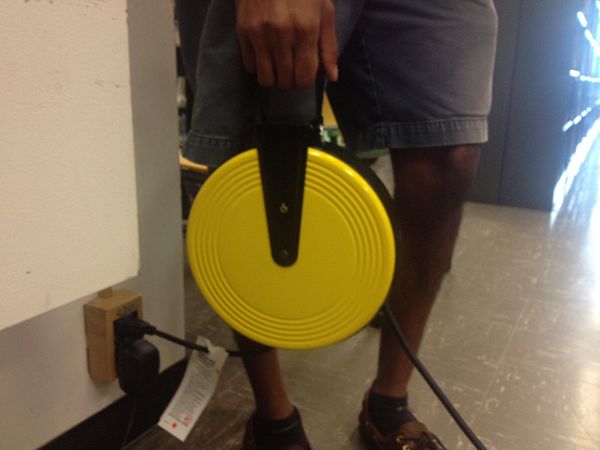
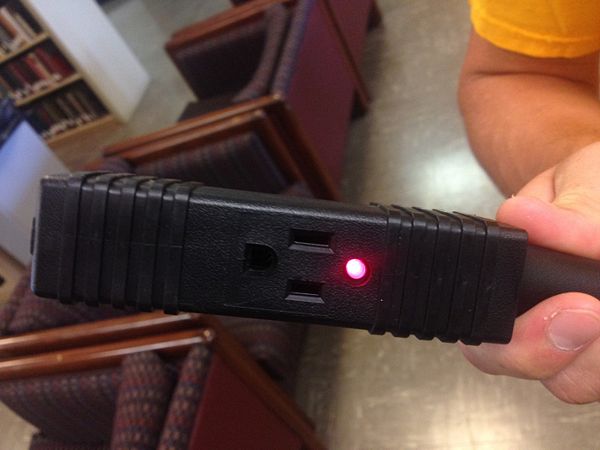
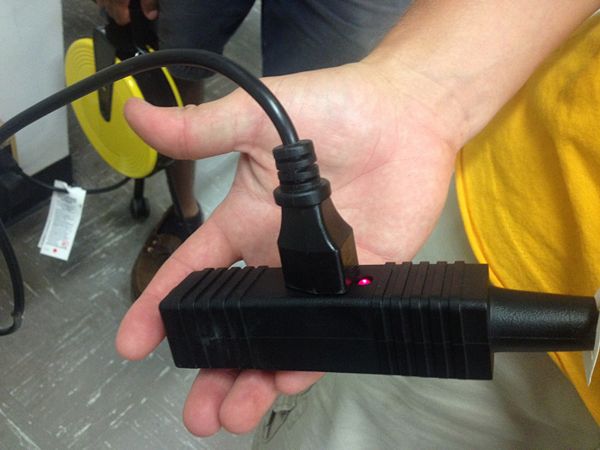
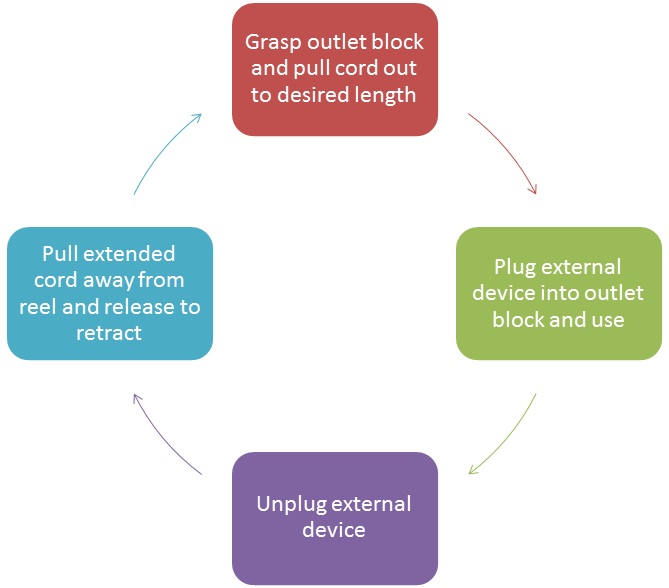
The user should mount the provided bracket to the ceiling or wall using the included hardware. Once mounted use the locking pin and ring to secure the cord reel to the bracket. After plugging the cord reel into a grounded 3-prong outlet the LED power indicator on the outlet block will light up, indicating the reel is ready for use. An included spherical rubber stopper on the extendable cord can be moved by the user to change the length of cord which is not retracted into the reel. The user should continuously pull on the outlet block to the desired length. The user can then plug in their electrical devices into the outlet block. When use is complete the user should unplug their external devices and pull firmly on the outlet block until they feel the reel release and the cord is retracted.
Mechanical Function
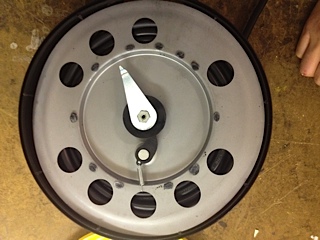
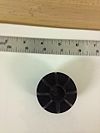
The cord reel contains a steel torsional spring which provides the force to retract the cord. A ratcheting mechanism allows the spool on which the cord is wrapped to lock in different rotational configurations. The ractheting mechanism consists of a spring-loaded pawl and gear. The gear is fabricated with teeth covering approximately two thirds of the circumference. The remaining one third of the circumference has no teeth and a small radius; this results in the pawl slipping on the teeth in only one direction, but when it is in the toothless region it has the ability to switch directions, i.e. allowing the cord to retract freely.
User Study
Our group conducted a preliminary user study and determined that the product was self explanatory for either experienced hikers or anyone with moderate technical know-how (i.e. CMU engineering majors). Our group was able to completely dismantle the product without the use of any tools and easily discern the purpose of each part. This product would only need to be purchased by someone with a lot of experience in hiking and the outdoors, as someone without this experience should not be taking trips during which they won't have access to drinkable water. Therefore, nobody should be using it without any prior knowledge.
There are many well-thought-out features which exhibit themselves through simple use. First off, the outlet of the pump is threaded the same size as a Nalgene bottle, so that the pump can sit directly on the bottle and there is no risk of contamination. The included cap for the outlet of the pump also serves to reduce contamination when not in use. The rubber hosing wraps around the pump housing and is secured by a small c clamp in the handle. This serves to not only hold the handle down when when not in use (and prevent incidental breaking), but the c-clamp is properly sized so that it squeezes the hosing closed to prevent excess contamination. Finally the handle is contoured to fit well with the averaged sized in a comfortable pumping position.
Not many issues arise when using the MSR water pump. The most notable problem lies in the fact that the pumping action is cramped and requires several minutes to fill a hiking-sized water bottle. If there were a way to reduce the pumping effort required while keeping the small footprint of the product, it would probably be very beneficial. The only other foreseeable issues are broken parts or a clogged filter, which we didn't encounter and couldn't simulate during this study.
Parts List
| Item Number | Description | Quantity | Mass (g) | Function | Material | Manufacturing Process | Image |
|---|---|---|---|---|---|---|---|
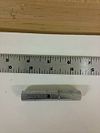
| ### | Mounting Bracket | 1 | 105 | Allows retractable cord to be permanently mounted to a ceiling or wall for easier use | Steel | Sheet stamped & bent | |
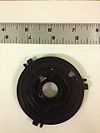
| ### | Plastic Coil Casing | 1 | 161 | Sits between the duckbill valve and the spring | Steel | Purchased | |
| ### | Mounting Bracket Pin | 1 | 16 | Acts as the pressure relief in the check valve | Steel | Purchased | |
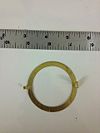
| ### | Locking Ring for Pin | 1 | 1 | Prevents water leaking from the hose barb | Rubber | Purchased | |
| ### | Hardware for Clamp (External) | 1 | 4 | Connects to the hose | Plastic | Injection Molding | |
| ### | External Clamp | 1 | 173 | Serves as the inlet hose of the contaminated water | Rubber | Purchased | |
| ### | Side Casing with Plug | 1 | 255 | Prevents the hose from sinking to the bottom of the water source | Foam | Foam Molding | |
| ### | Side Casing | 1 | 253 | Acts as a pre-filter and as a weight so that the hose stays below water | Steel | Purchased | Image:Side Casing.JPG Debris Cage |
| ### | External Plastic Casing | 1 | 135 | Water inlet, and also holds the foam filter | Plastic | Injection Molding | |
| ### | Spring Position Retainer | 1 | 11 | Acts as a pre-filter for large particles | Foam | Foam Molding | Image:Spring Position Retainer.JPG Foam Filter |
| ### | Ratchet Gear | 1 | 7 | Contains piston and hose barb assemblies, and connects to filter | Plastic | Injection Molding | |
| ### | Spring Mounting Rod | 1 | 50 | Acts as the pump by drawing in and pushing out water | Plastic | Injection Molding | |
| ### | Plastic for Circular Elec. Contact | 1 | 11 | Prevents water from getting past the piston | Rubber | Purhcased | |
| ### | Large Circular Contact | 1 | 3 | Connects piston to the handle | Plastic | Injection Molding | |
| ### | Small Circular Contact | 1 | 2 | Connects piston to the handle | Plastic | Injection Molding | |
| ### | Fixed Plastic for Elec. Contact | 1 | 6 | Connects piston to the handle | Plastic | Injection Molding | |
| ### | Insulating Sheet | 1 | 1 | Connects piston to the handle | Plastic | Injection Molding | |
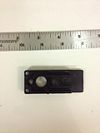
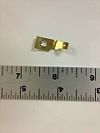
| ### | Fixed Electrical Contacts | 1 | 0.5 | Connects piston to the handle | Plastic | Injection Molding | Image:Fixed Electrical Contracts.jpg Piston Pivot Sleeve |
| ### | Rivets for Electrical Contacts | 1 | <1 | Connects piston to the handle | Plastic | Injection Molding | |
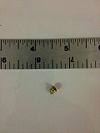
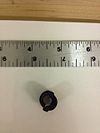
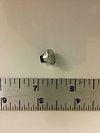
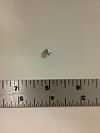
| ### | Rivets for Plastic | 1 | <1 | Connects piston to the handle | Plastic | Injection Molding | Image:Rivets for Plastic.jpg Piston Pivot Sleeve |
| ### | Pawl | 1 | 2 | Connects piston to the handle | Plastic | Injection Molding | |
| ### | Pawl Rivet (Alum) | 1 | <1 | Connects piston to the handle | Plastic | Injection Molding | |
| ### | Metal Coil Casing | 1 | 220 | Connects piston to the handle | Plastic | Injection Molding | |
| ### | Pawl Spring | 1 | <1 | Connects piston to the handle | Plastic | Injection Molding | |
| ### | Lock for Spring Mounting Rod | 1 | <1 | Connects piston to the handle | Plastic | Injection Molding | |
| ### | Screw for Spring Mounting Rod | 1 | <1 | Connects piston to the handle | Plastic | Injection Molding | |
| ### | Electrical Wire Casing | 1 | <1 | Connects piston to the handle | Plastic | Injection Molding | |
| ### | Plastic Ball | 1 | 19 | Connects piston to the handle | Plastic | Injection Molding | |
| ### | Insert for Plastic Ball | 1 | 1 | Connects piston to the handle | Plastic | Injection Molding | |
| ### | Wall Plug | 1 | 85 | Connects piston to the handle | Plastic | Injection Molding | |
| ### | Extension Cord | 1 | 1084 | Connects piston to the handle | Plastic | Injection Molding | |
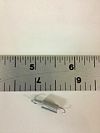
| ### | Spring Coil | 1 | 516 | Connects piston to the handle | Plastic | Injection Molding | Image:Spring coil.jpg Piston Pivot Sleeve |
| ### | Spring Reinforcement Plate | 1 | 10 | Connects piston to the handle | Plastic | Injection Molding | |
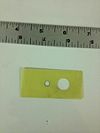
| ### | Melted Plastic | 1 | <1 | Connects piston to the handle | Plastic | Injection Molding | Image:Melted Plastic.jpg Piston Pivot Sleeve |
| ### | Spring Coil Rivet | 1 | 2 | Connects piston to the handle | Plastic | Injection Molding | |
| ### | Spring Electrical Contact | 1 | 1 | Connects piston to the handle | Plastic | Injection Molding | |
| ### | Spring Electrical Contact Rivet | 1 | 1 | Connects piston to the handle | Plastic | Injection Molding | |
| ### | Spring Electrical Contact Washer | 1 | 1 | Connects piston to the handle | Plastic | Injection Molding |
