From DDL Wiki
Stakeholder Analysis
In performing a product use study the following stakeholders, their needs, and desires were identified and documented.
| Stakeholder
| Needs
| Wants
|
| Manufacturers
| Low cost, Able to mass produced, Easy to assemble, Environmentally friendly, Easy to store and package
|
|
| Investors
| Low cost, Significant innovation, Aesthetics, Large market
|
|
| Retailers
| Easy to store, Accessory options, Universal interface, Compatibility, Low cost, Utility
|
|
| Cleaning Supply Companies
| Universal interface, compatibility
|
|
| Commercial Consumers
| Low cost, Durability, Light Weight, Quiet, Intuitive operation, Ergonomic design, Easy to stow, Easy to clean
|
|
| Independent Consumers
| Low cost, Aesthetically pleasing, easy to clean, Storability, Portability, Intuitive operation, Light weight, Durability
|
|
Usage
Product Use Steps
Bucket and Mop Combination
1) Make a mess
2) Fill bucket with water

3) Add recommended amount of cleaning solution
4) Put mop in bucket
5) Move mop to wringer
6) Wring mop out
7) Mop floor (i.e. move back and forth across desired dirty surface)
8) Repeat steps 4-7 until desired cleanliness is achieved
9) Empty bucket
10) Repeat steps 2-3 as desired
Folding Mop
1) Make a mess
2) Obtain a bucket or container
3) Fill bucket with water
4) Add recommended amount cleaning solution
5) Put mop in bucket
6) Slide wringer towards end of mop over bucket
7) Mop floor (i.e. move back and forth across desired dirty surface)
8) Repeat steps 5-7 until desired cleanliness is desired
9) Empty bucket
10) Repeat steps 3-4 as desired
Mechanism
Bill of Materials
Figure 1: Exploded view of complete mop and bucket
Figure 2: Exploded view of wringer sub-assembly
Figure 3: Exploded view of folding mop
| Sub-assembly
| Part
| Quantity
| Description
| Material
| Manufacturing Process
| Weight (g)
| Image
|
| Bucket
| Bucket
| 1
| Holds water and cleaning solution, collects water drained from mop
| Plastic
| Injection Molded
| 3,413
| 
|
|
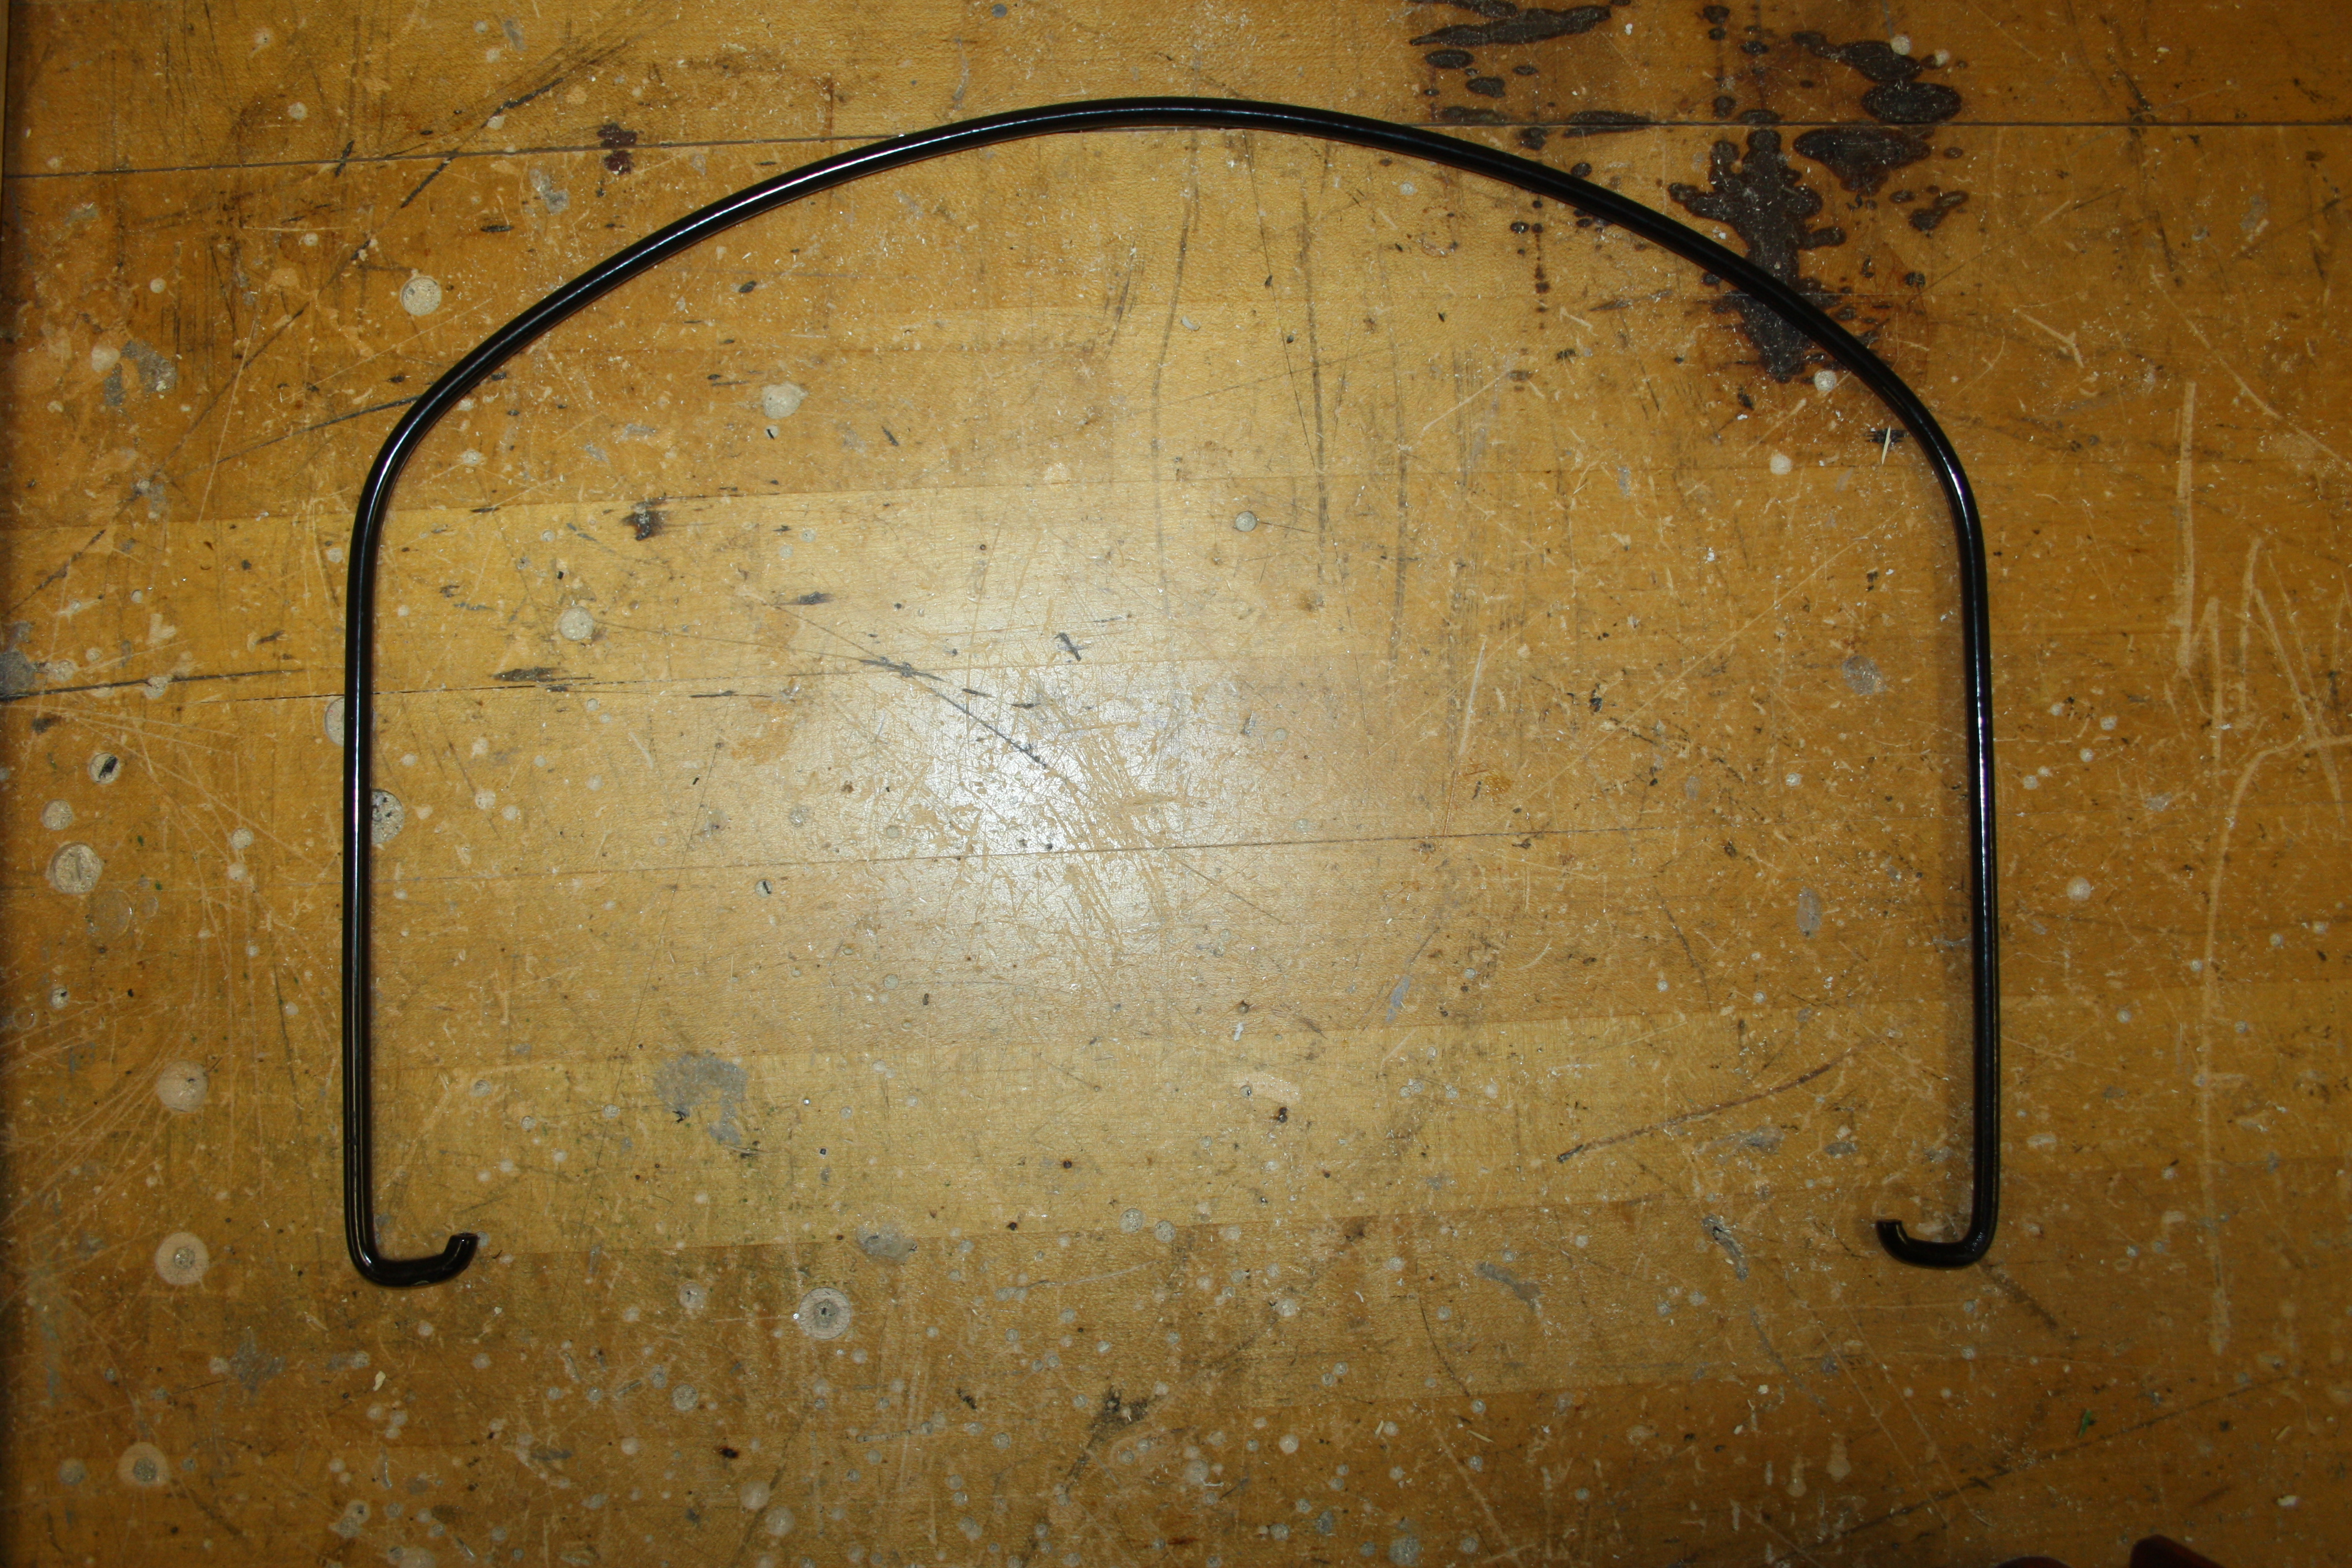
| Bucket Handle
| 1
| Allows user to pick up bucket (e.g. move up/down stairs, into car)
| Aluminum
| Extruded, cut, bent
| 219
| 
|
|
|
|
|
|
|
|
|
|
| Wringer
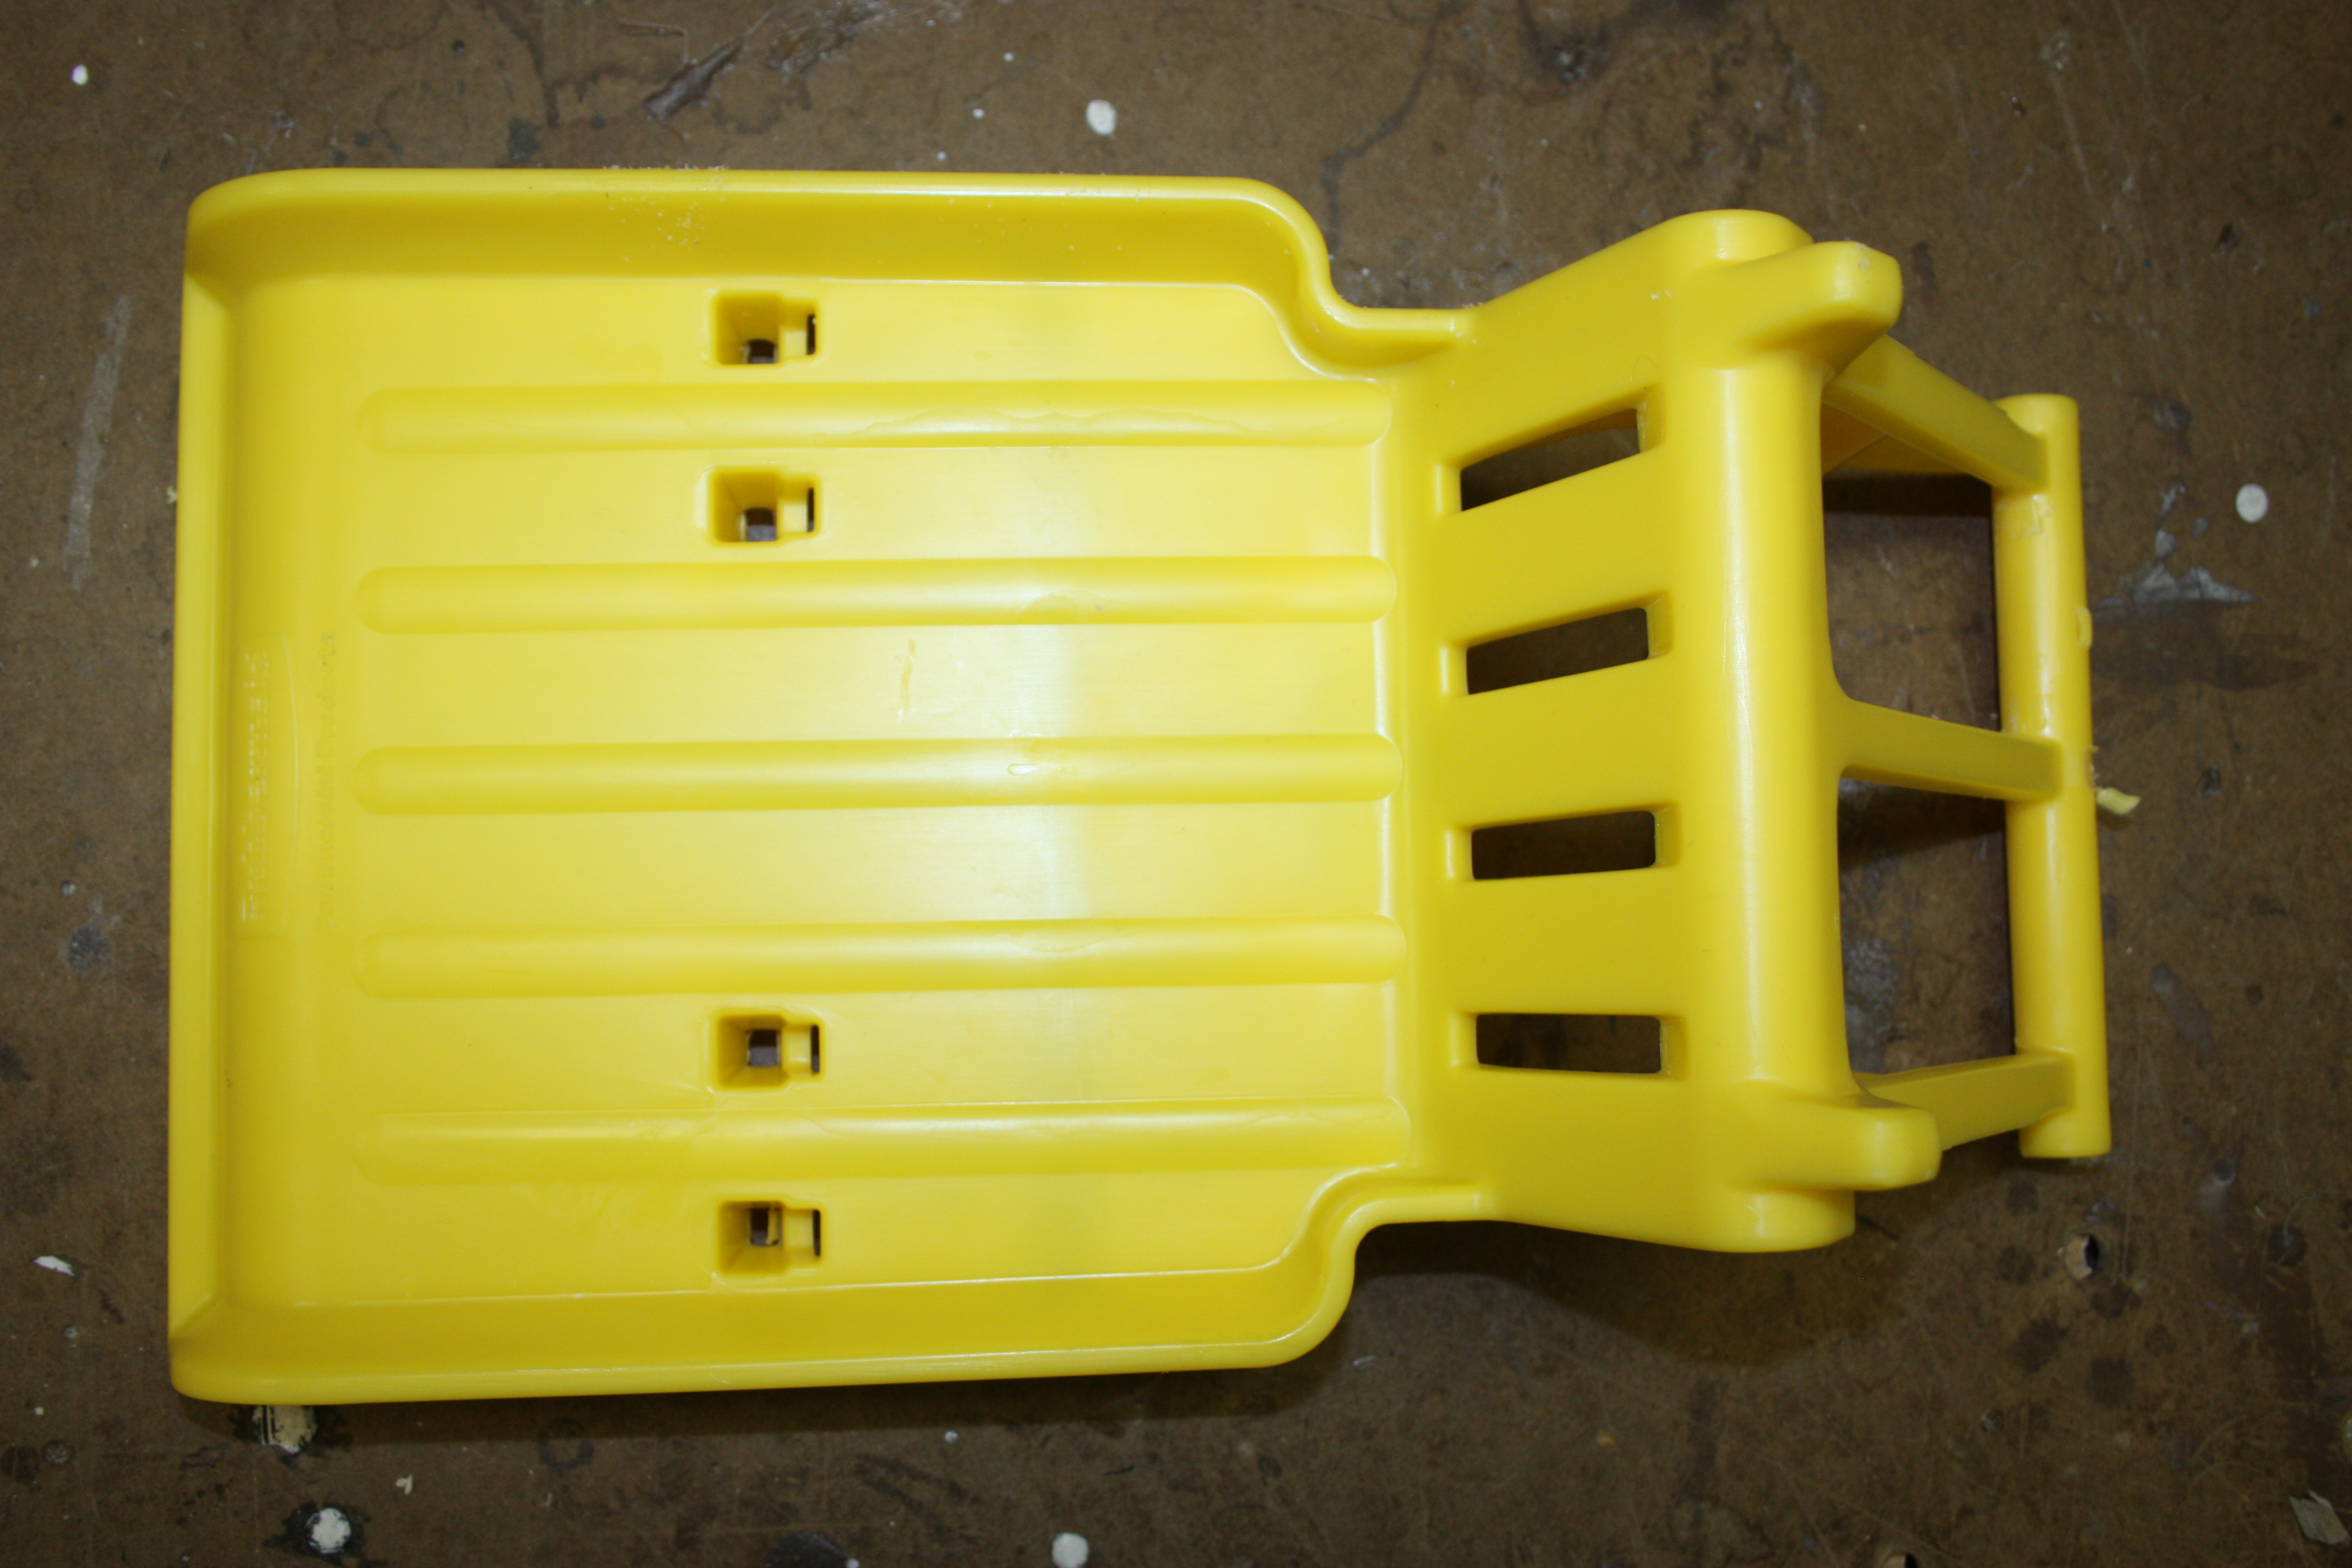
| Upper Wringer Plate
| 1
| Translates toward the bottom wringer plate to compress the mop head and squeeze water into bucket
| Plastic
| Injection Molded
| 781
| 
|
|
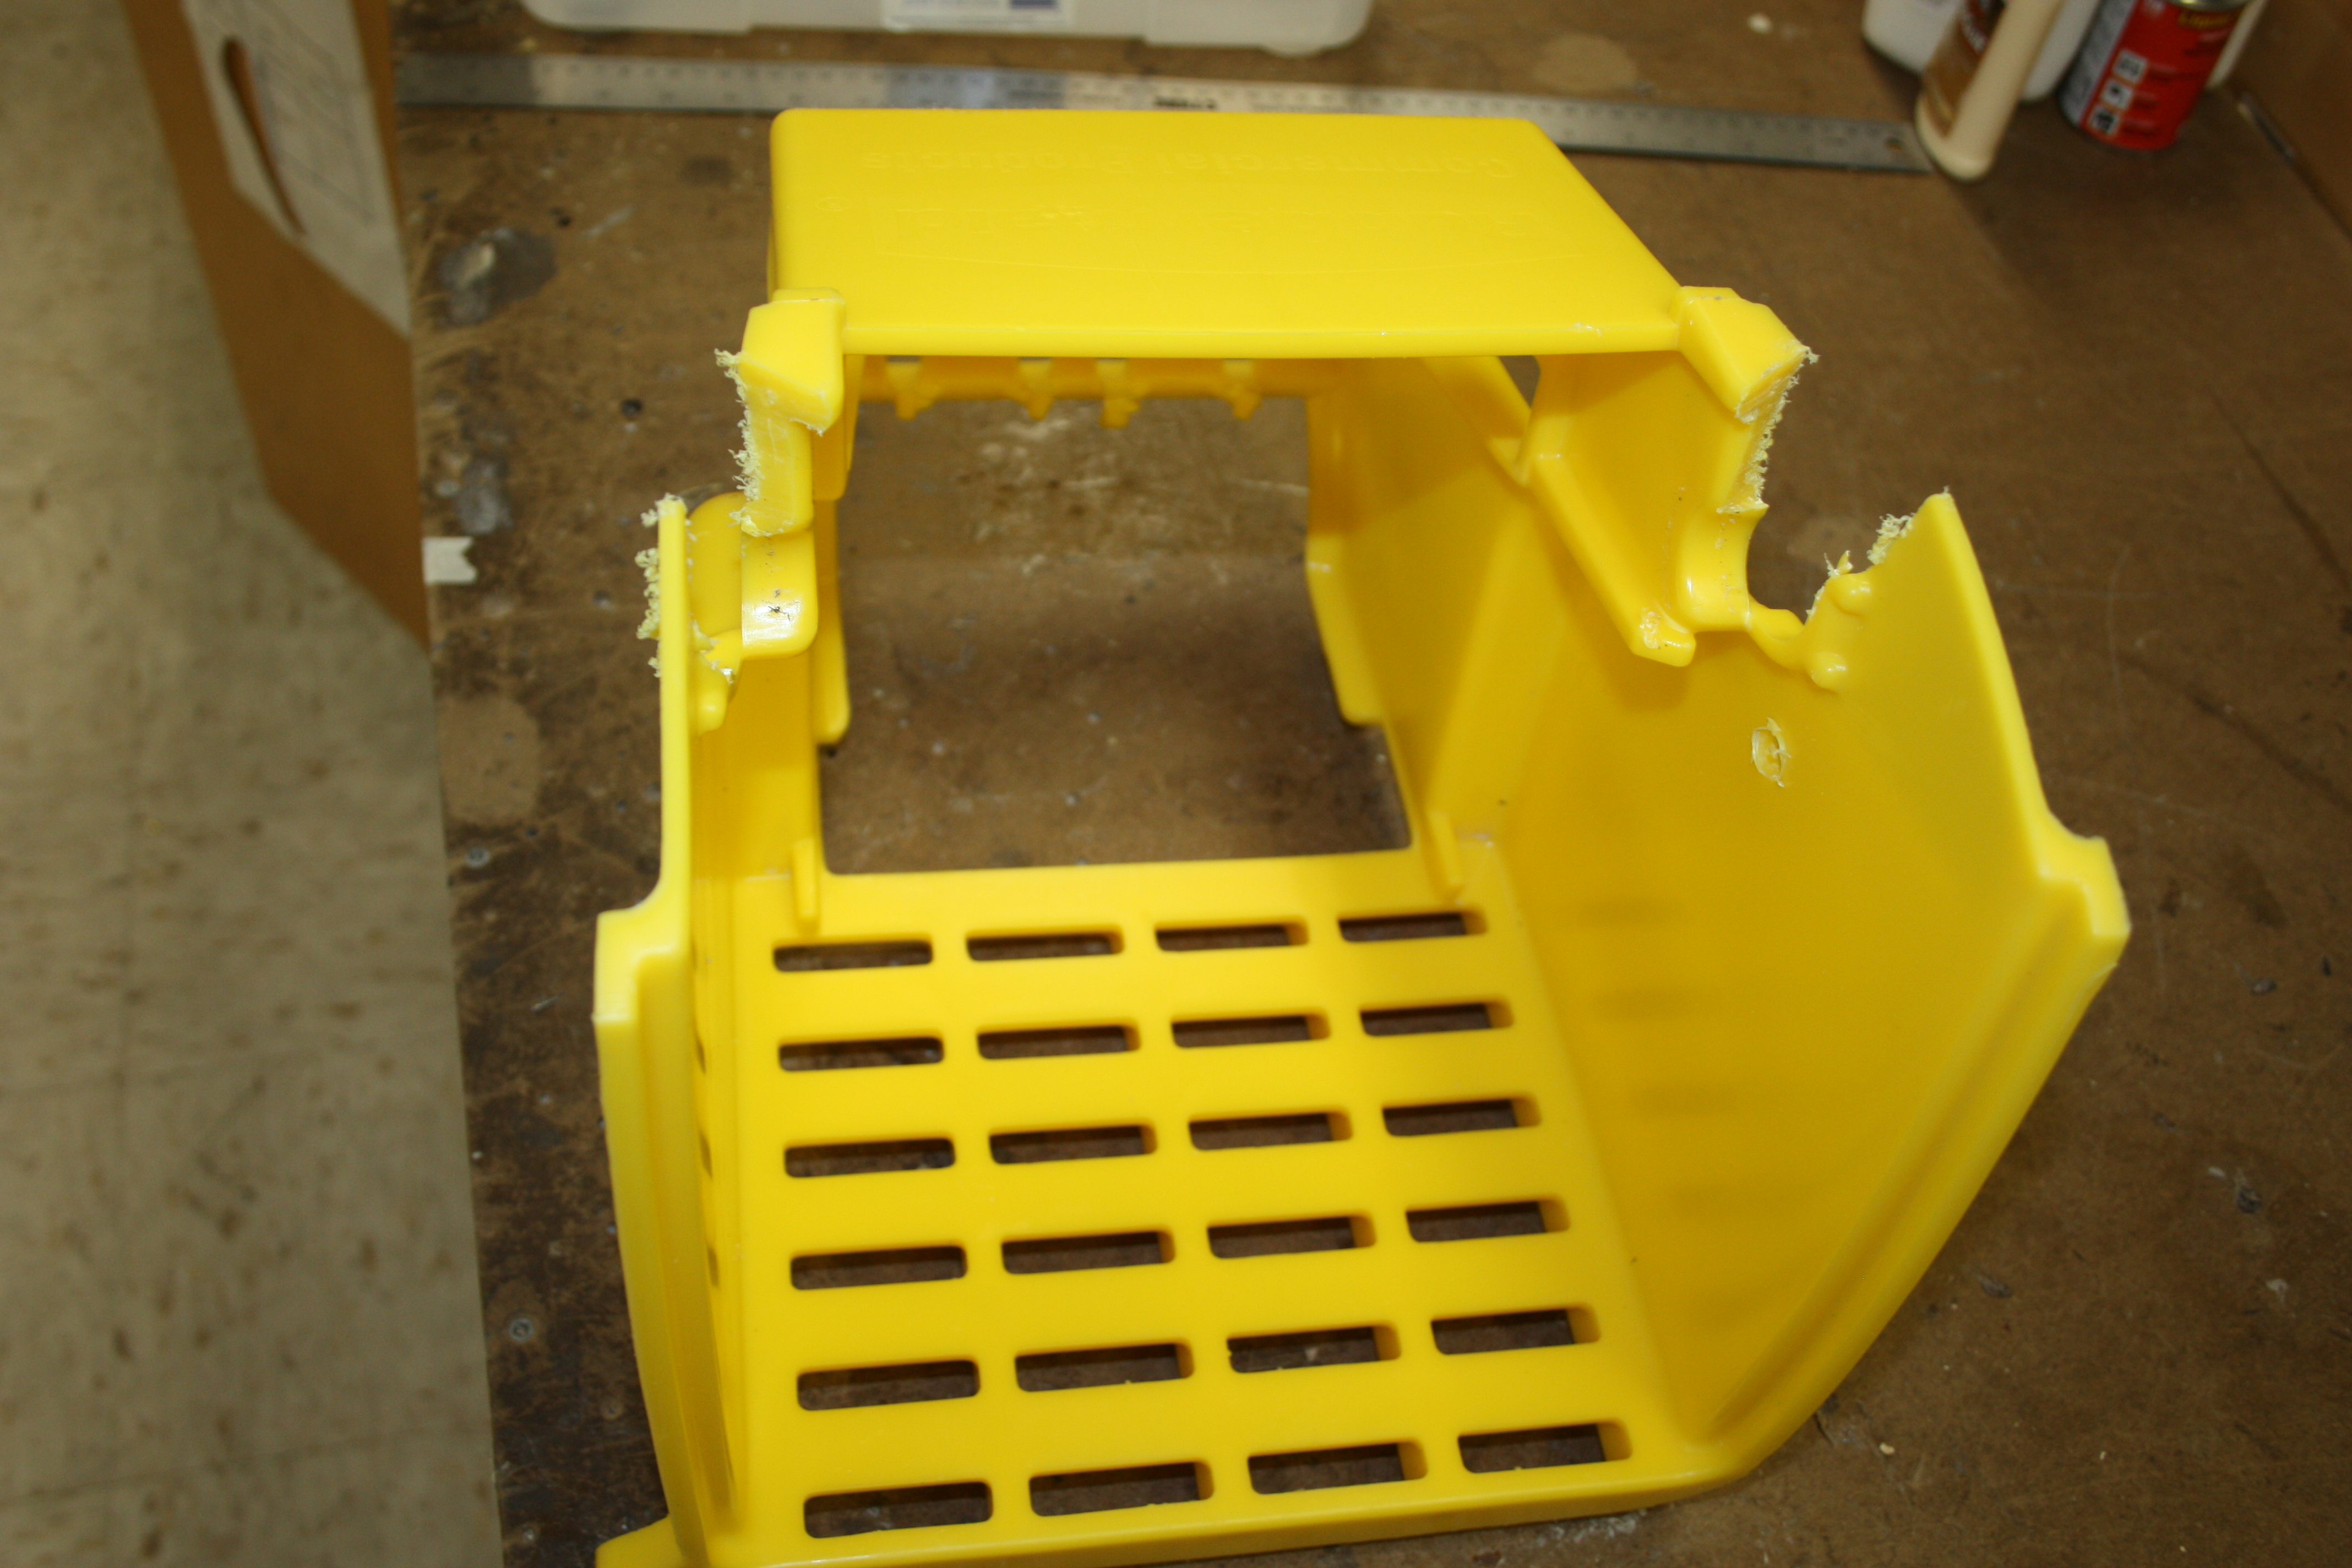
| Bottom Wringer Plate (Wringer Base)
| 1
| Provides a rigid surface for the upper wringer plate to compress the mop head against
| Plastic
| Injection Molded
| 1520
| 
|
|
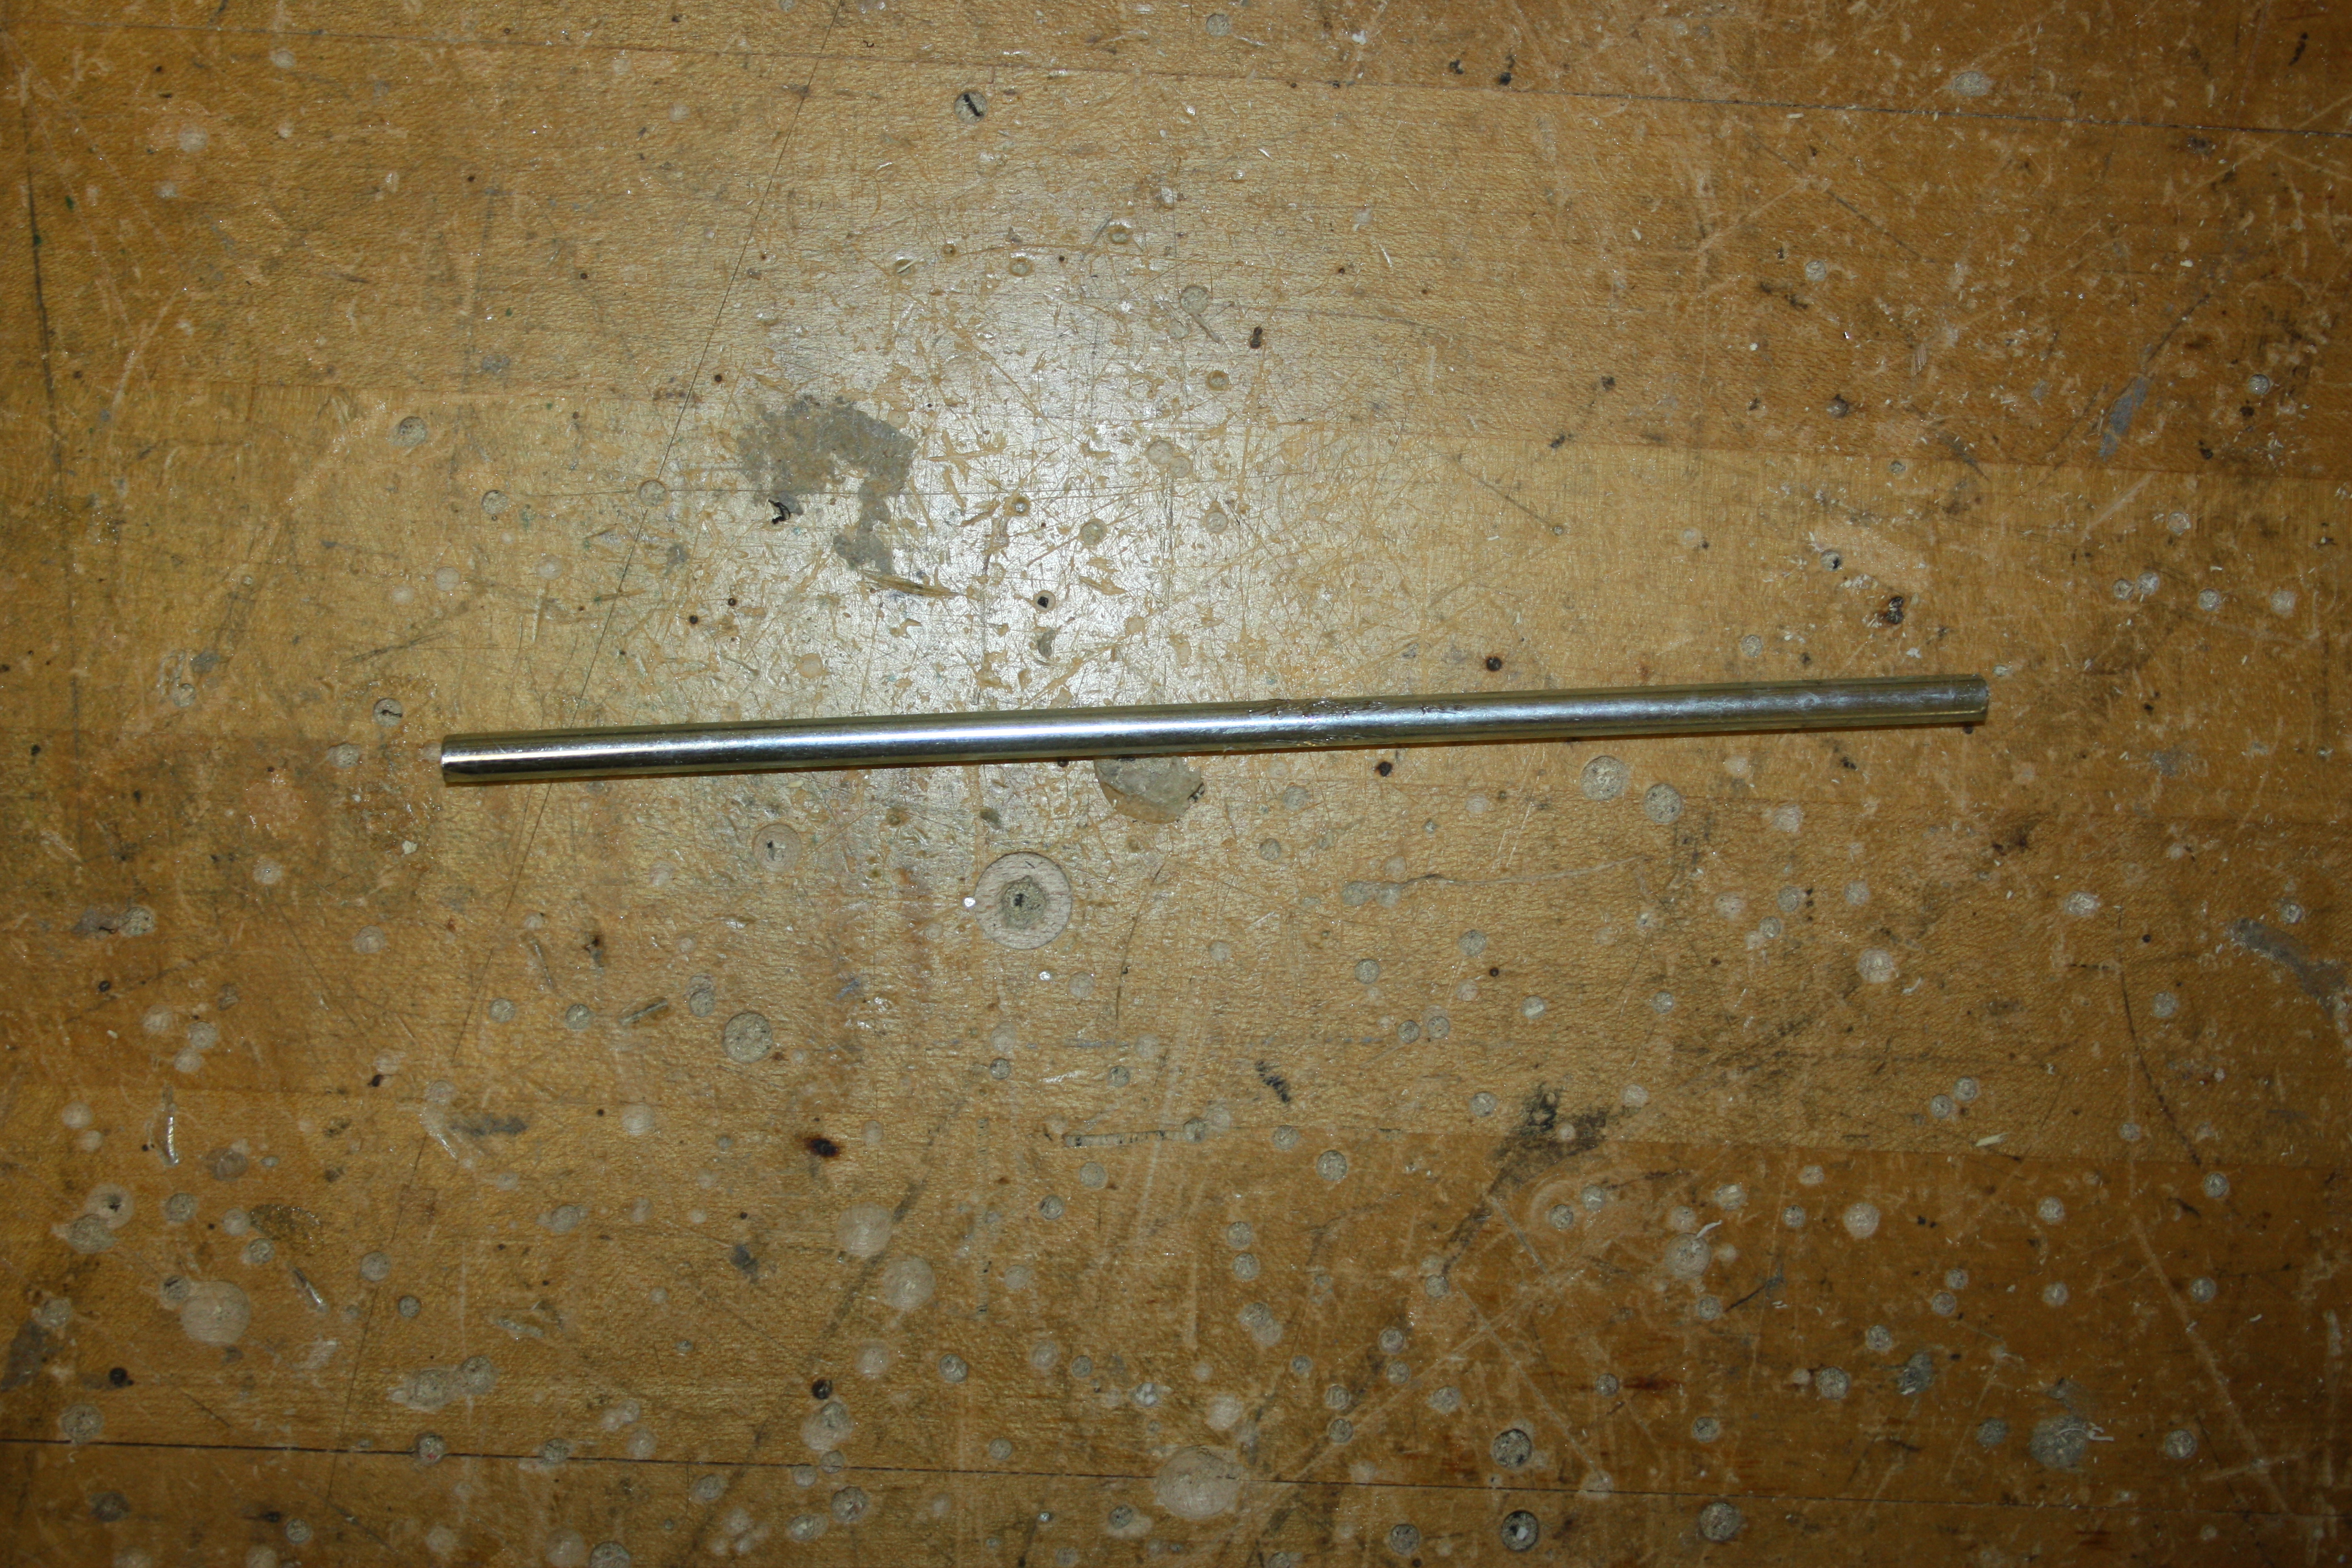
| Linkage Stabilizing Pin
| 1
| Creates a uniform starting point for linkages to push off from thereby stabilizing upper wringer plate when being compressed
| Aluminum
| Extruded, cut
| 48
| 
|
|
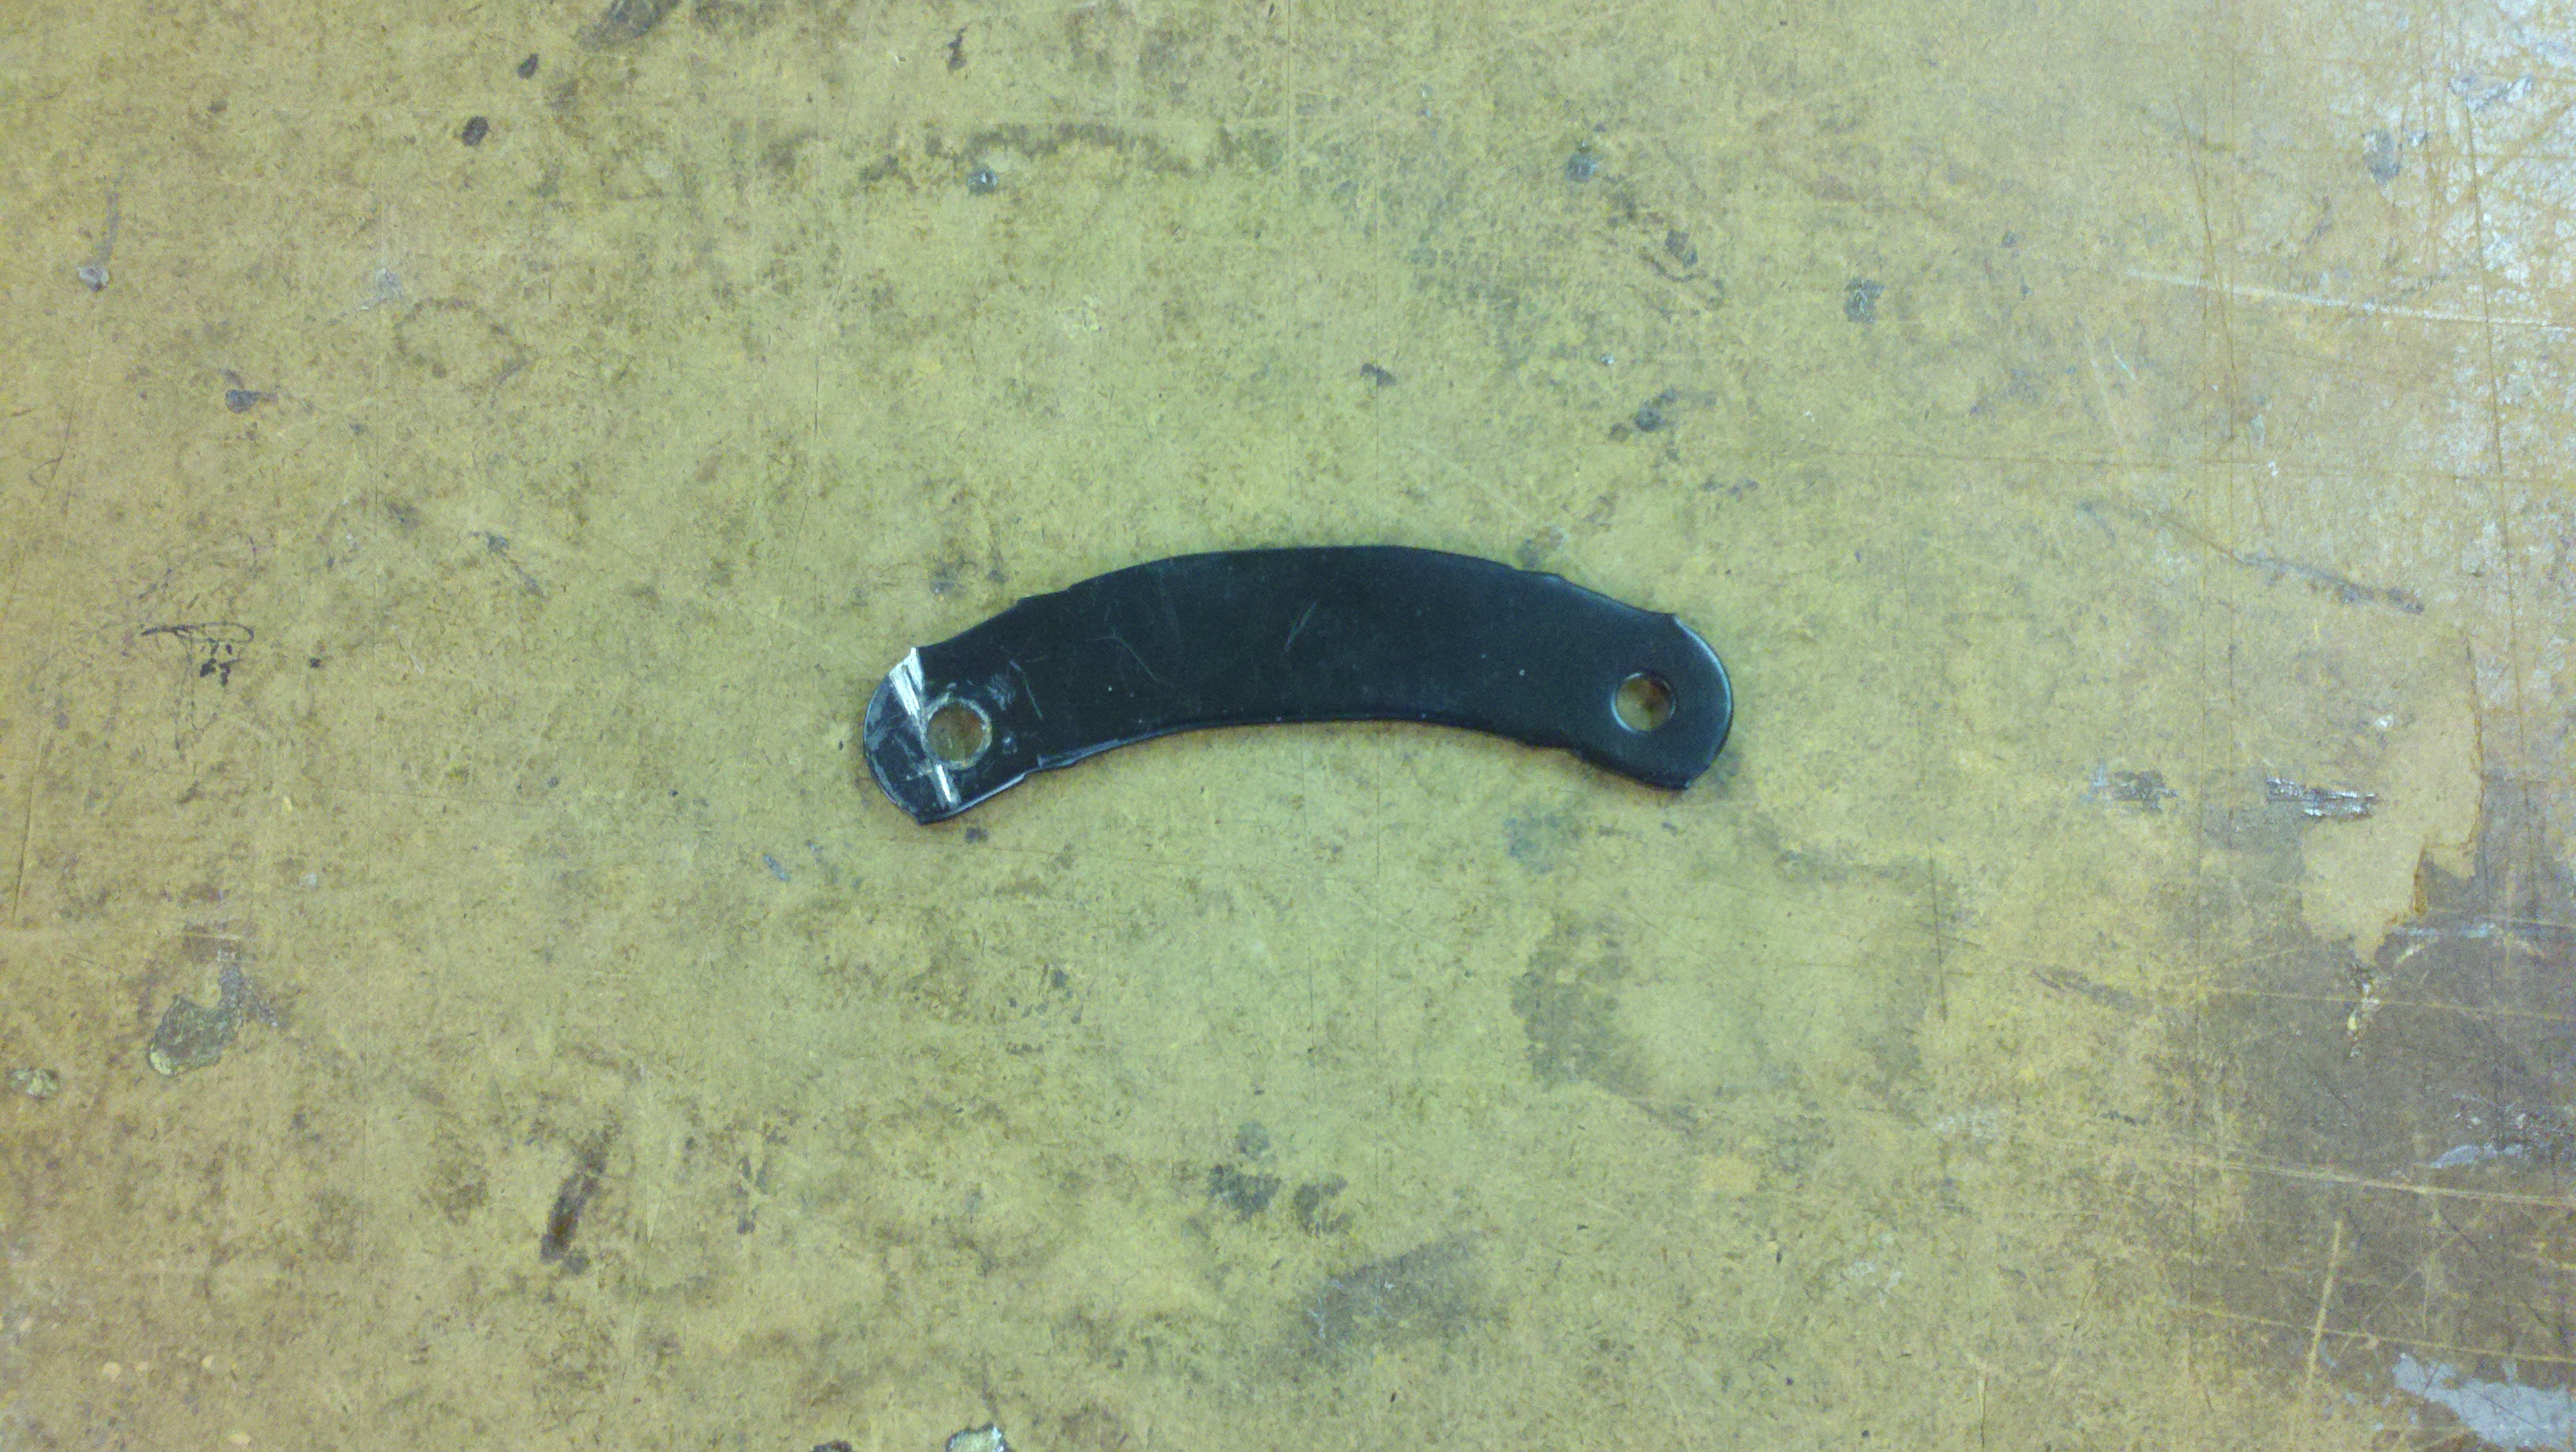
| Upper Wringer Plate Linkages
| 4
| Controls translation of upper wringer plate towards bottom wringer plate to compress mop head
| Steel
| Stamped
| 69
| 
|
|
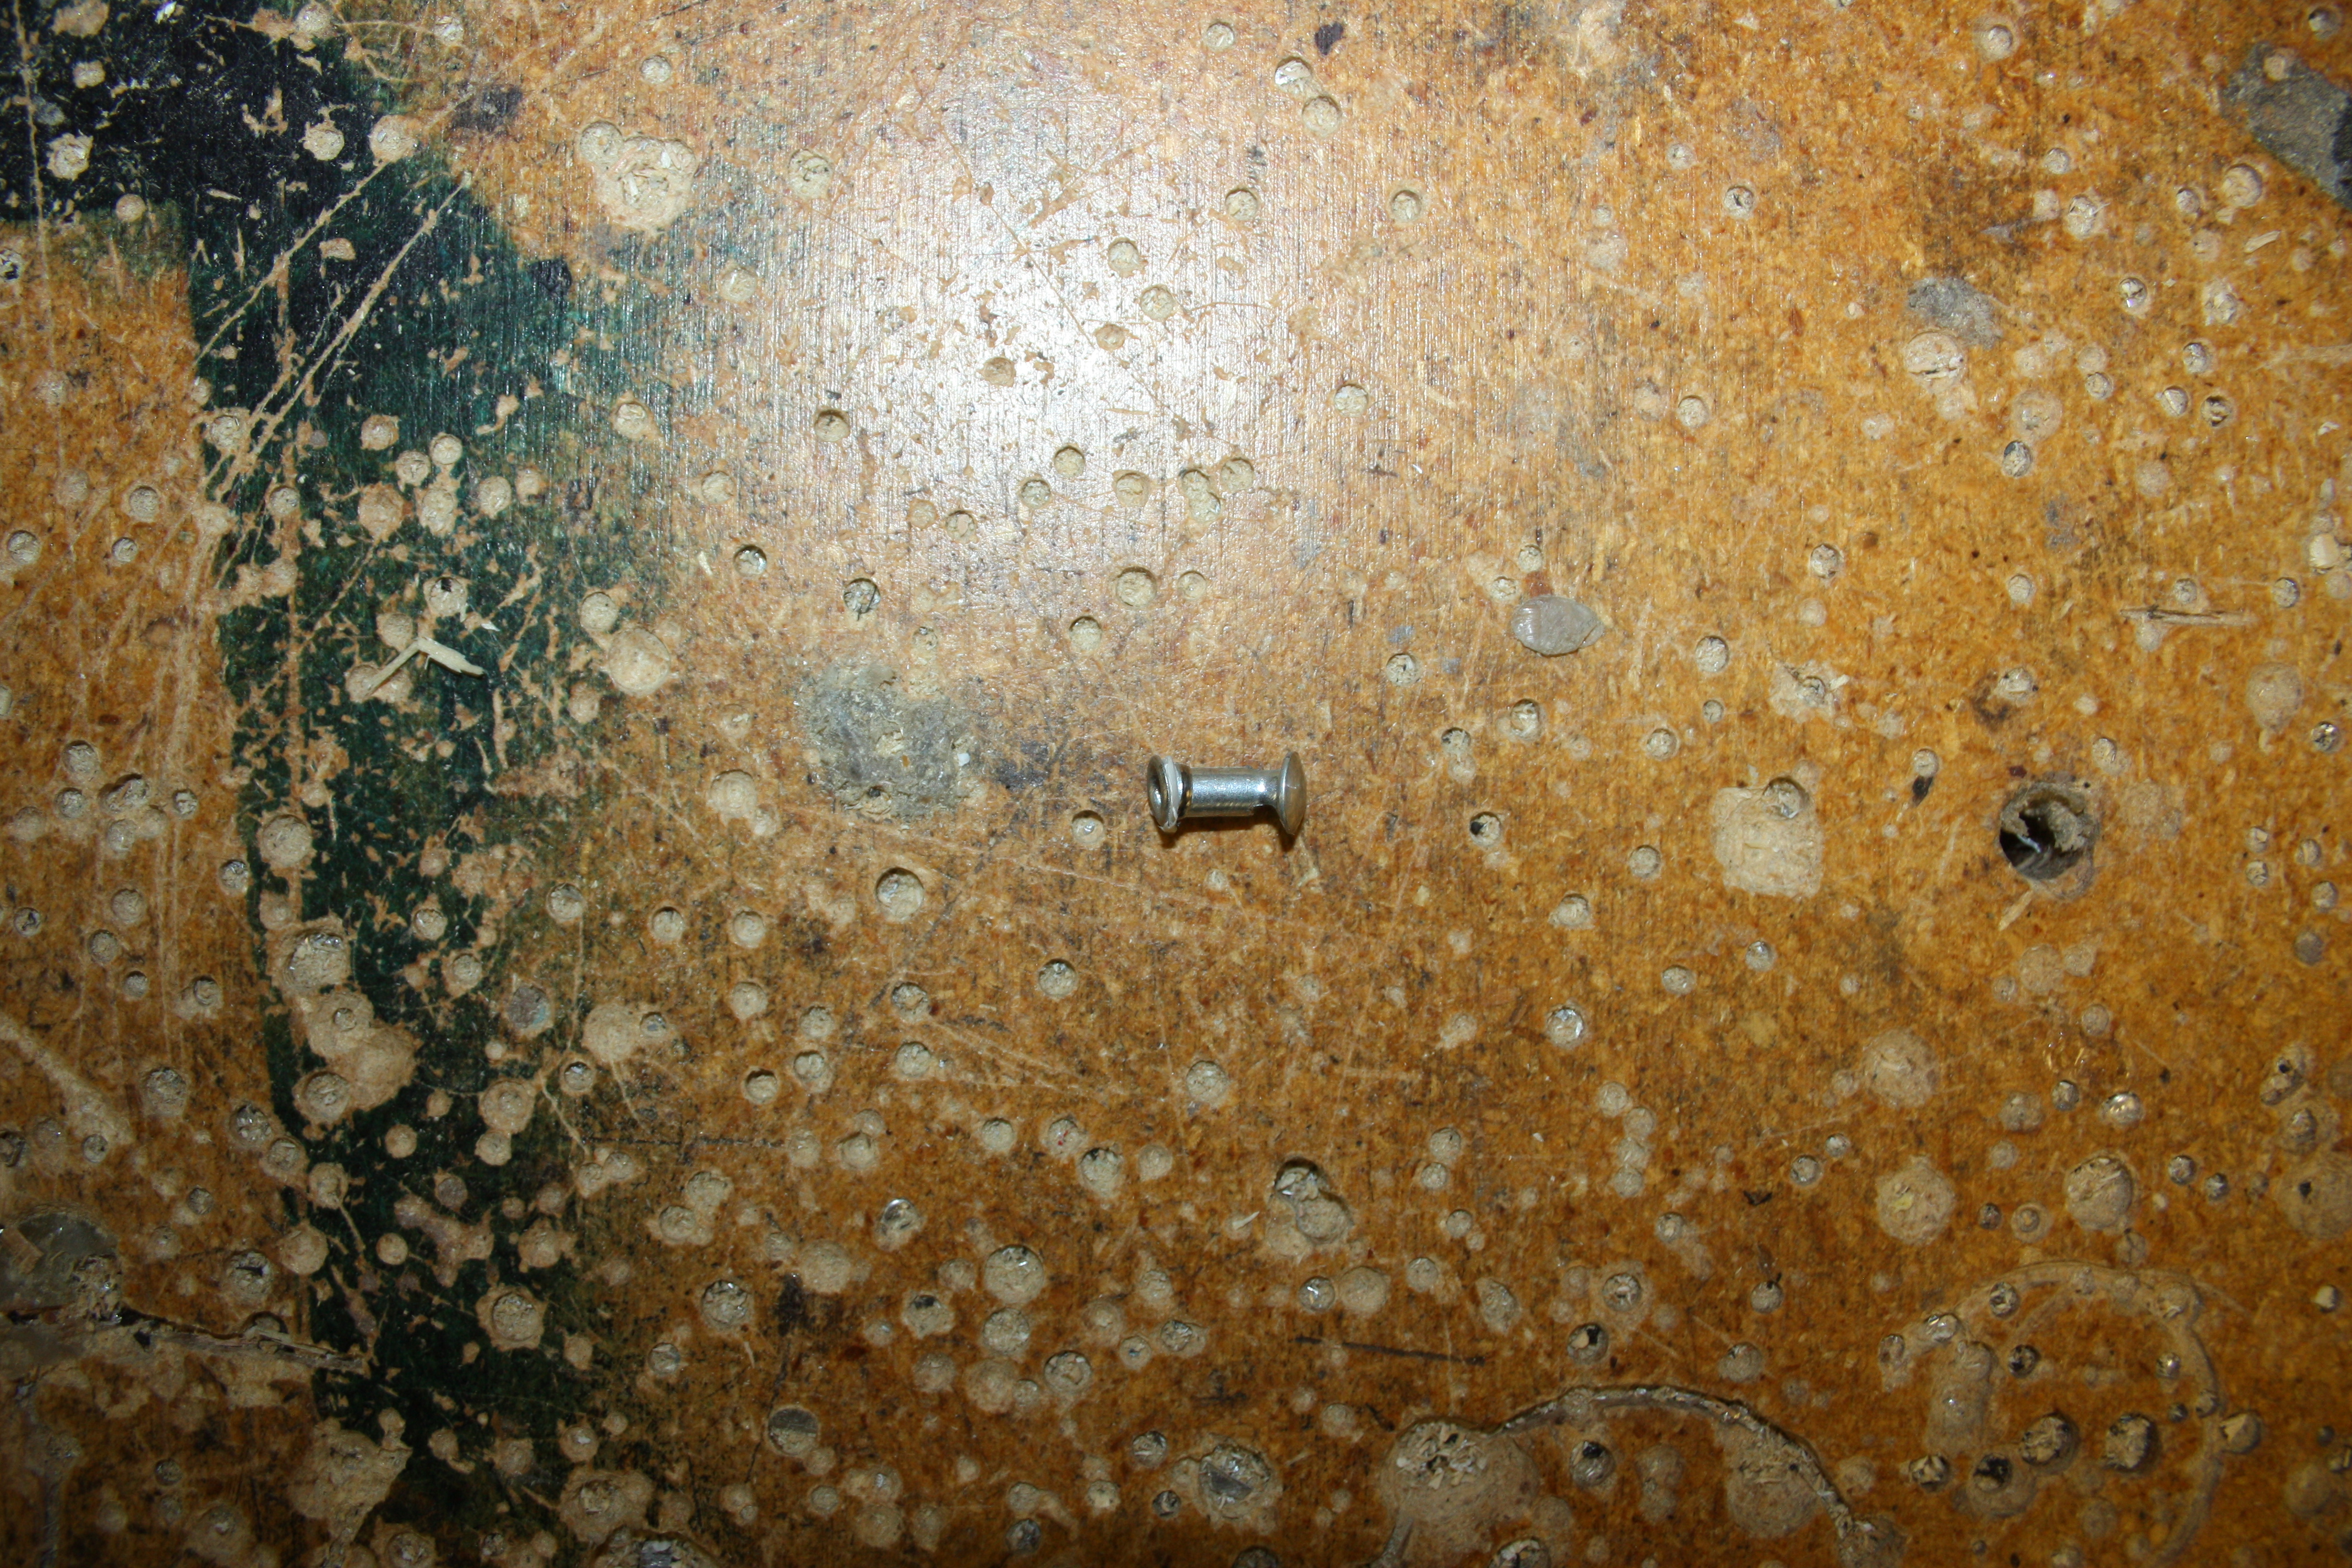
| Rivets
| 2
| Secures wringer lever to linkages
| Aluminum
| Purchased
| 4
| 
|
|
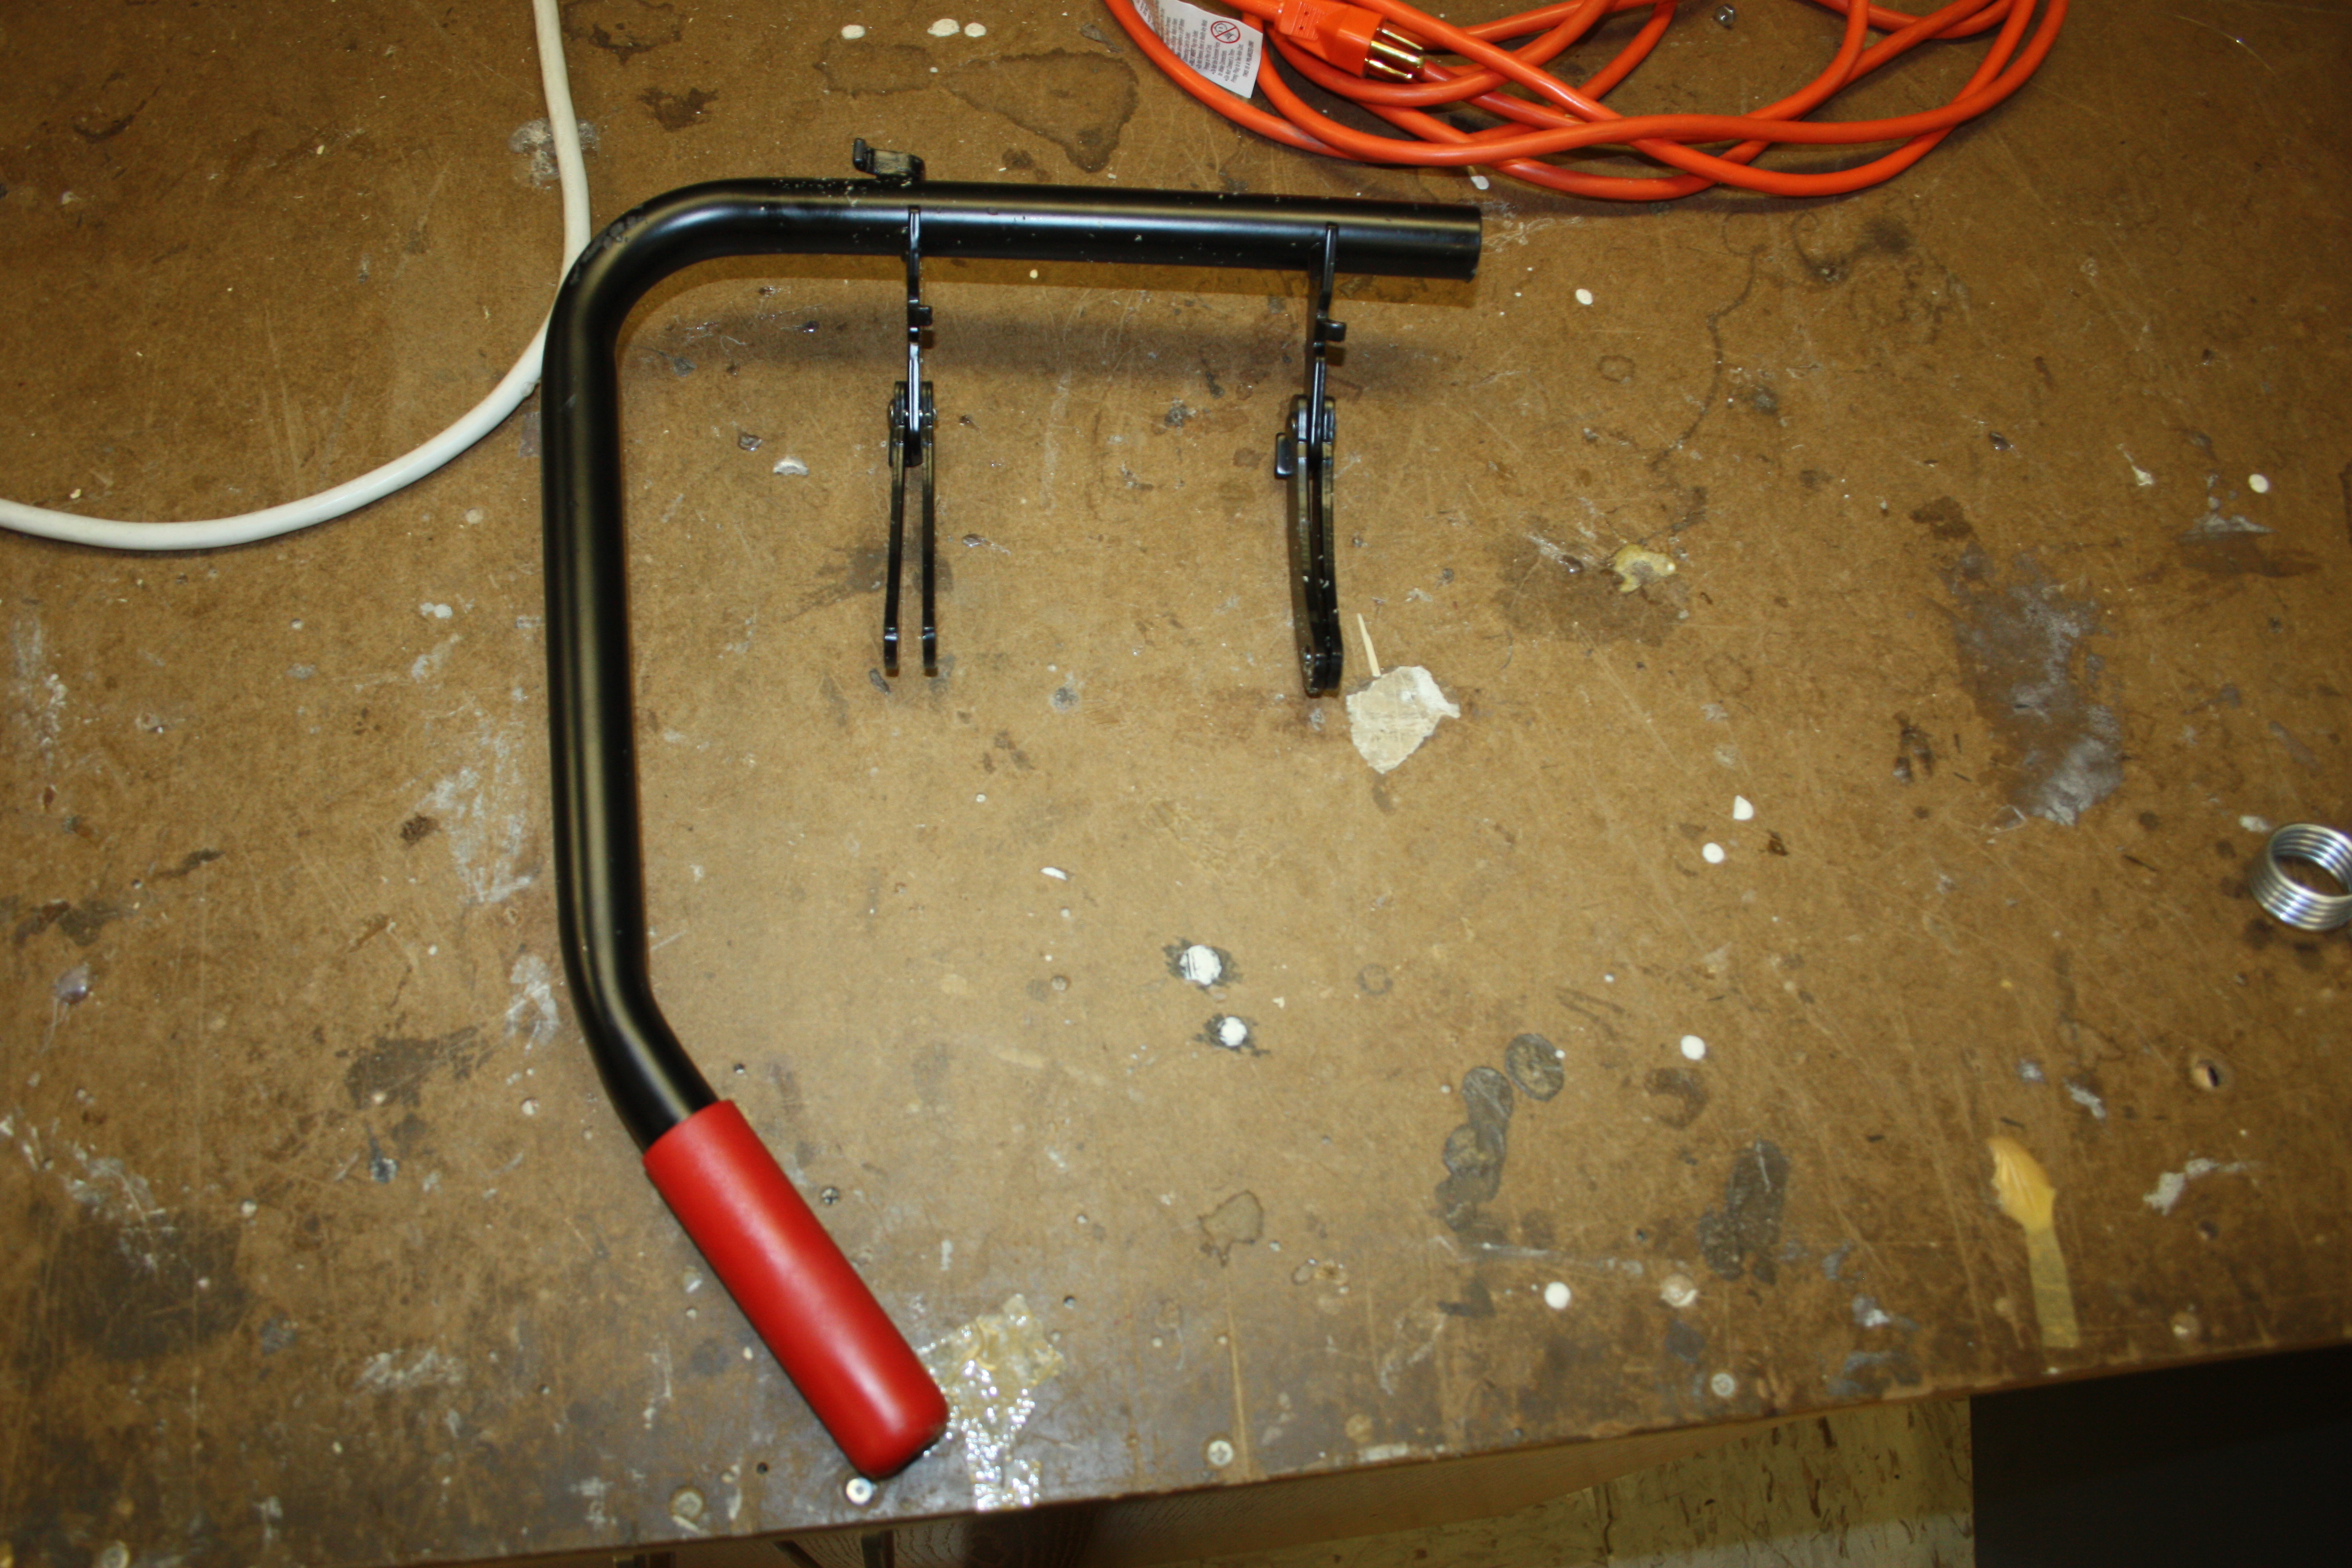
| Wringer Lever
| 1
| Controls movement of upper wringer plate and therefore the compression of the mop head
| Aluminum
| Extruded, cut, bent (purchased)
| 937
| 
|
|
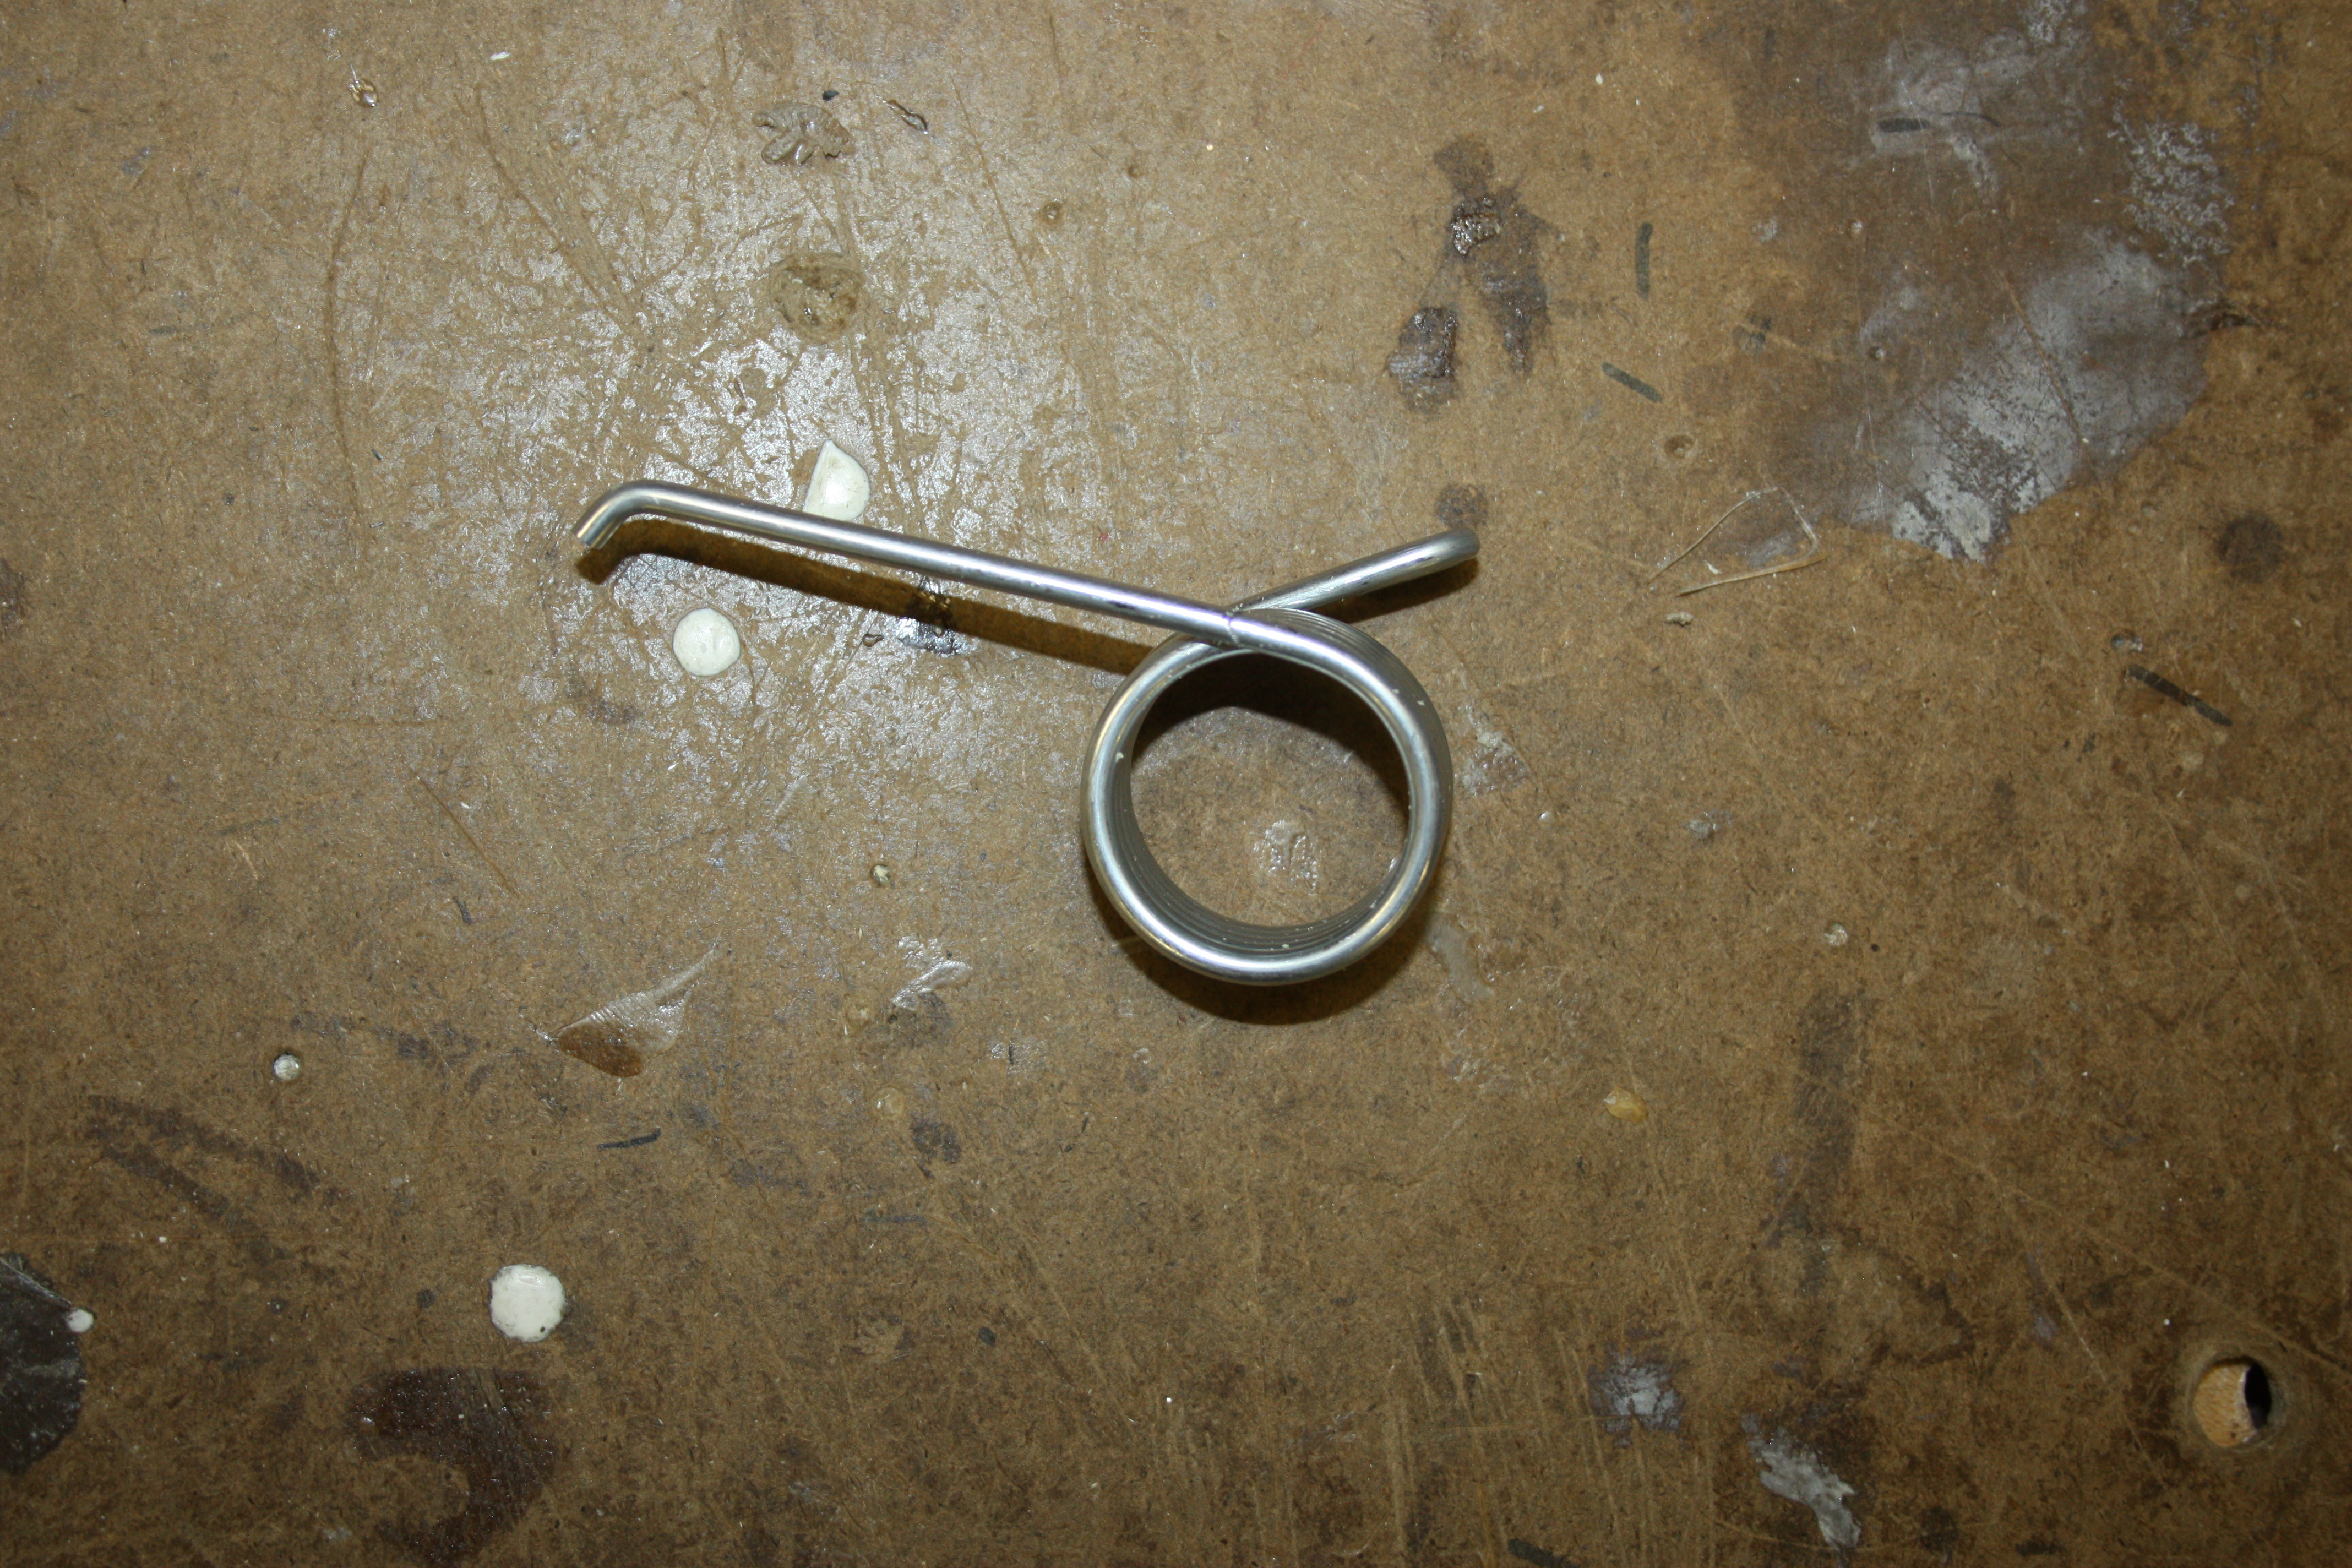
| Level Torsional Spring
| 1
| Resists compression of upper wringer plate and returns it to its original, open position
| Aluminum
| Extruded, bent (purchased)
| 4.4
| 
|
|
|
|
|
|
|
|
|
|
| Wheel
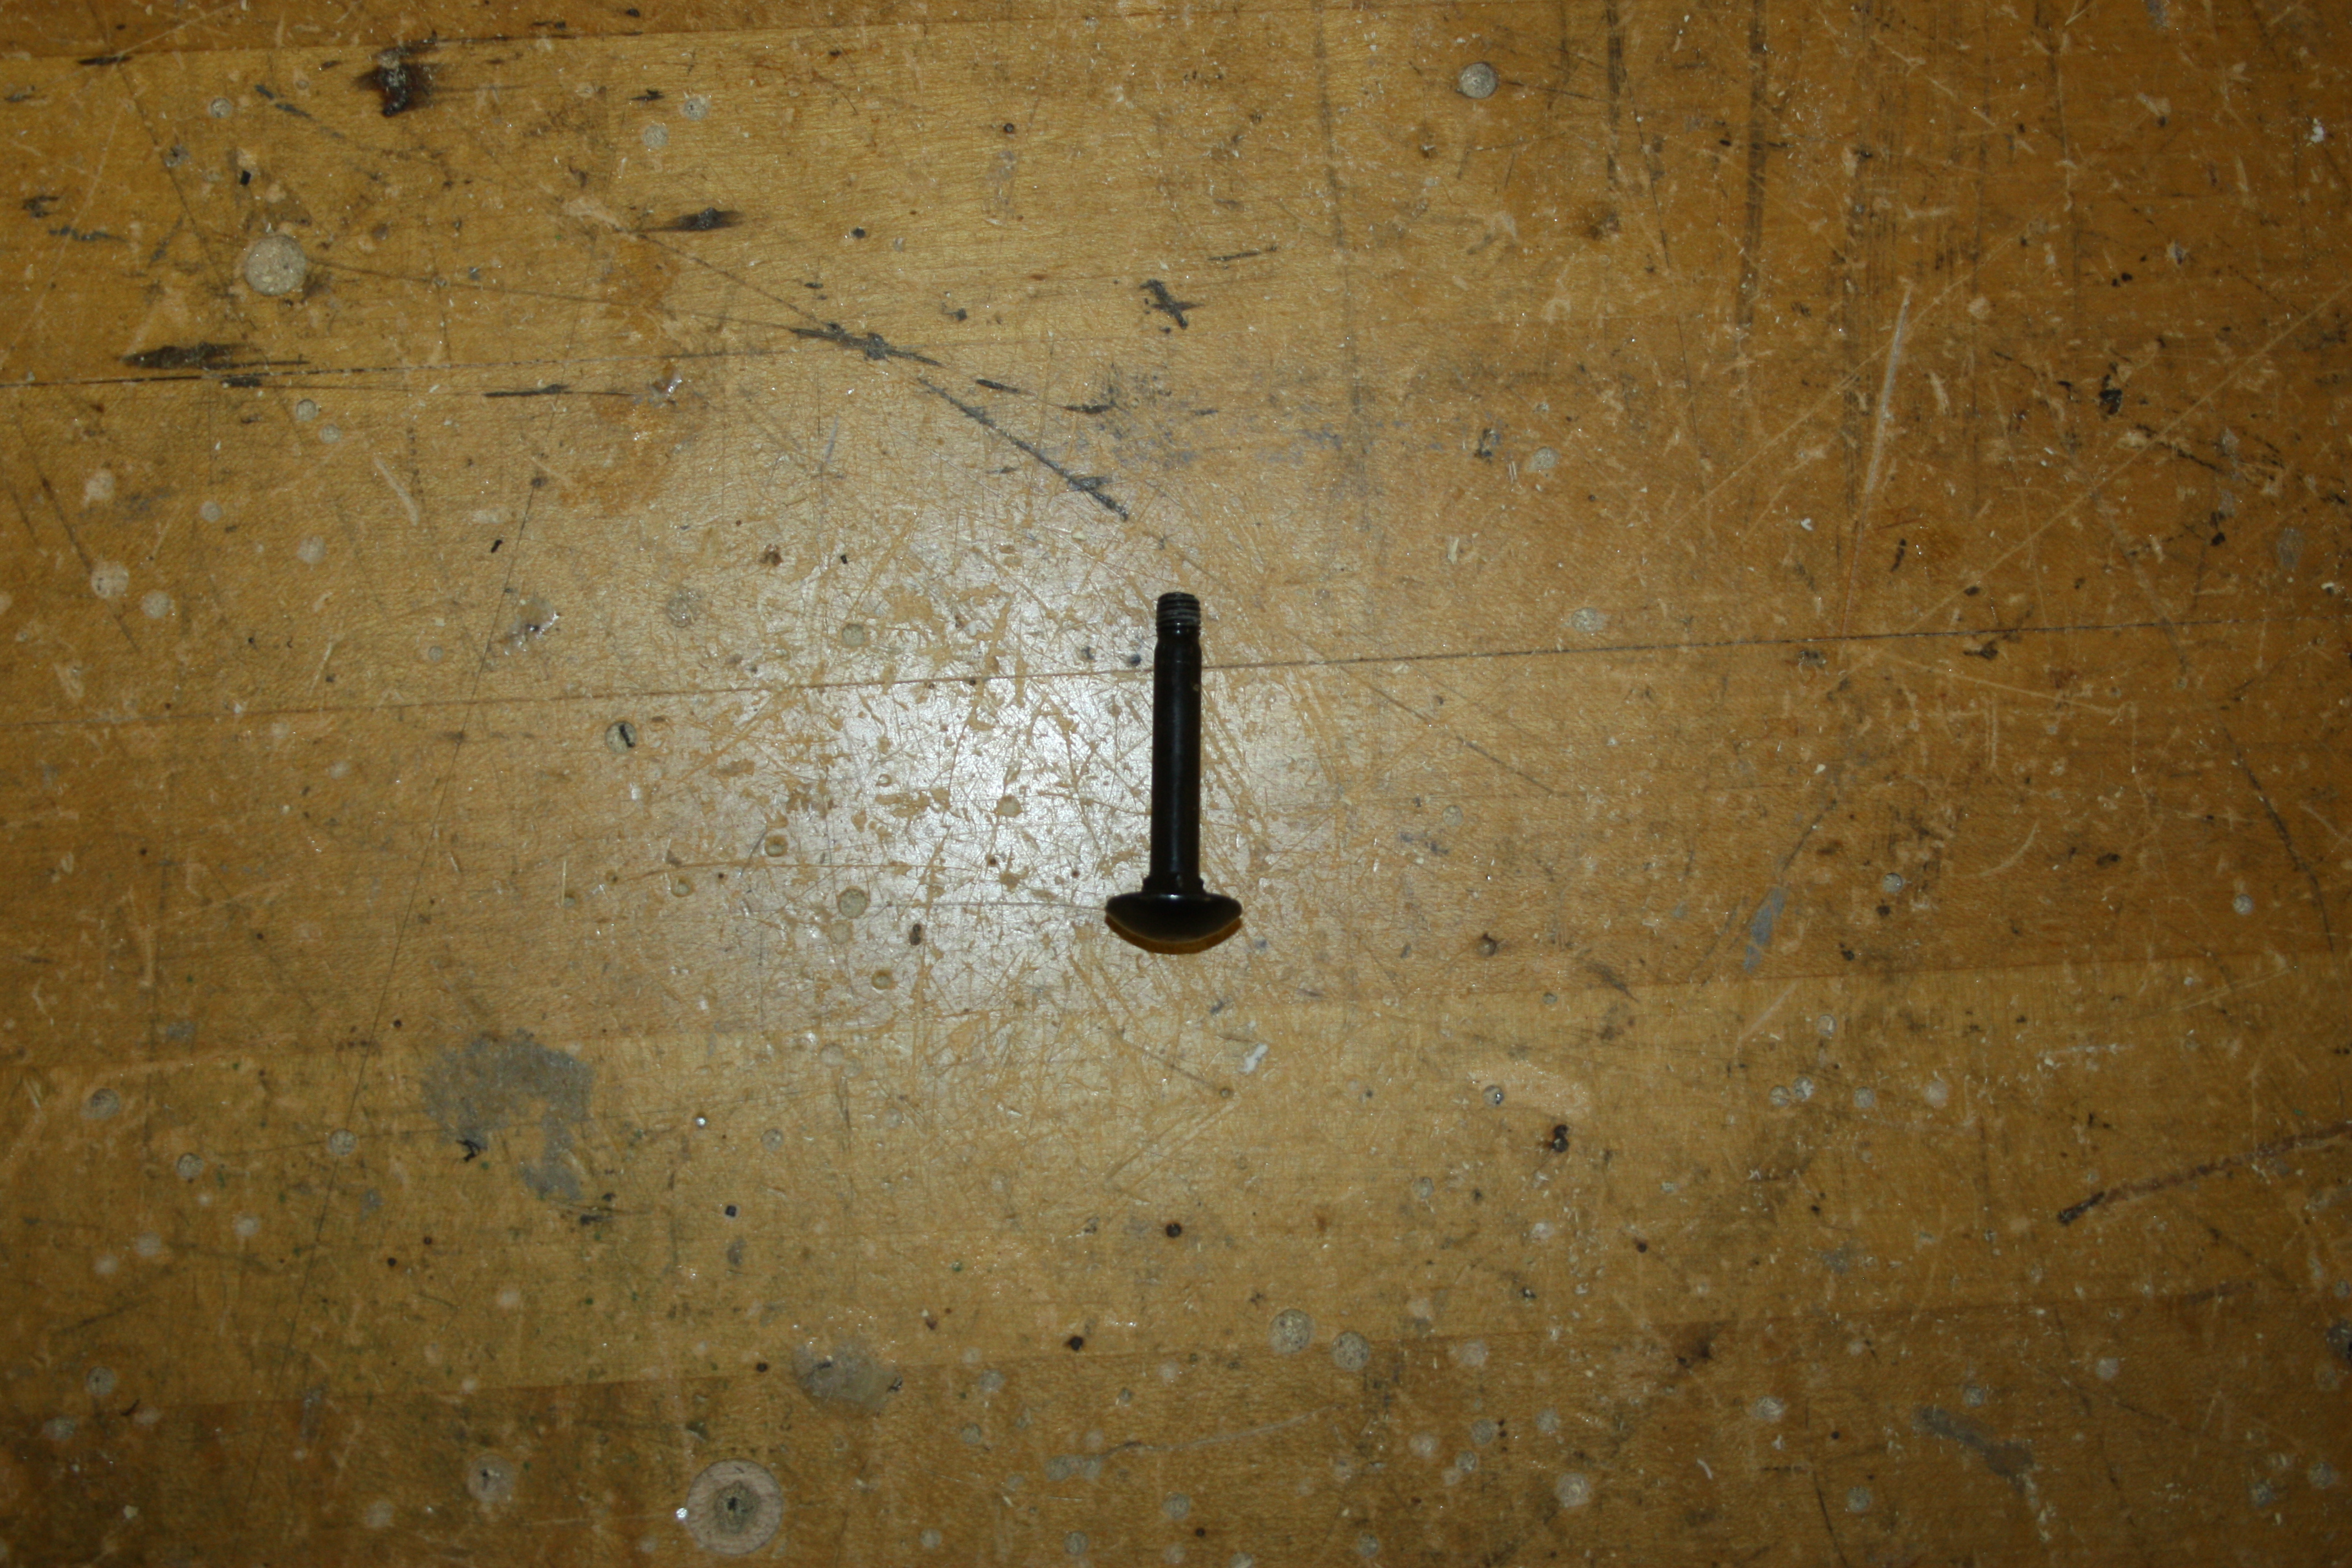
| Wheel Bolt
| 4
|
| Aluminum
| Purchased
| 18
| 
|
|
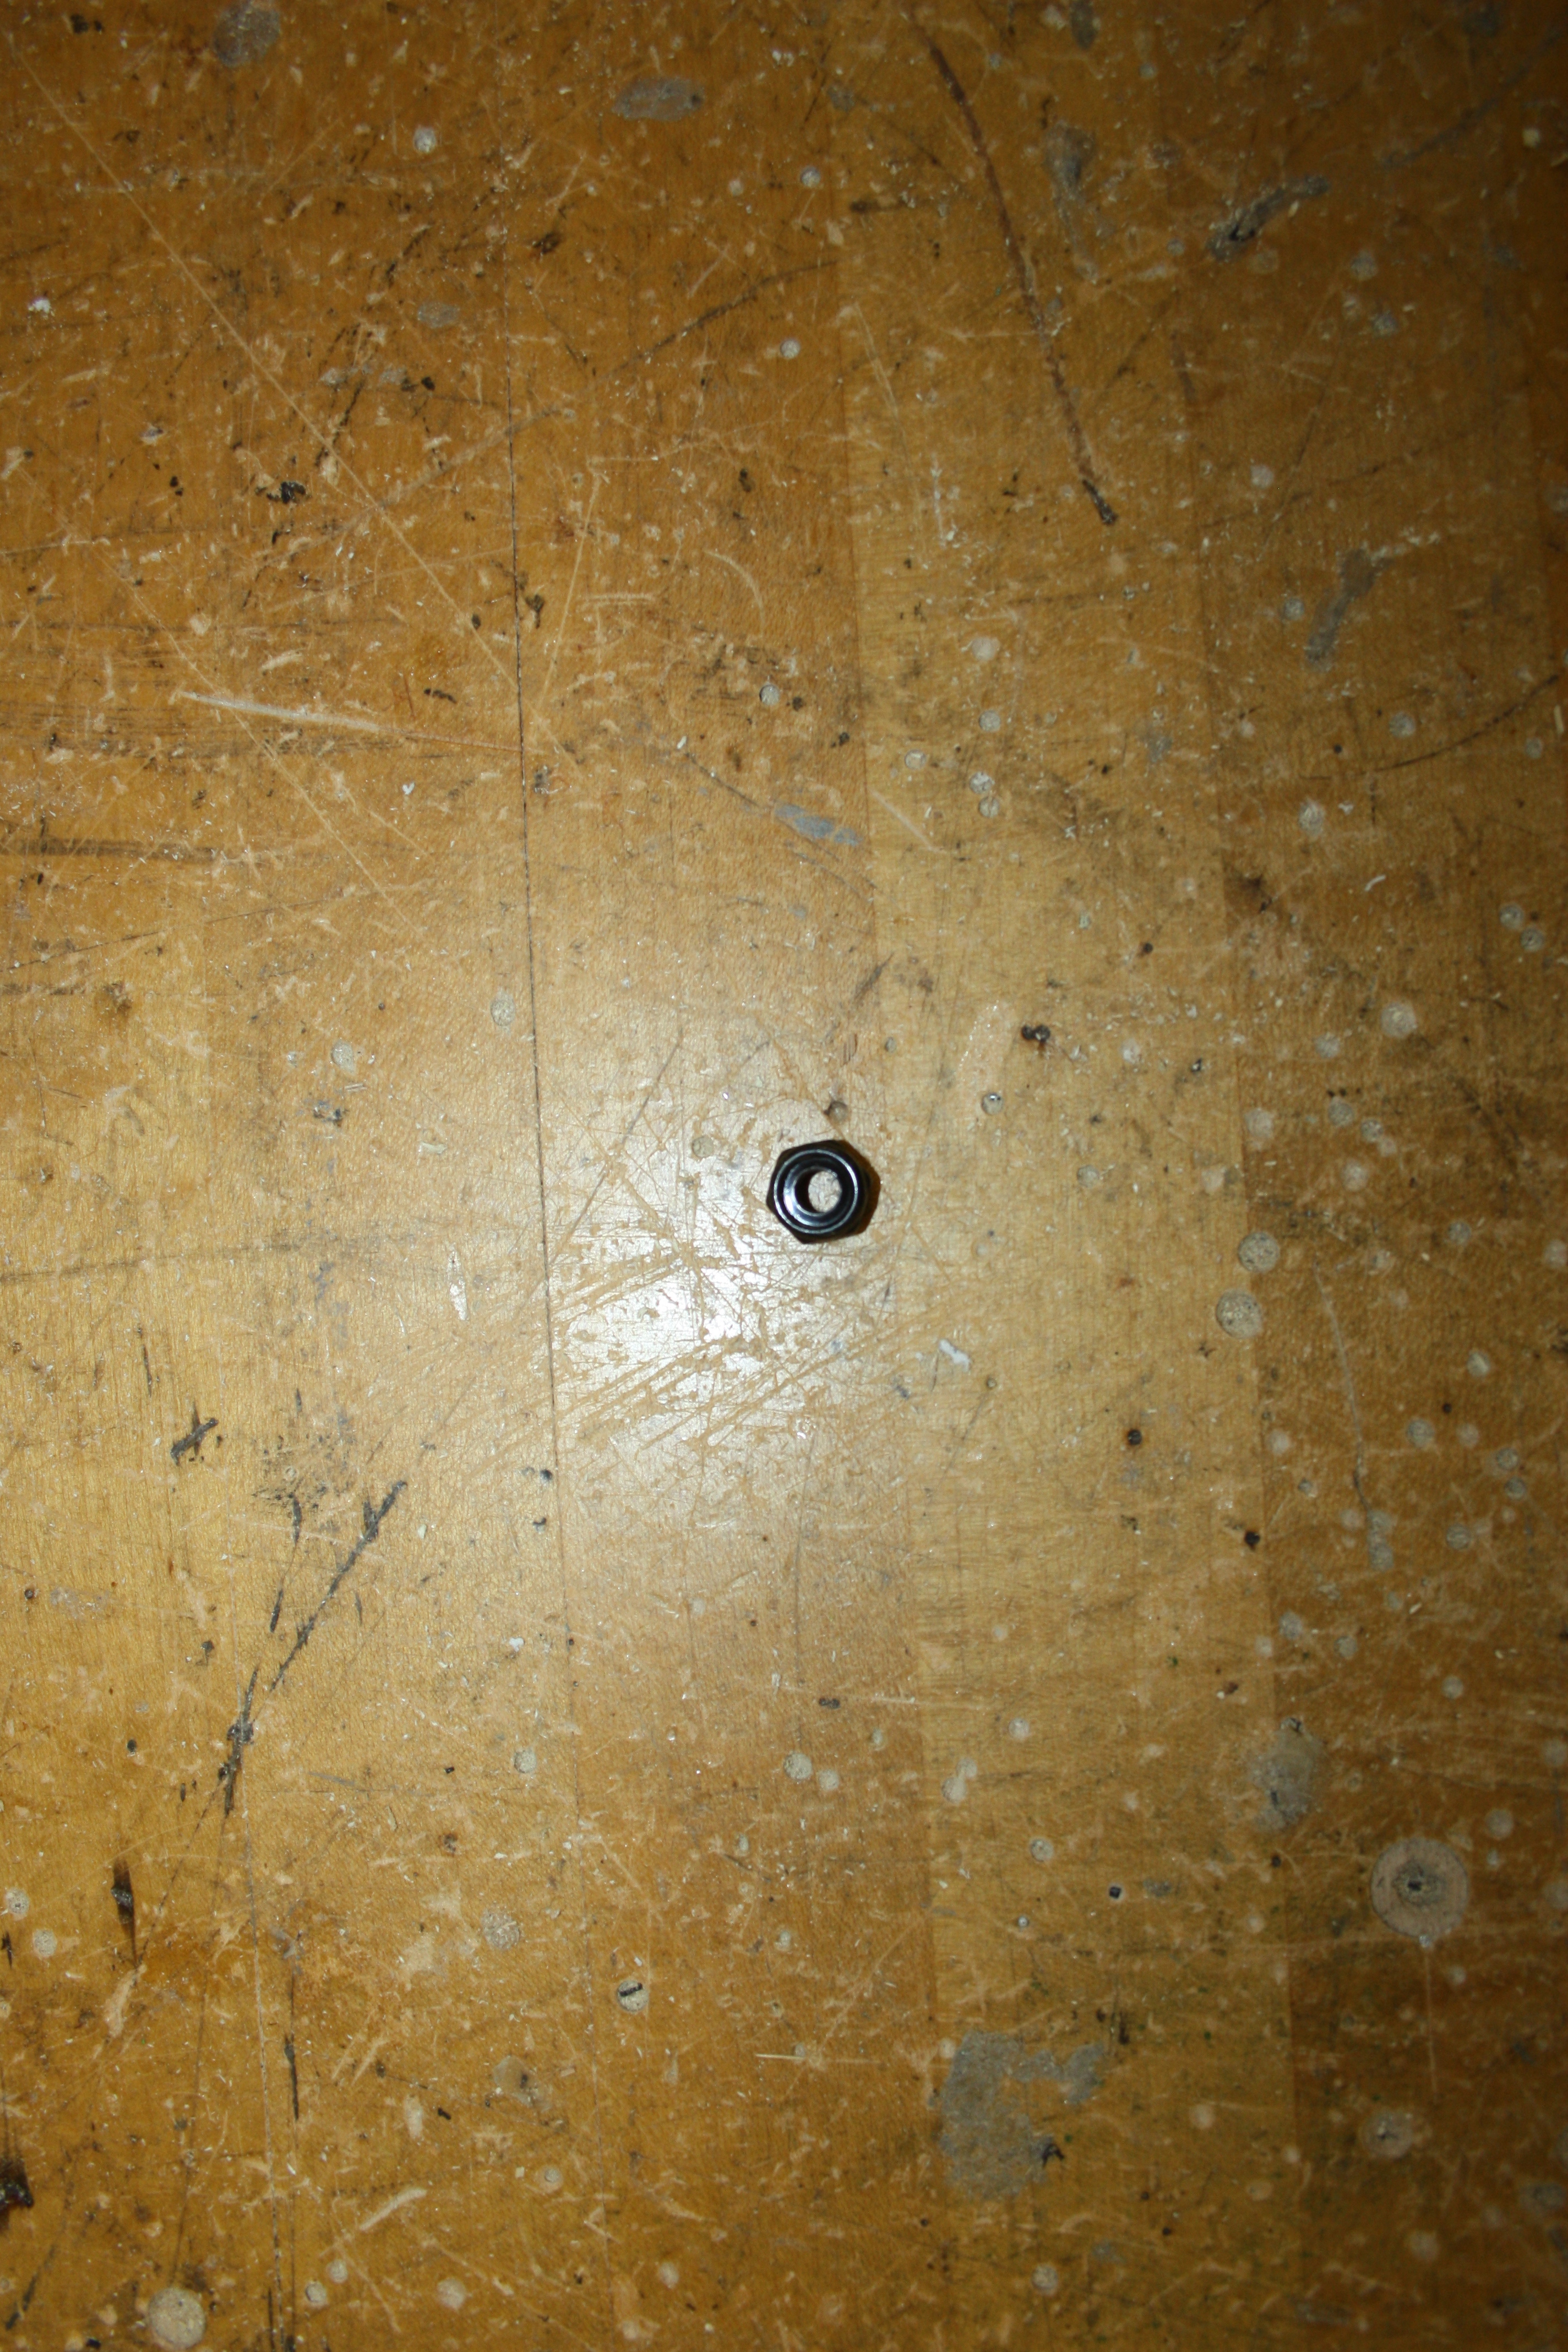
| Wheel Nut
| 4
|
| Aluminum
| Purchased
| 4
| 
|
|
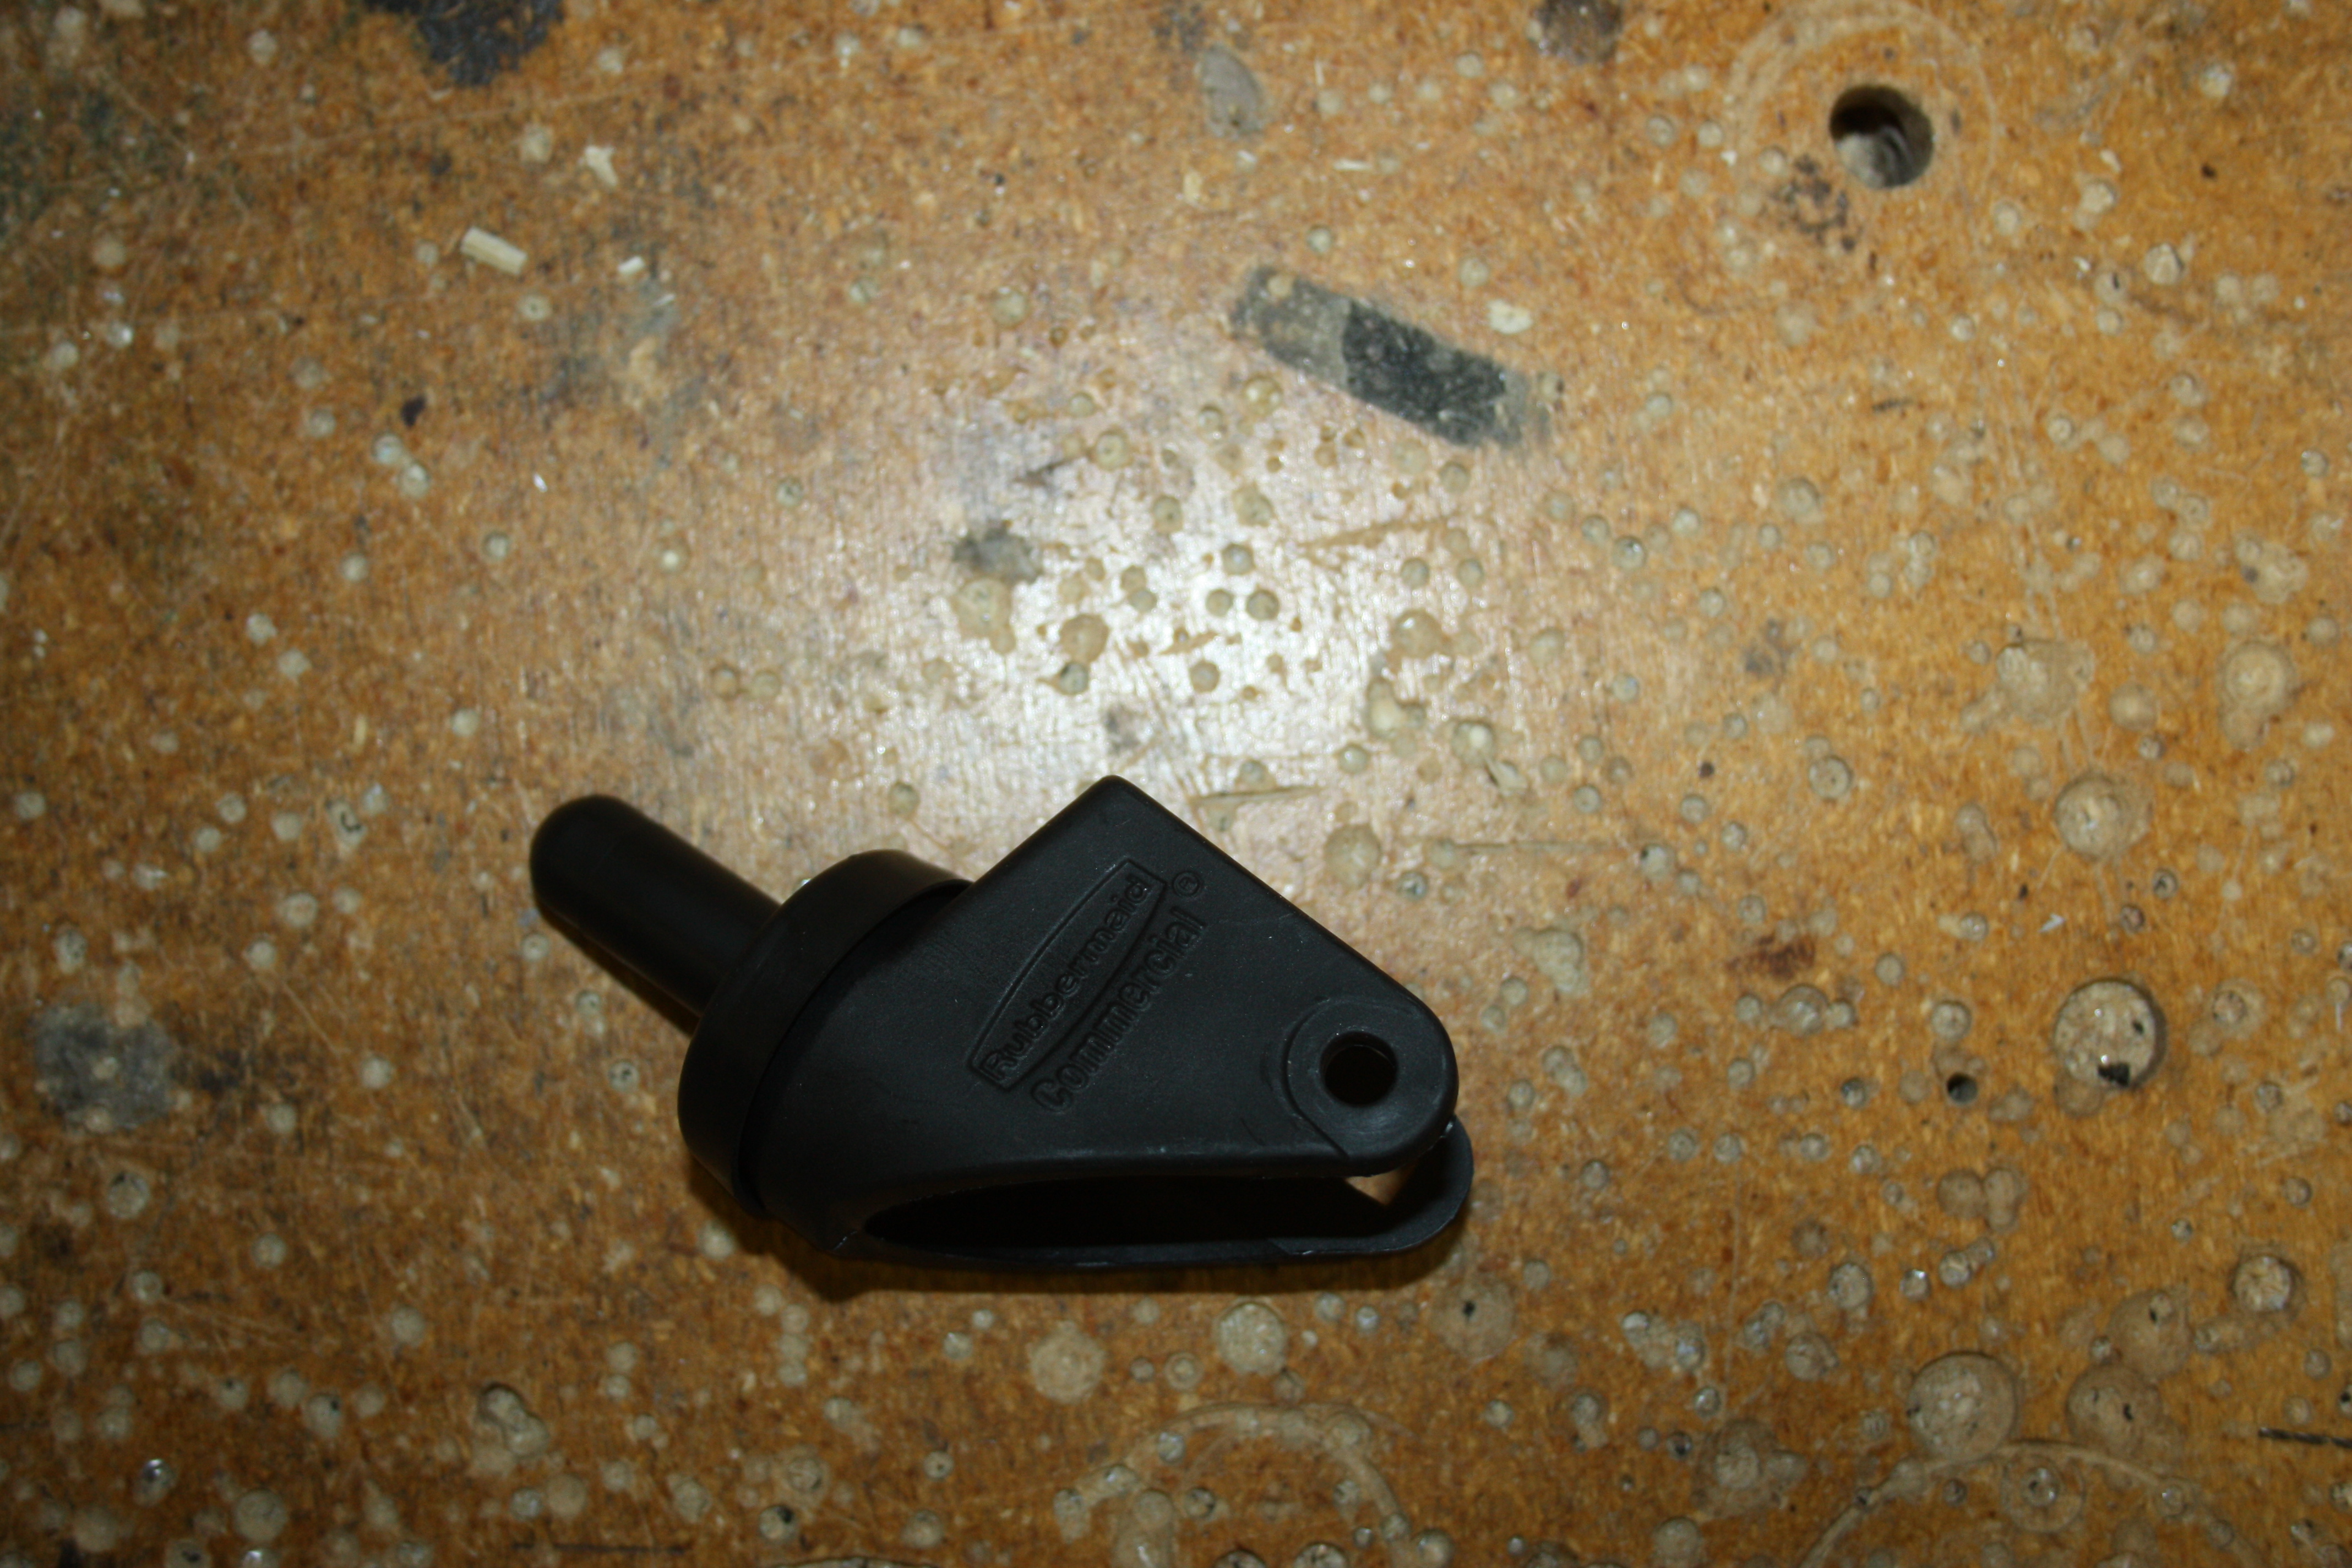
| Wheel Mount
| 4
| Provides interface to connect wheels to bottom of bucket
| Plastic
| Injection Molded
| 67
| 
|
|
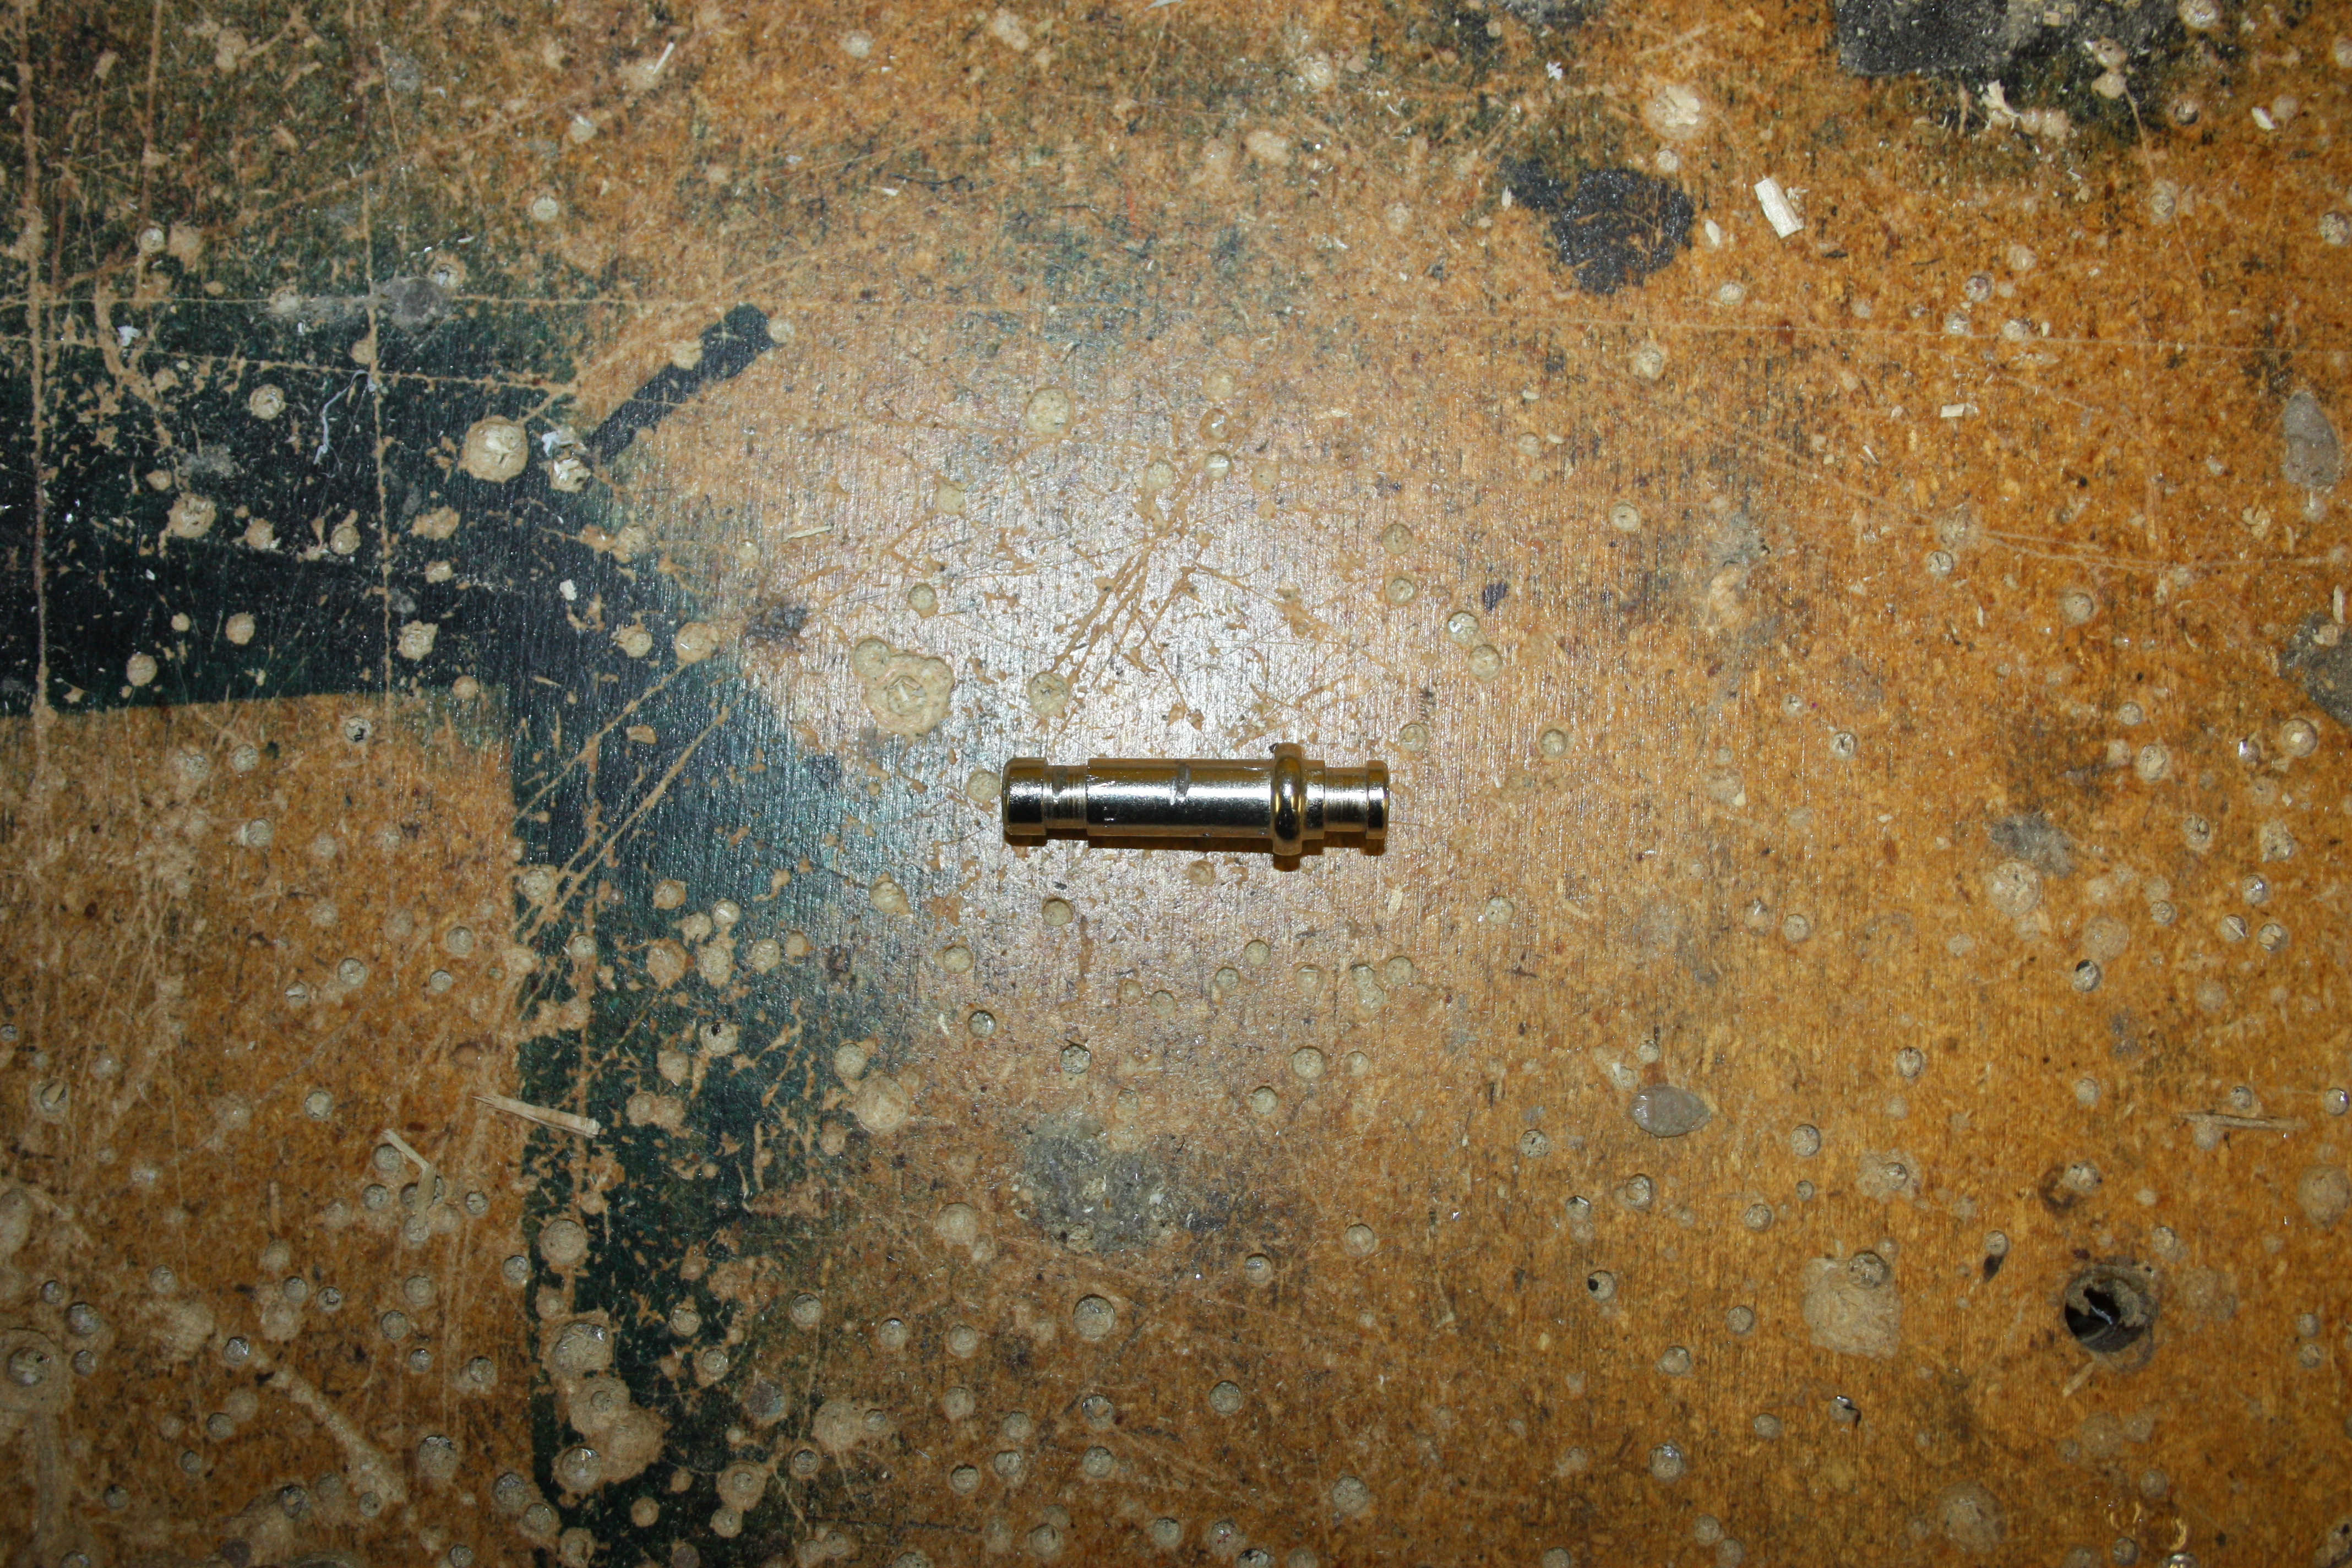
| Wheel Mount Pin
| 4
| Secures wheel housing and wheel mount together
| Aluminum
| Purchased
| 21
| 
|
|
| Wheel Housing???????
|
|
|
|
|
|
|
|
|
|
|
|
|
|
|
|
| Folding Mop
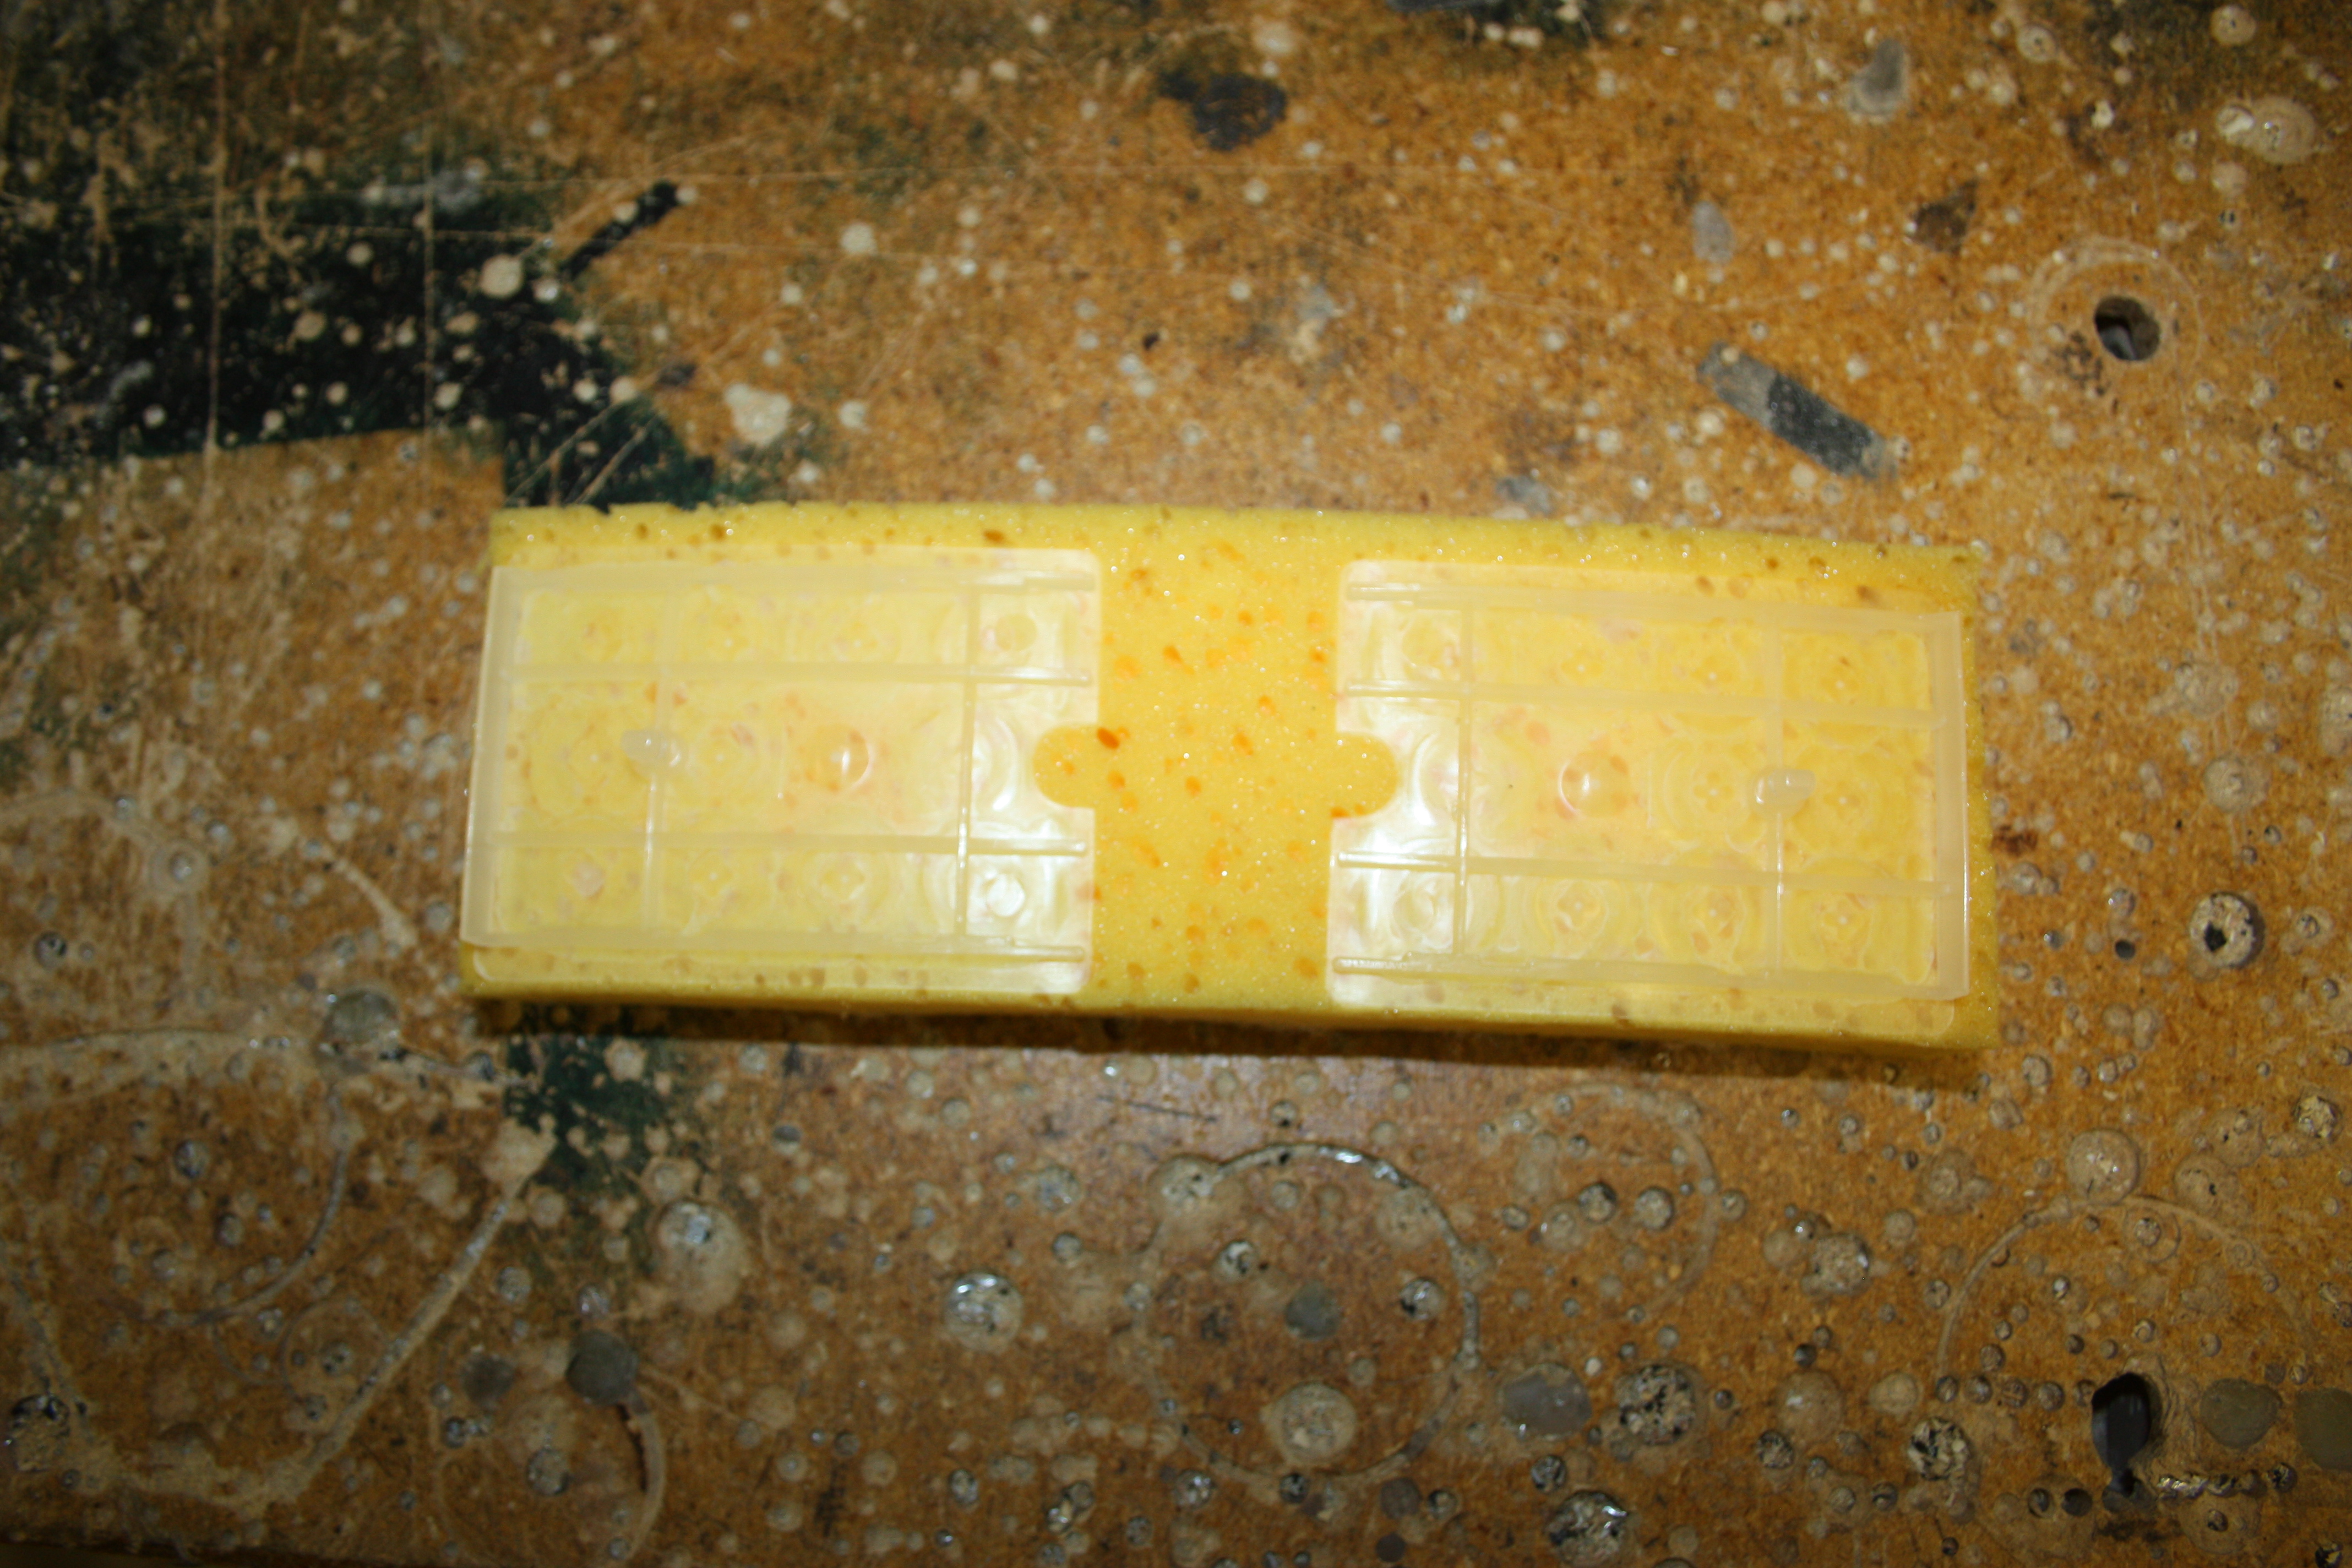
| Sponge
| 1
| Soaks up water, cleans floor
| Synthetic Sponge
| Purchased, cut
| 50
| 
|
|
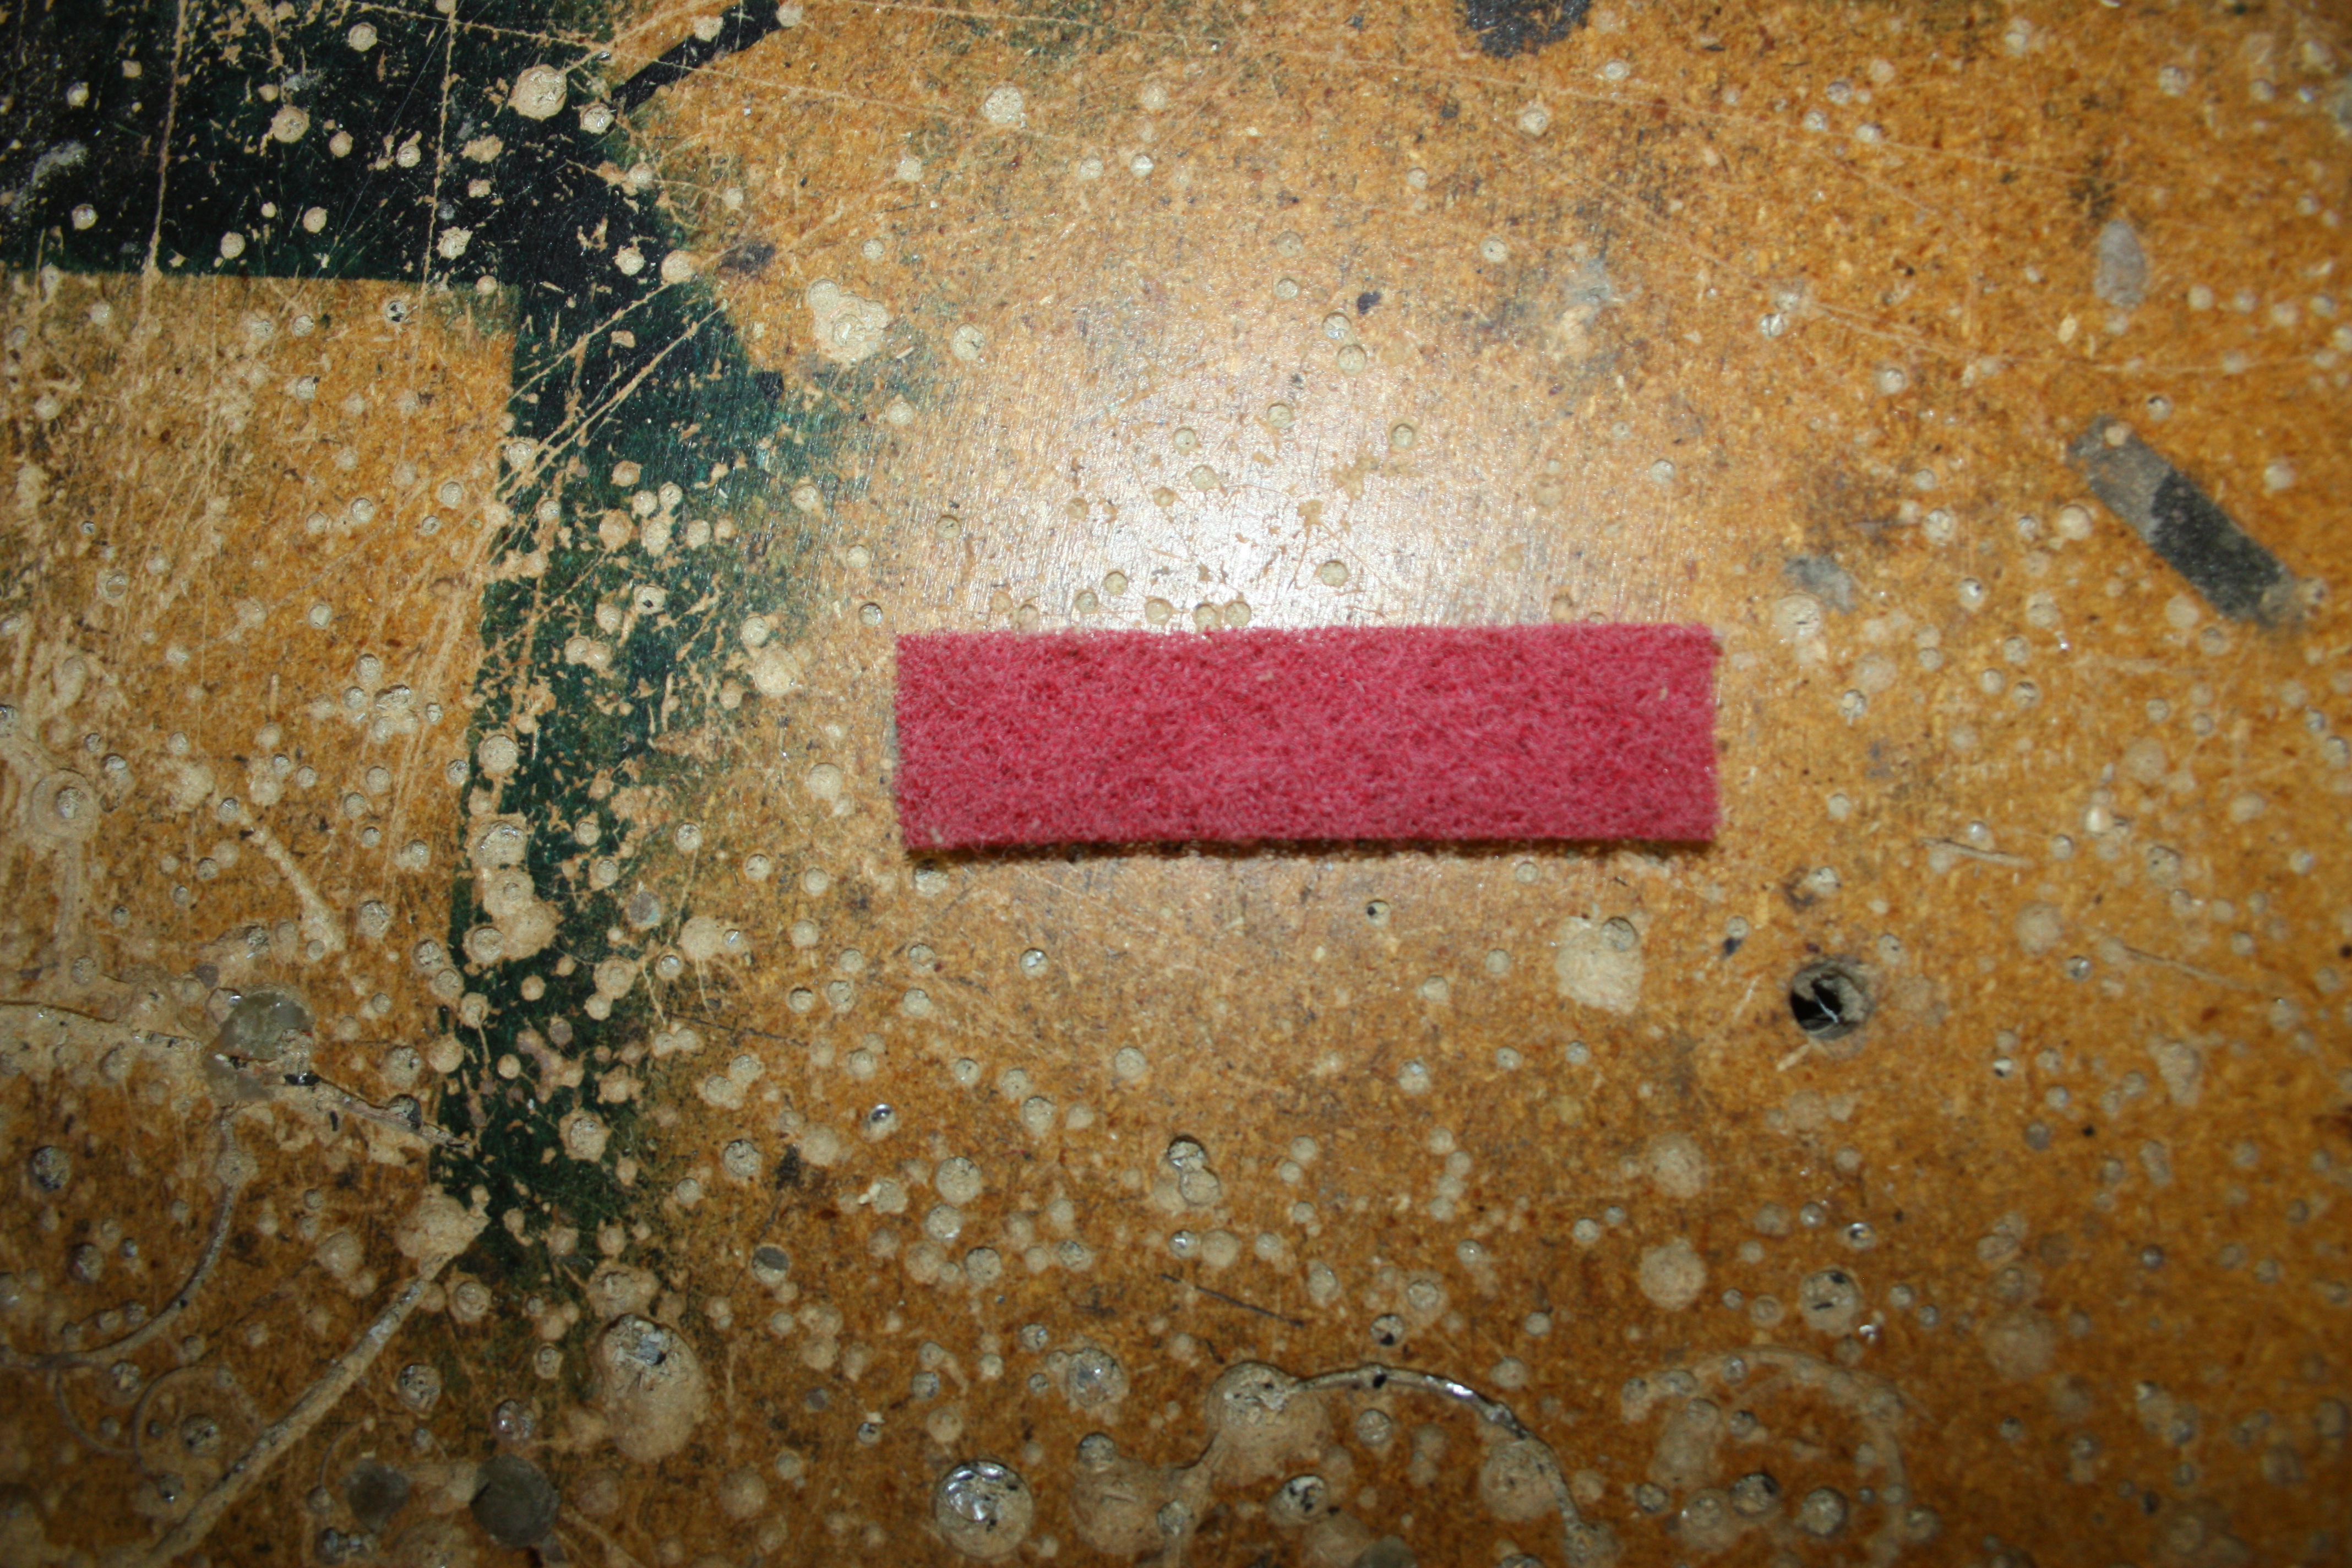
| Scrubbing Pad
| 1
| Allows scrubbing for hard to clean messes
| Plastic
| Purchased, cut
| <1
| 
|
|
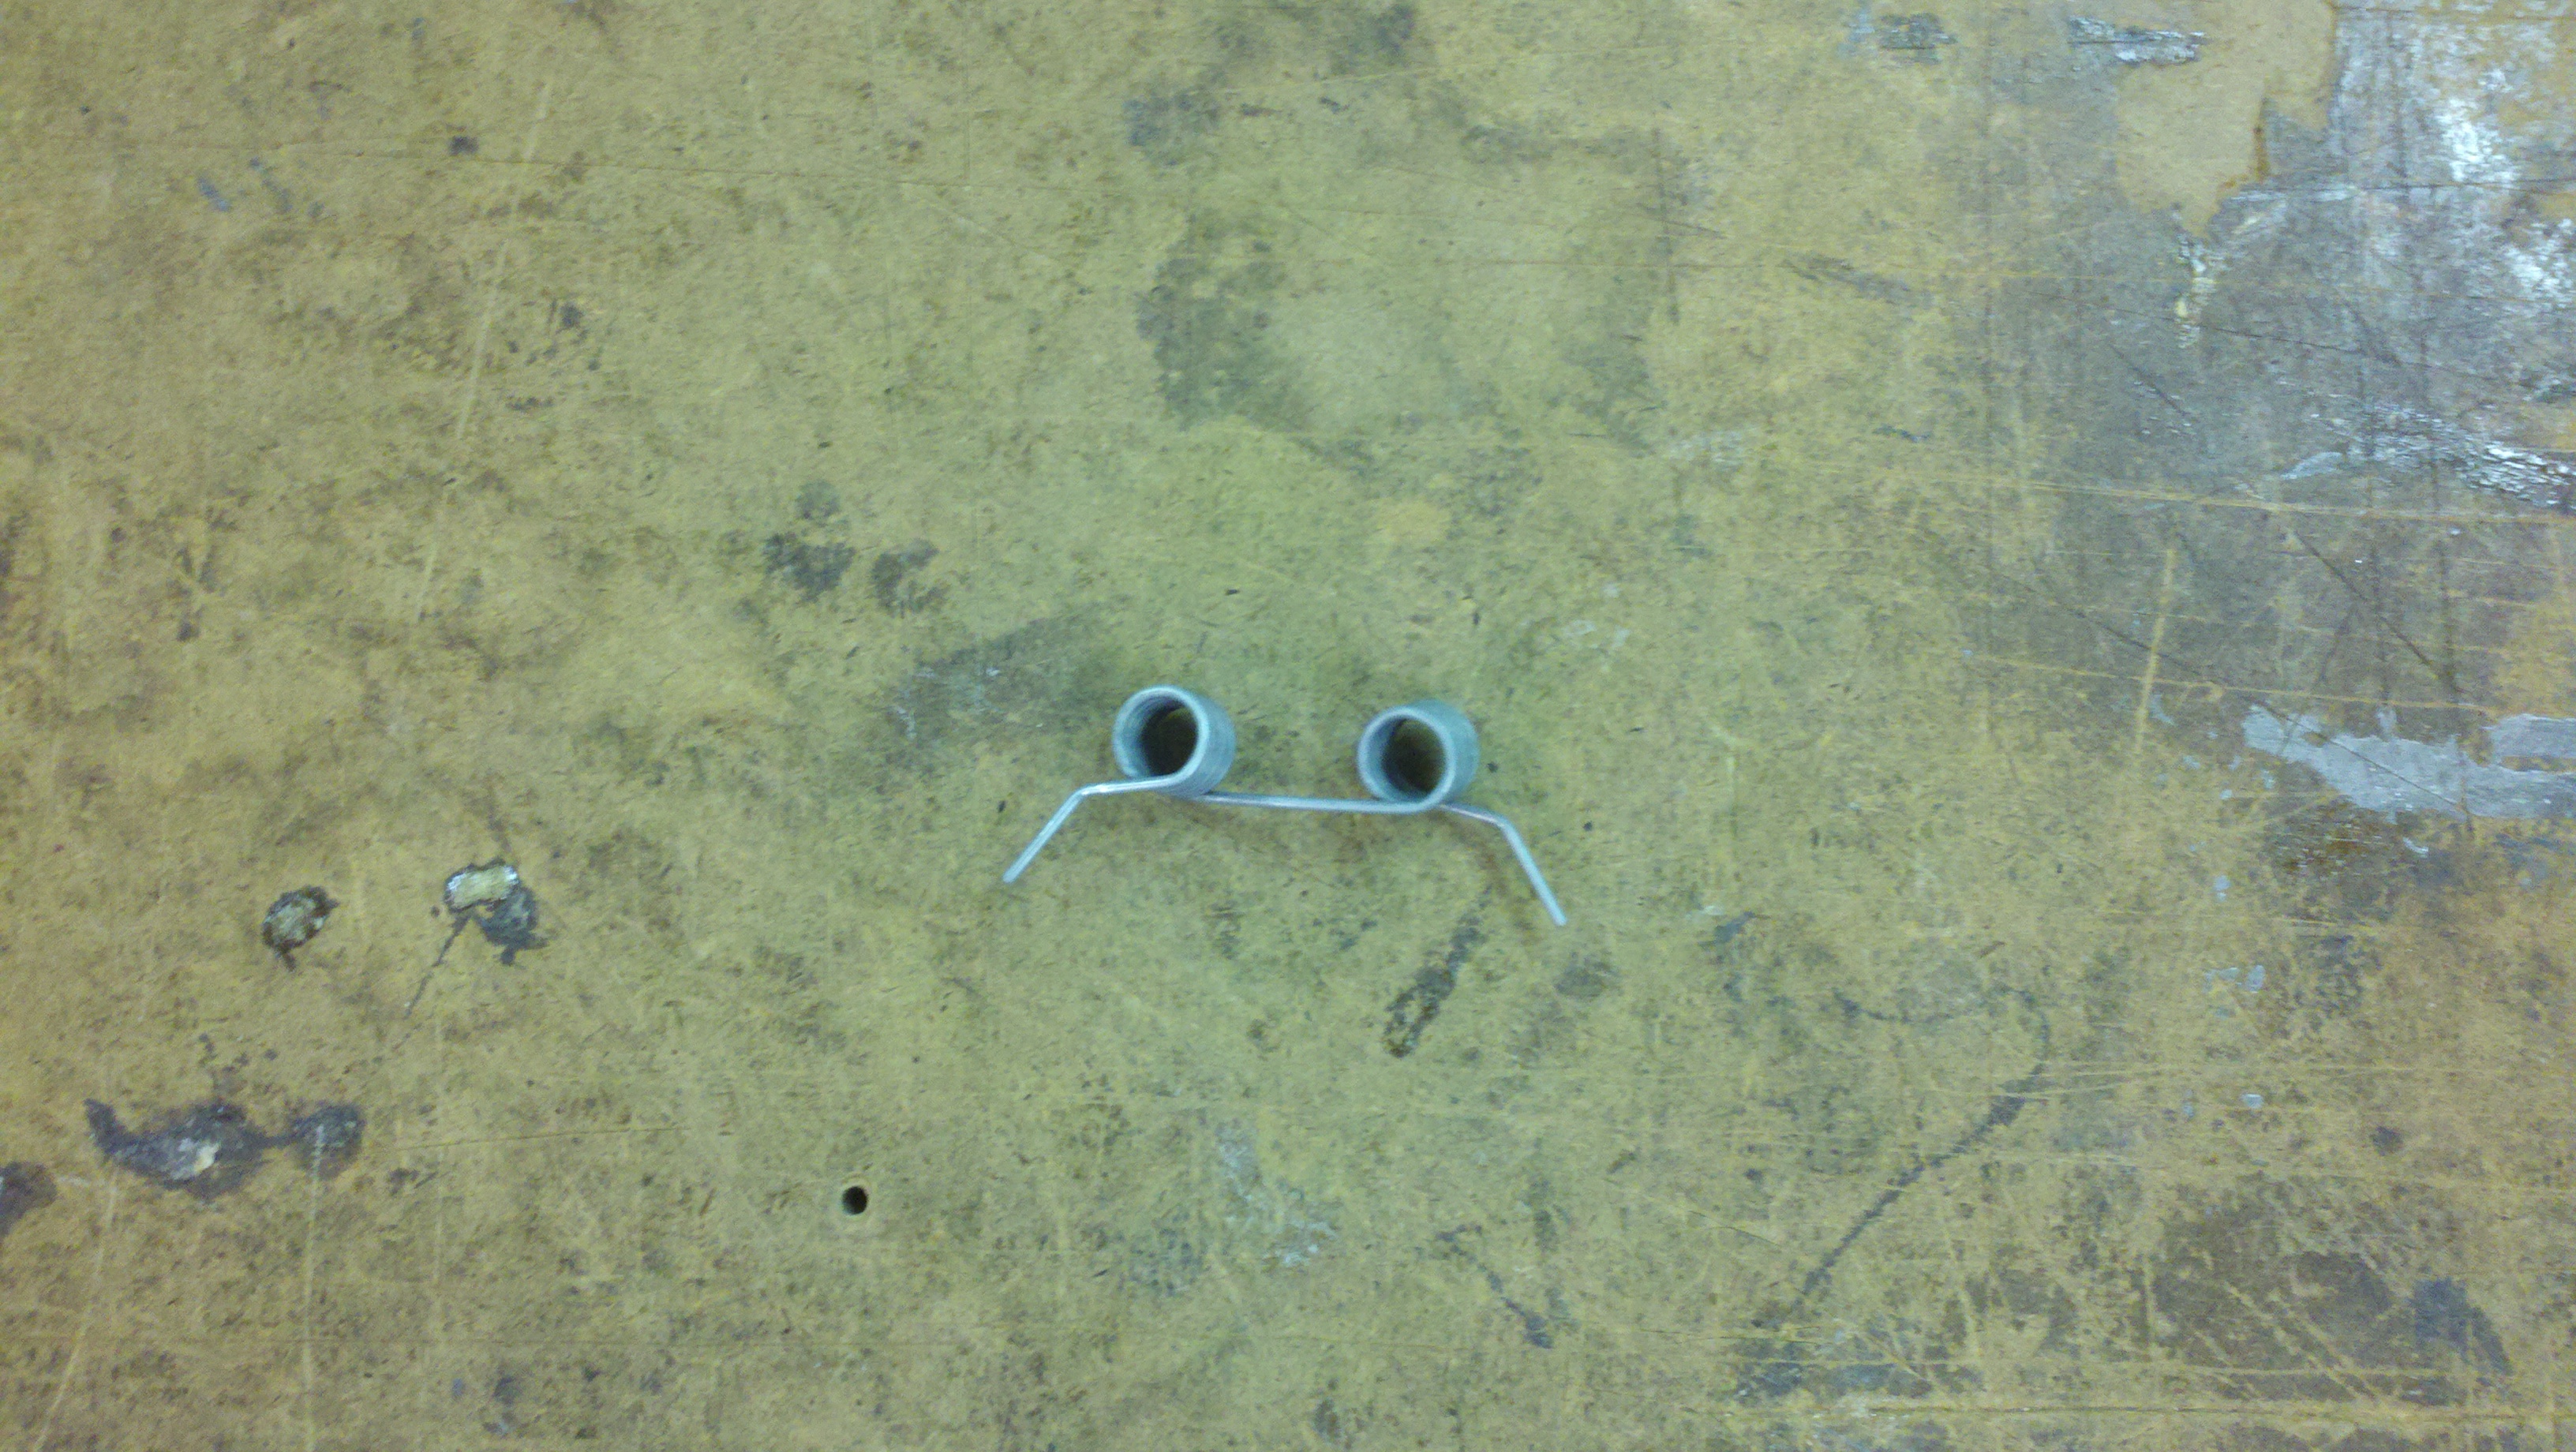
| Folding Plates Spring
| 1
| Returns two folding plates to linear position to mop floor
| Aluminum
| Extruded, cut, bent (purchased)
| 4
| 
|
|
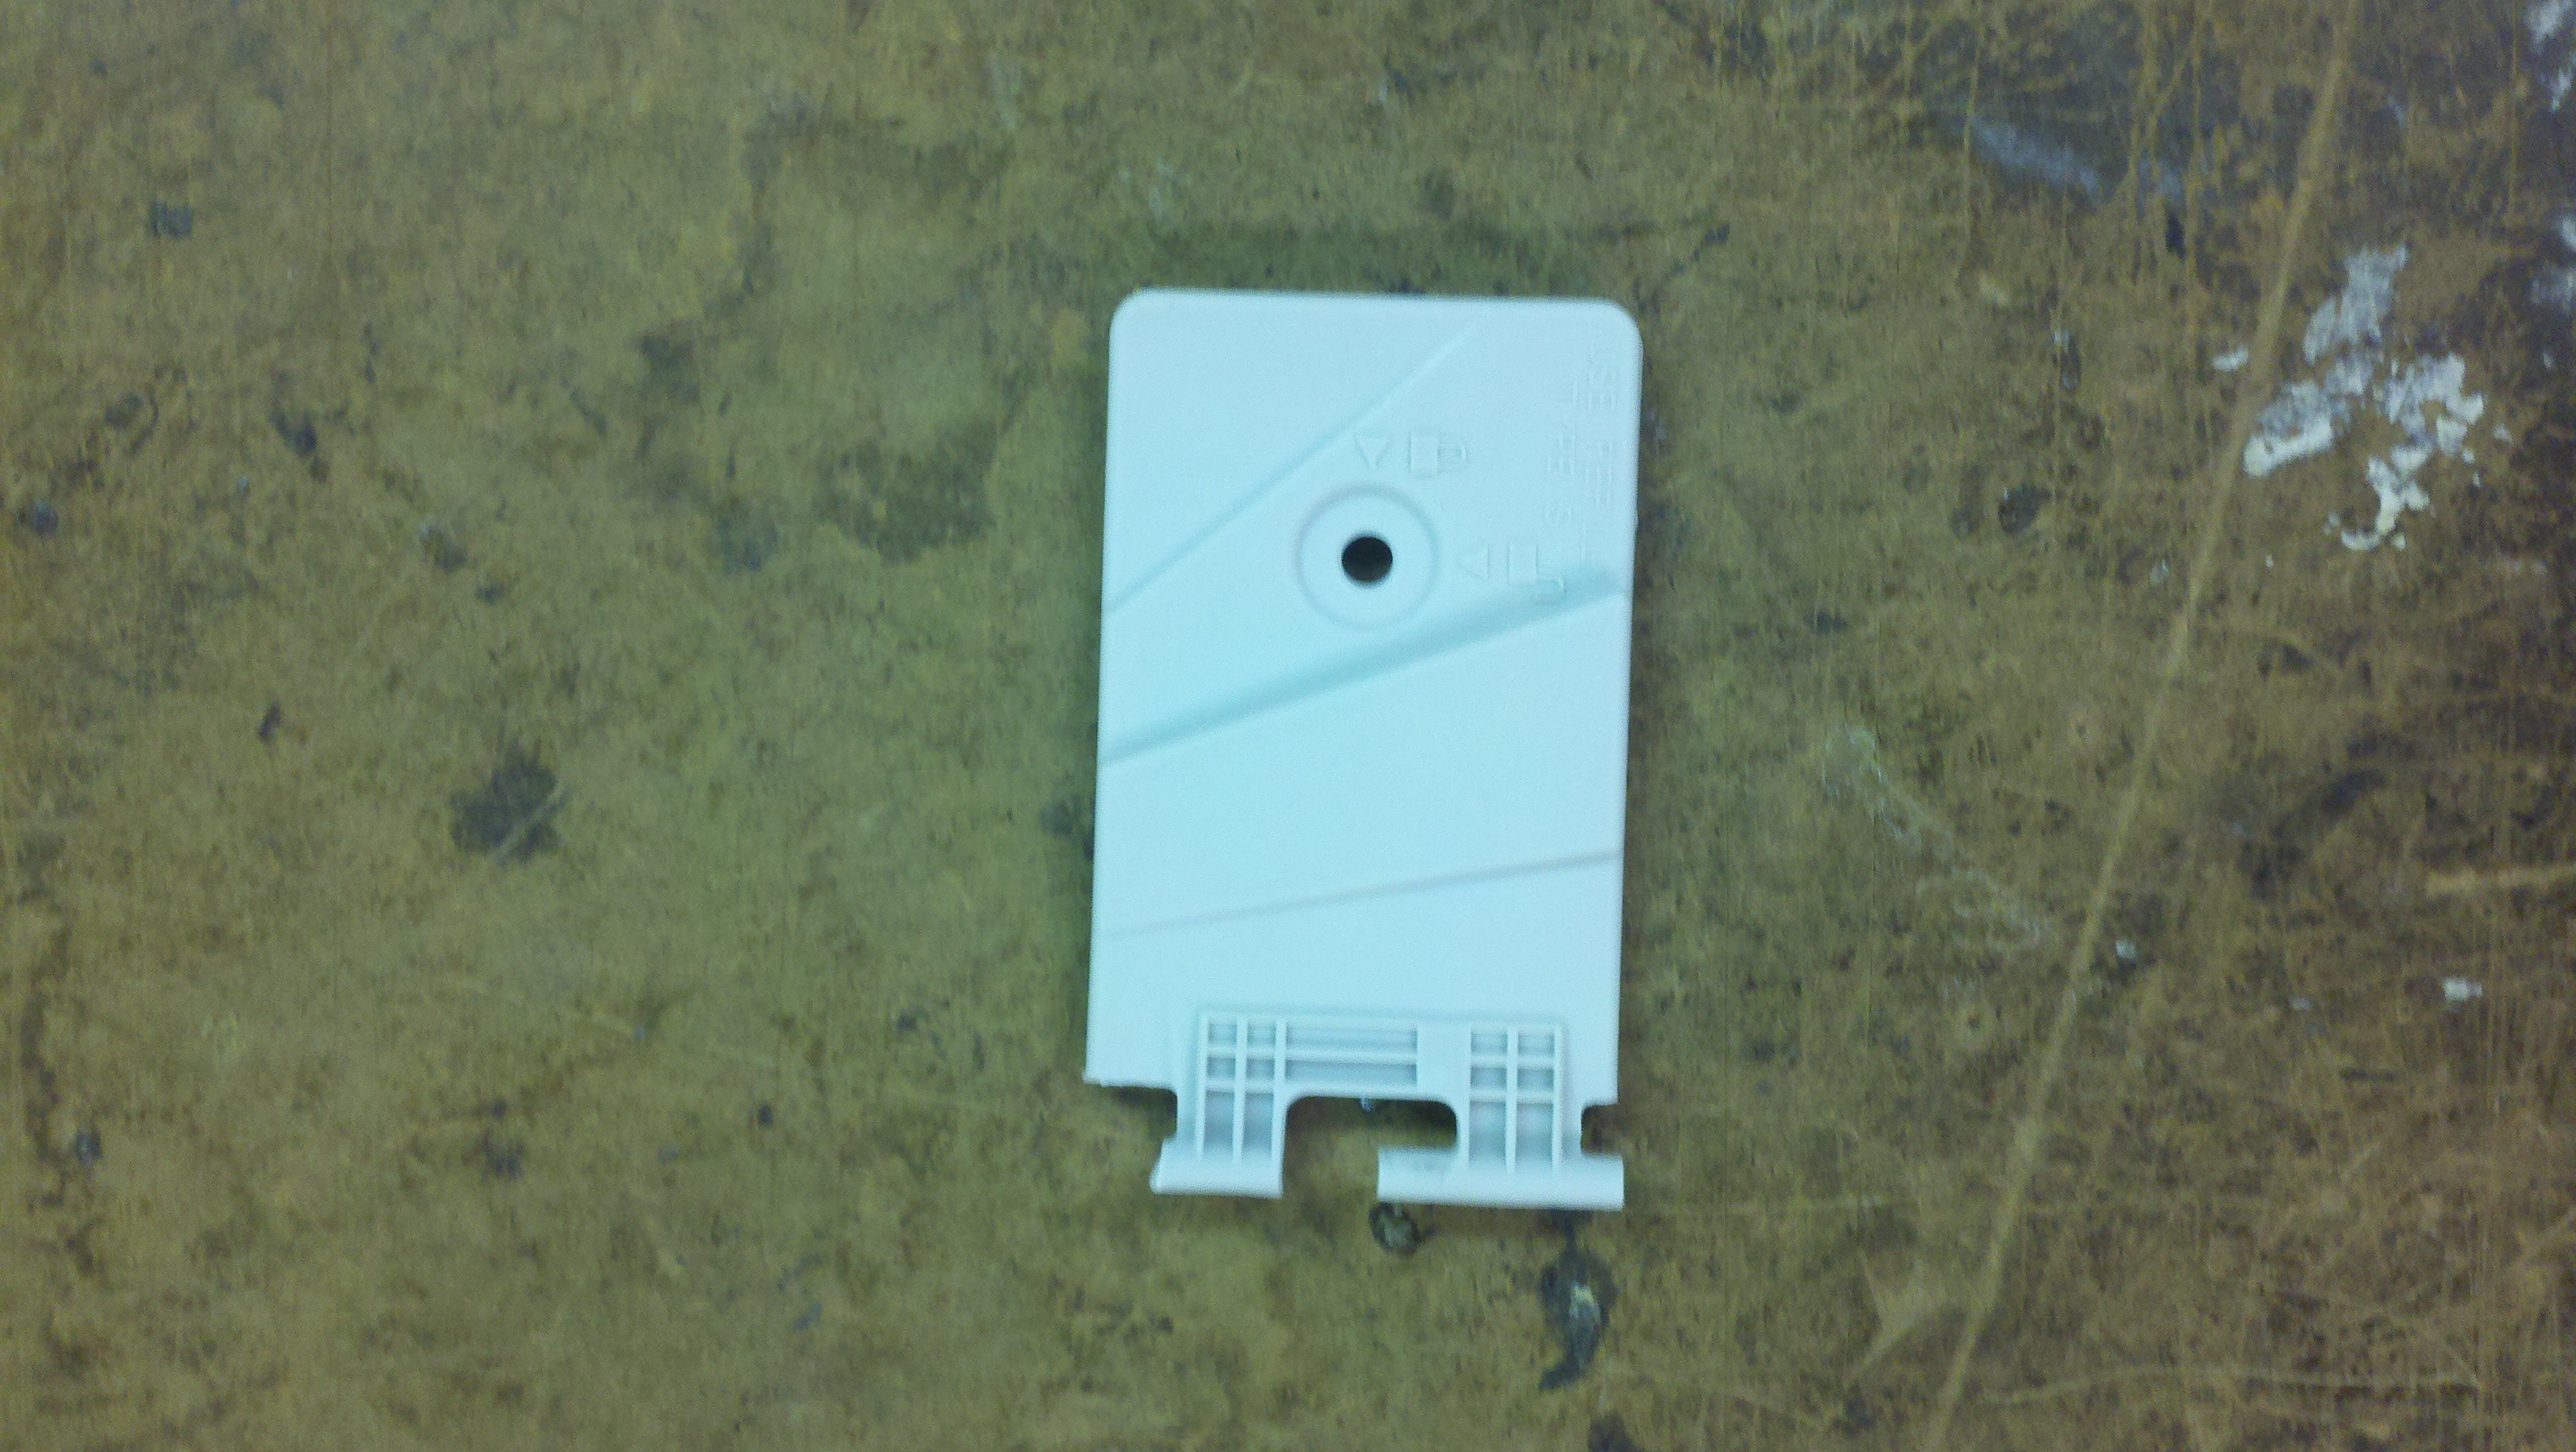
| Folding Sponge Plate
| 2
| Folds towards opposite plate to squeeze excess water out of sponge
| Plastic
| Injection Molded
| 23
| 
|
|
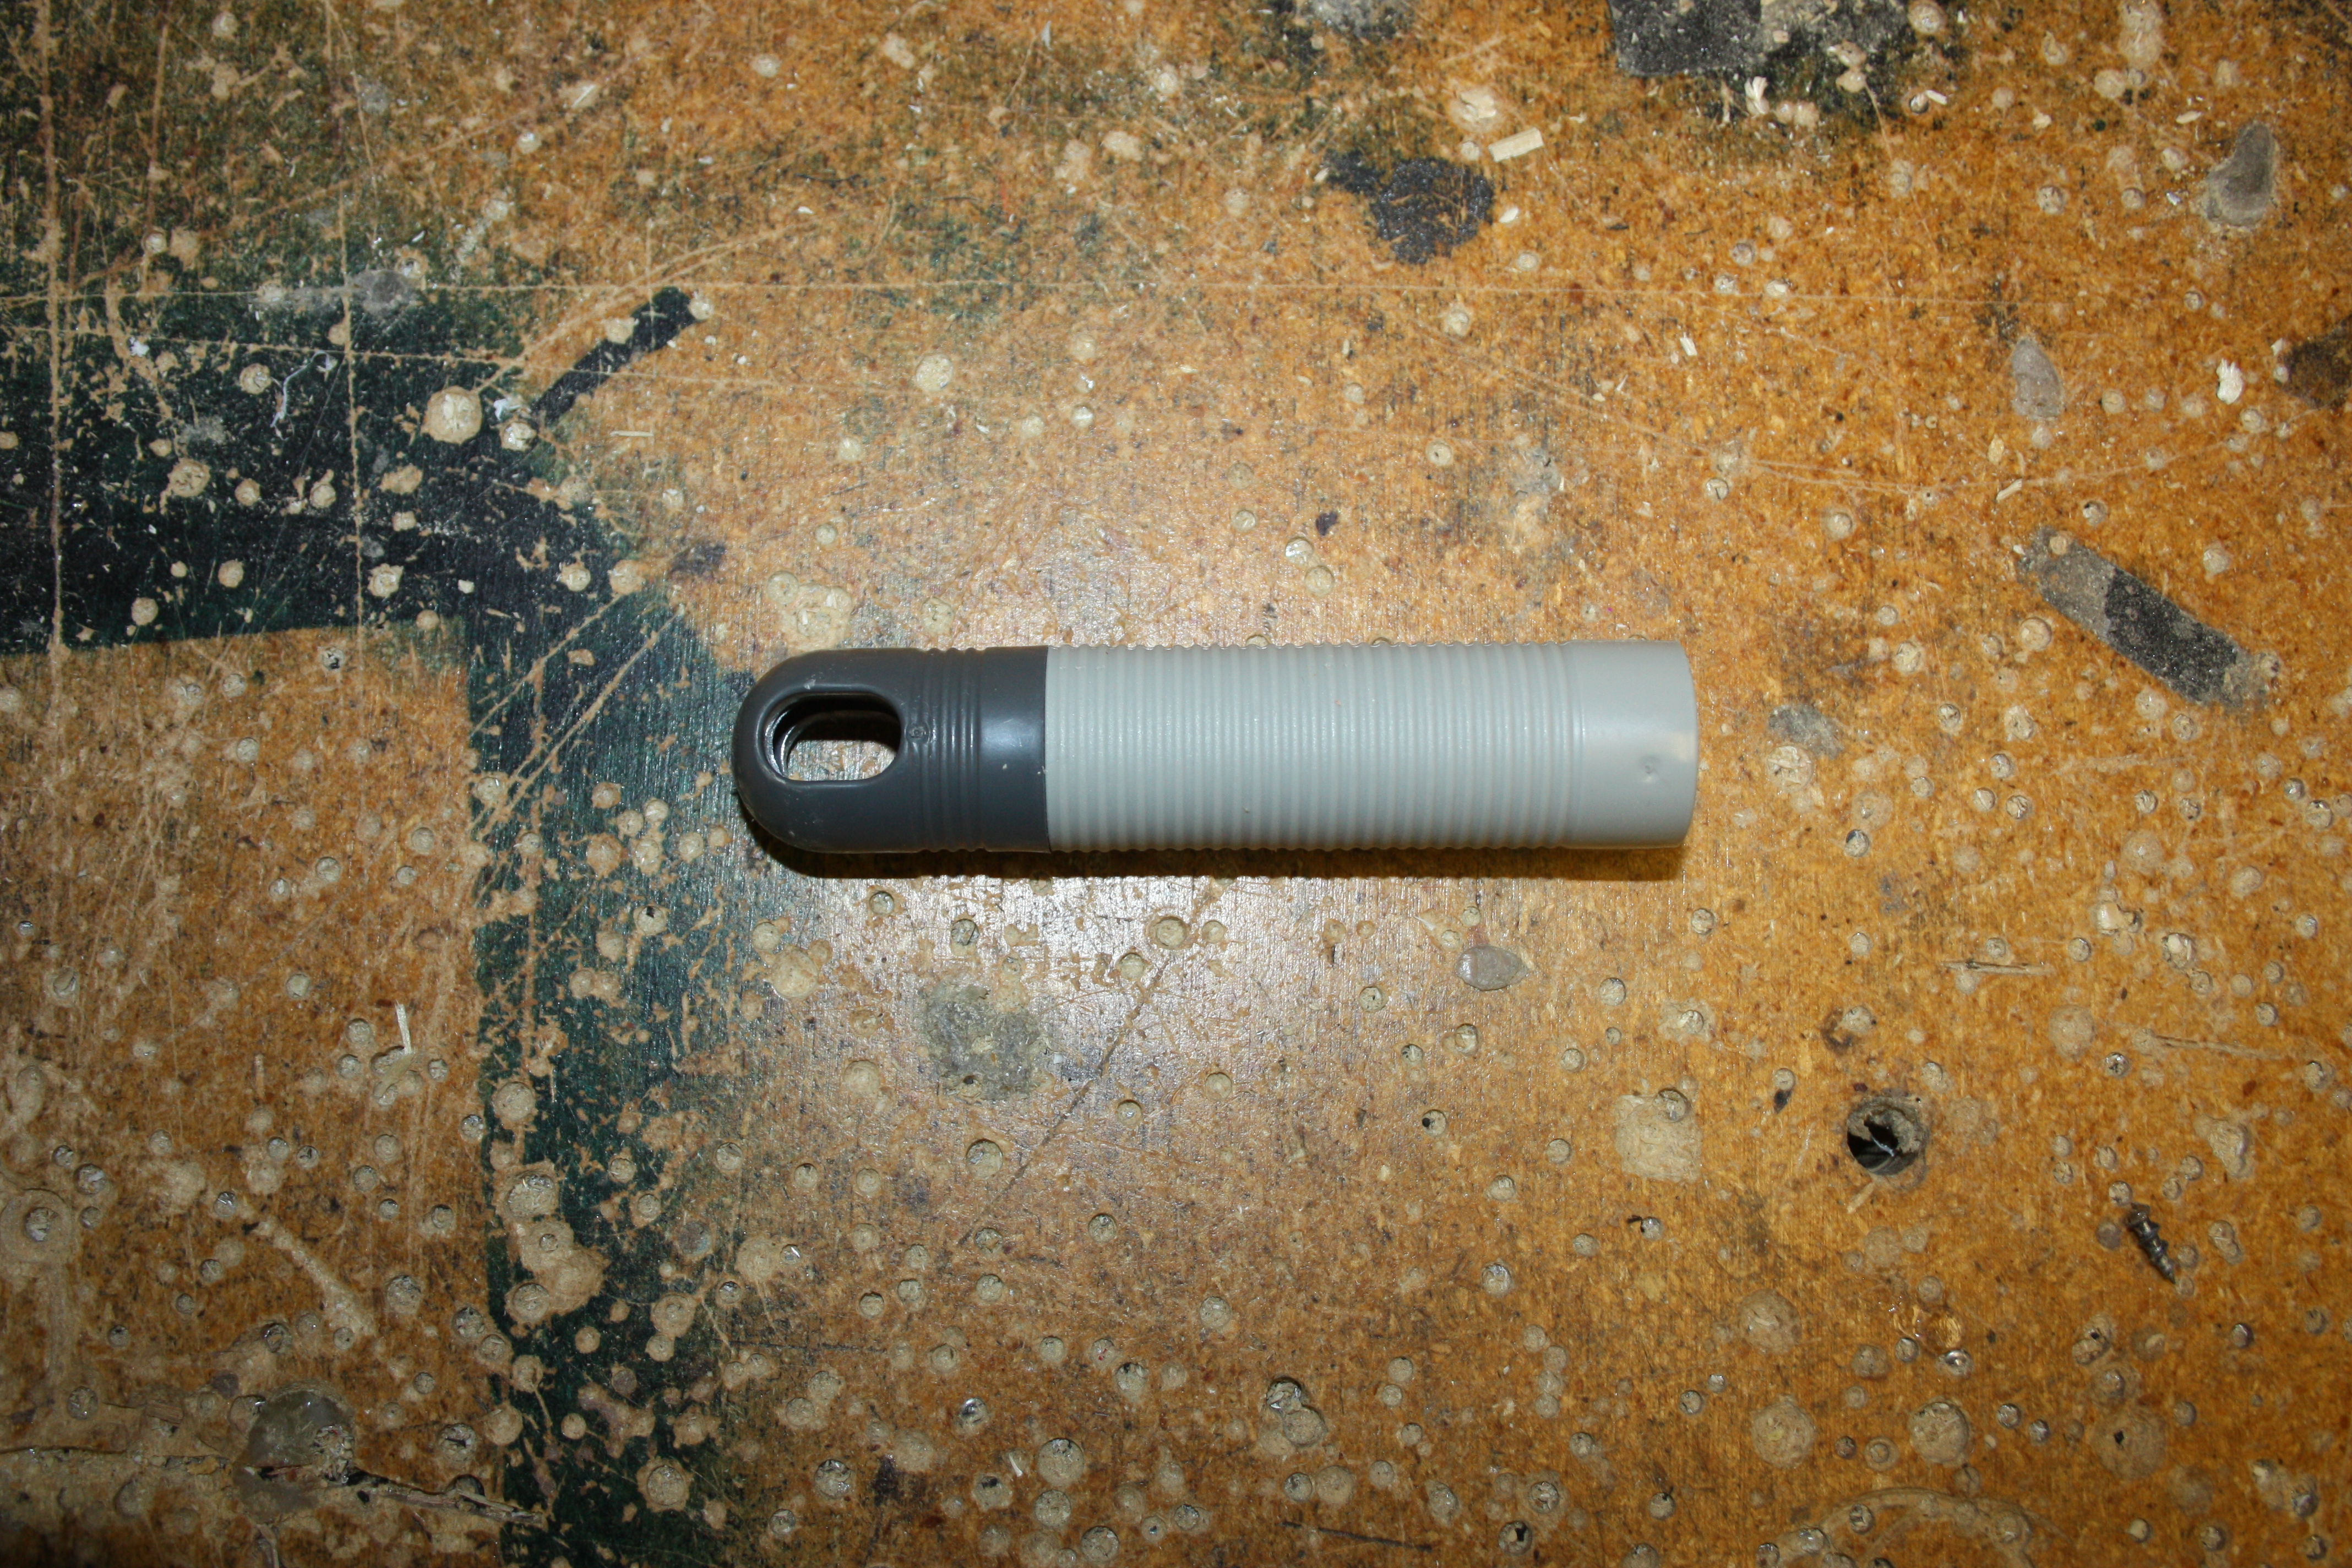
| Mop End Cover
| 1
| Allows for the mop to be hung on a hook/nail, provides aesthetic design
| Plastic
| Injection Molded
| 18
| 
|
|
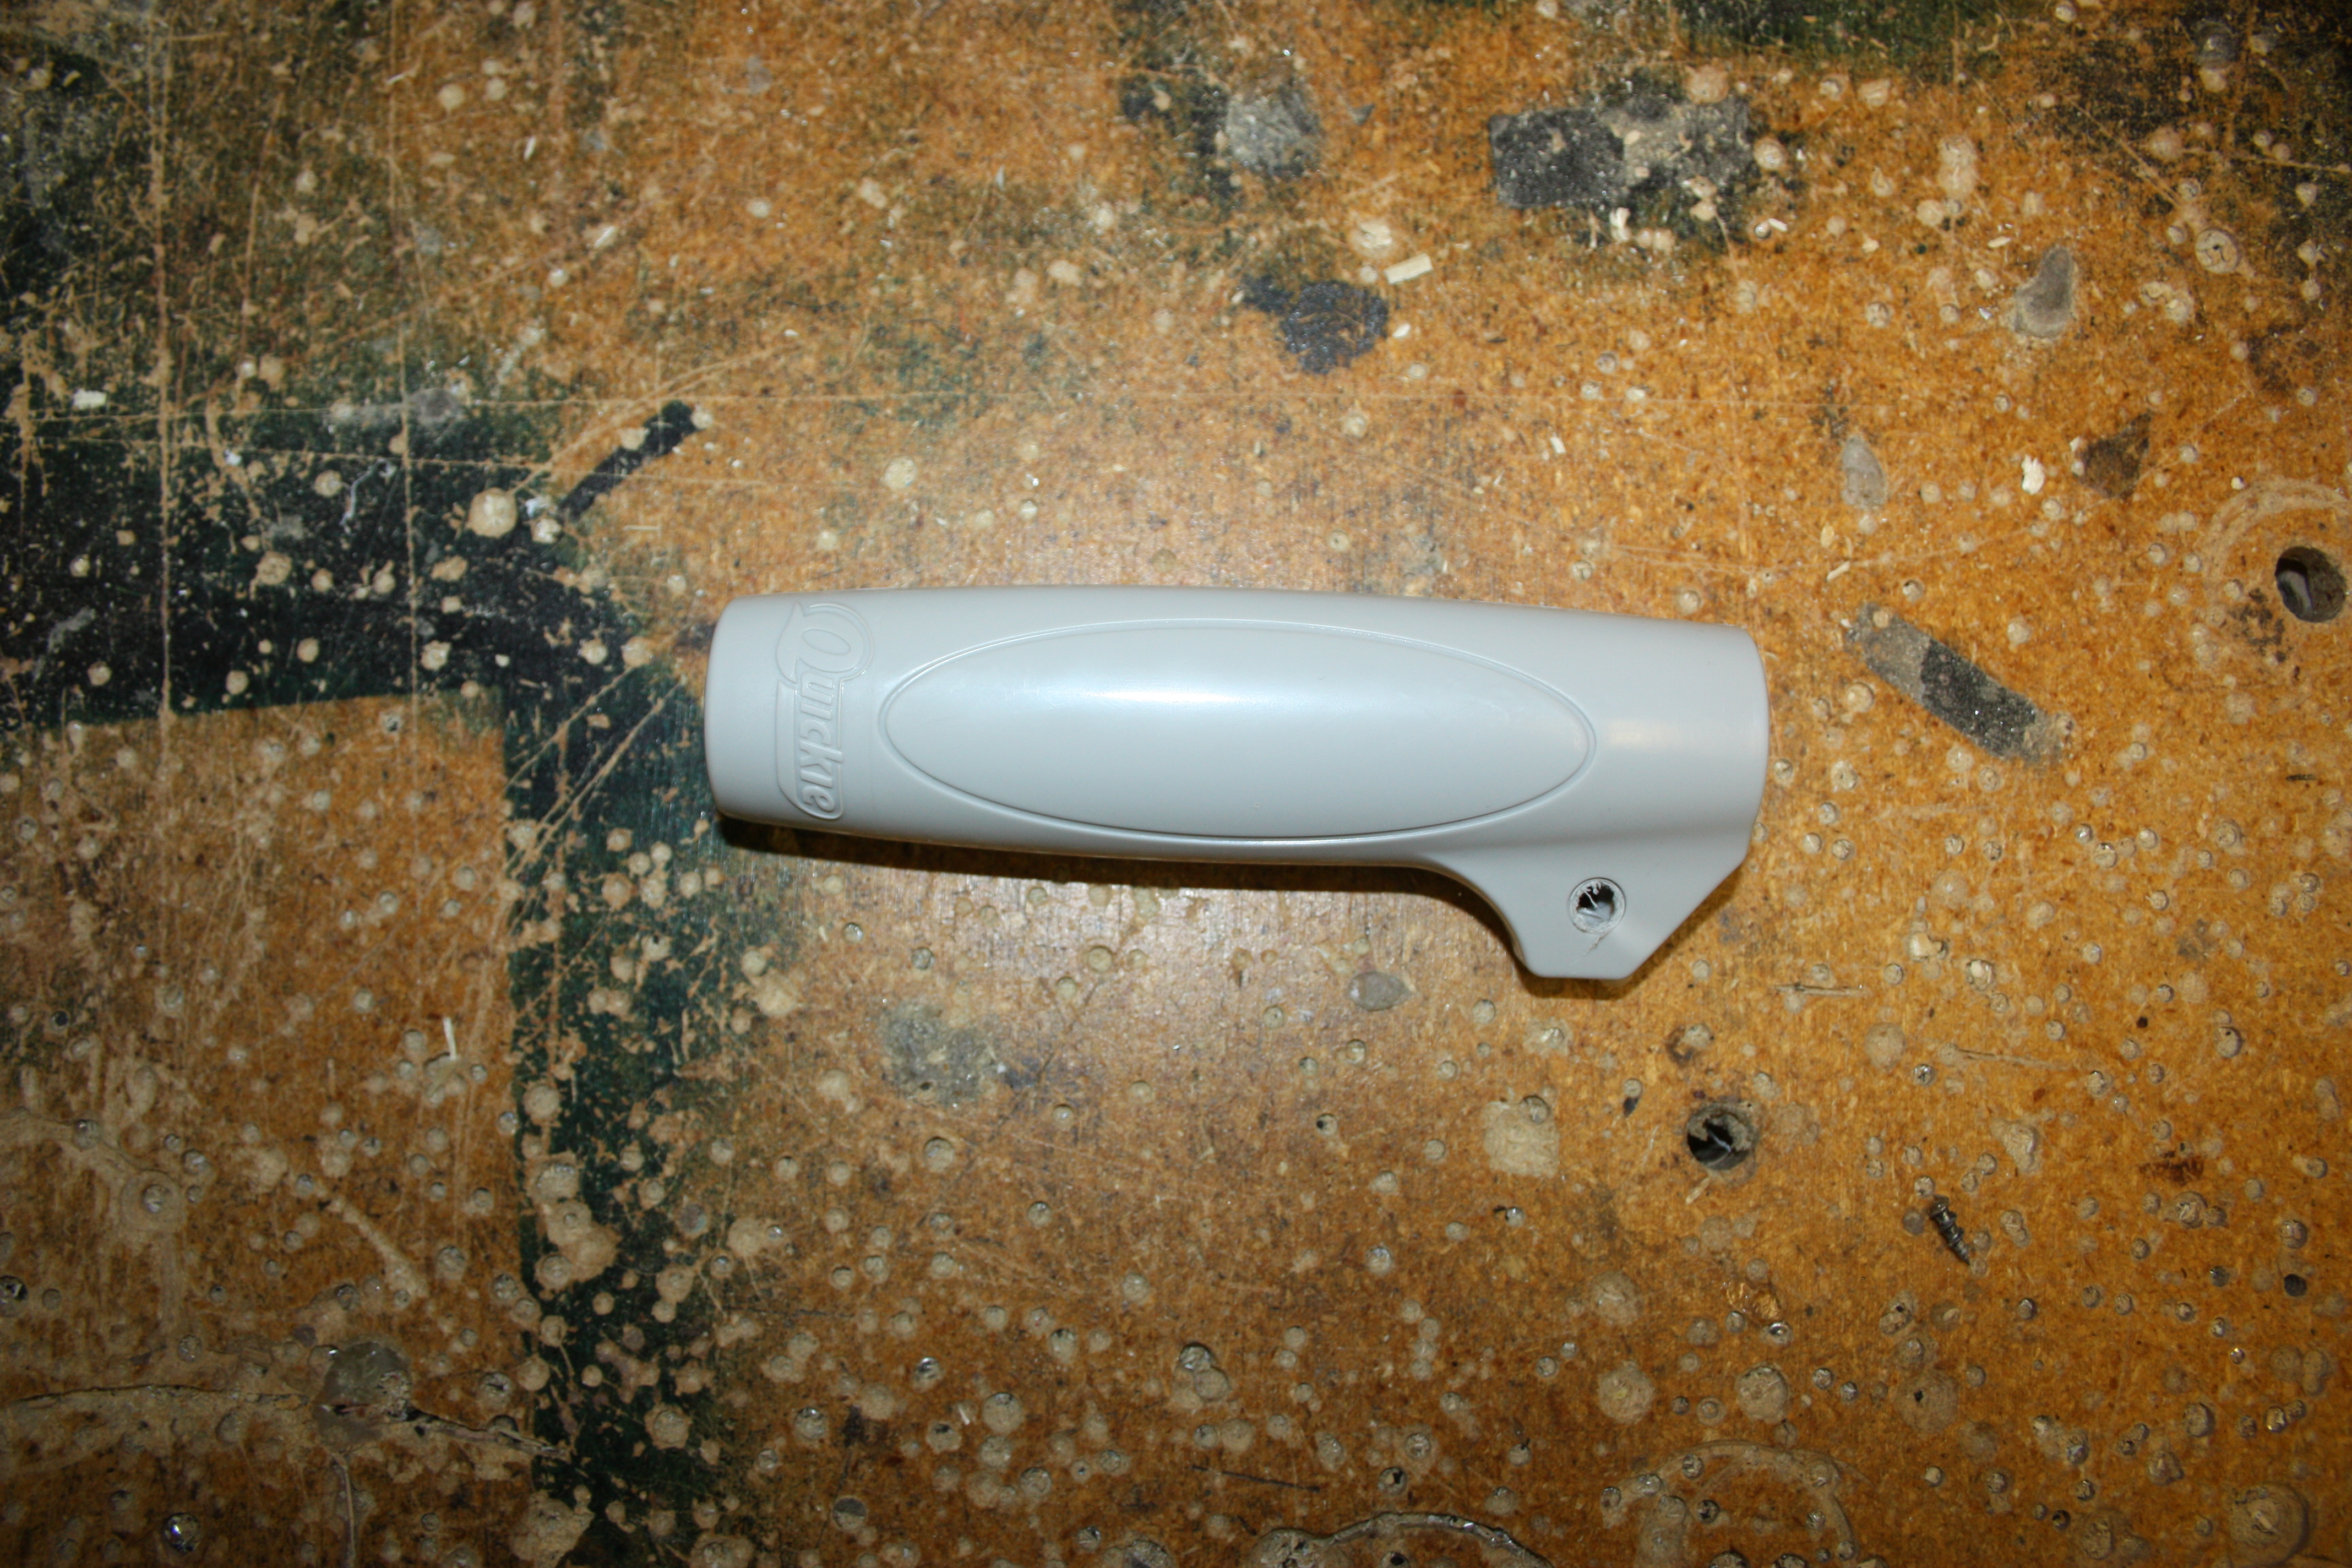
| Plate Folding Handle
| 1
| Slides along mop rod to fold bottom plates together and squeeze out excess water
| Plastic
| Injection Molded
| 38
| 
|
|
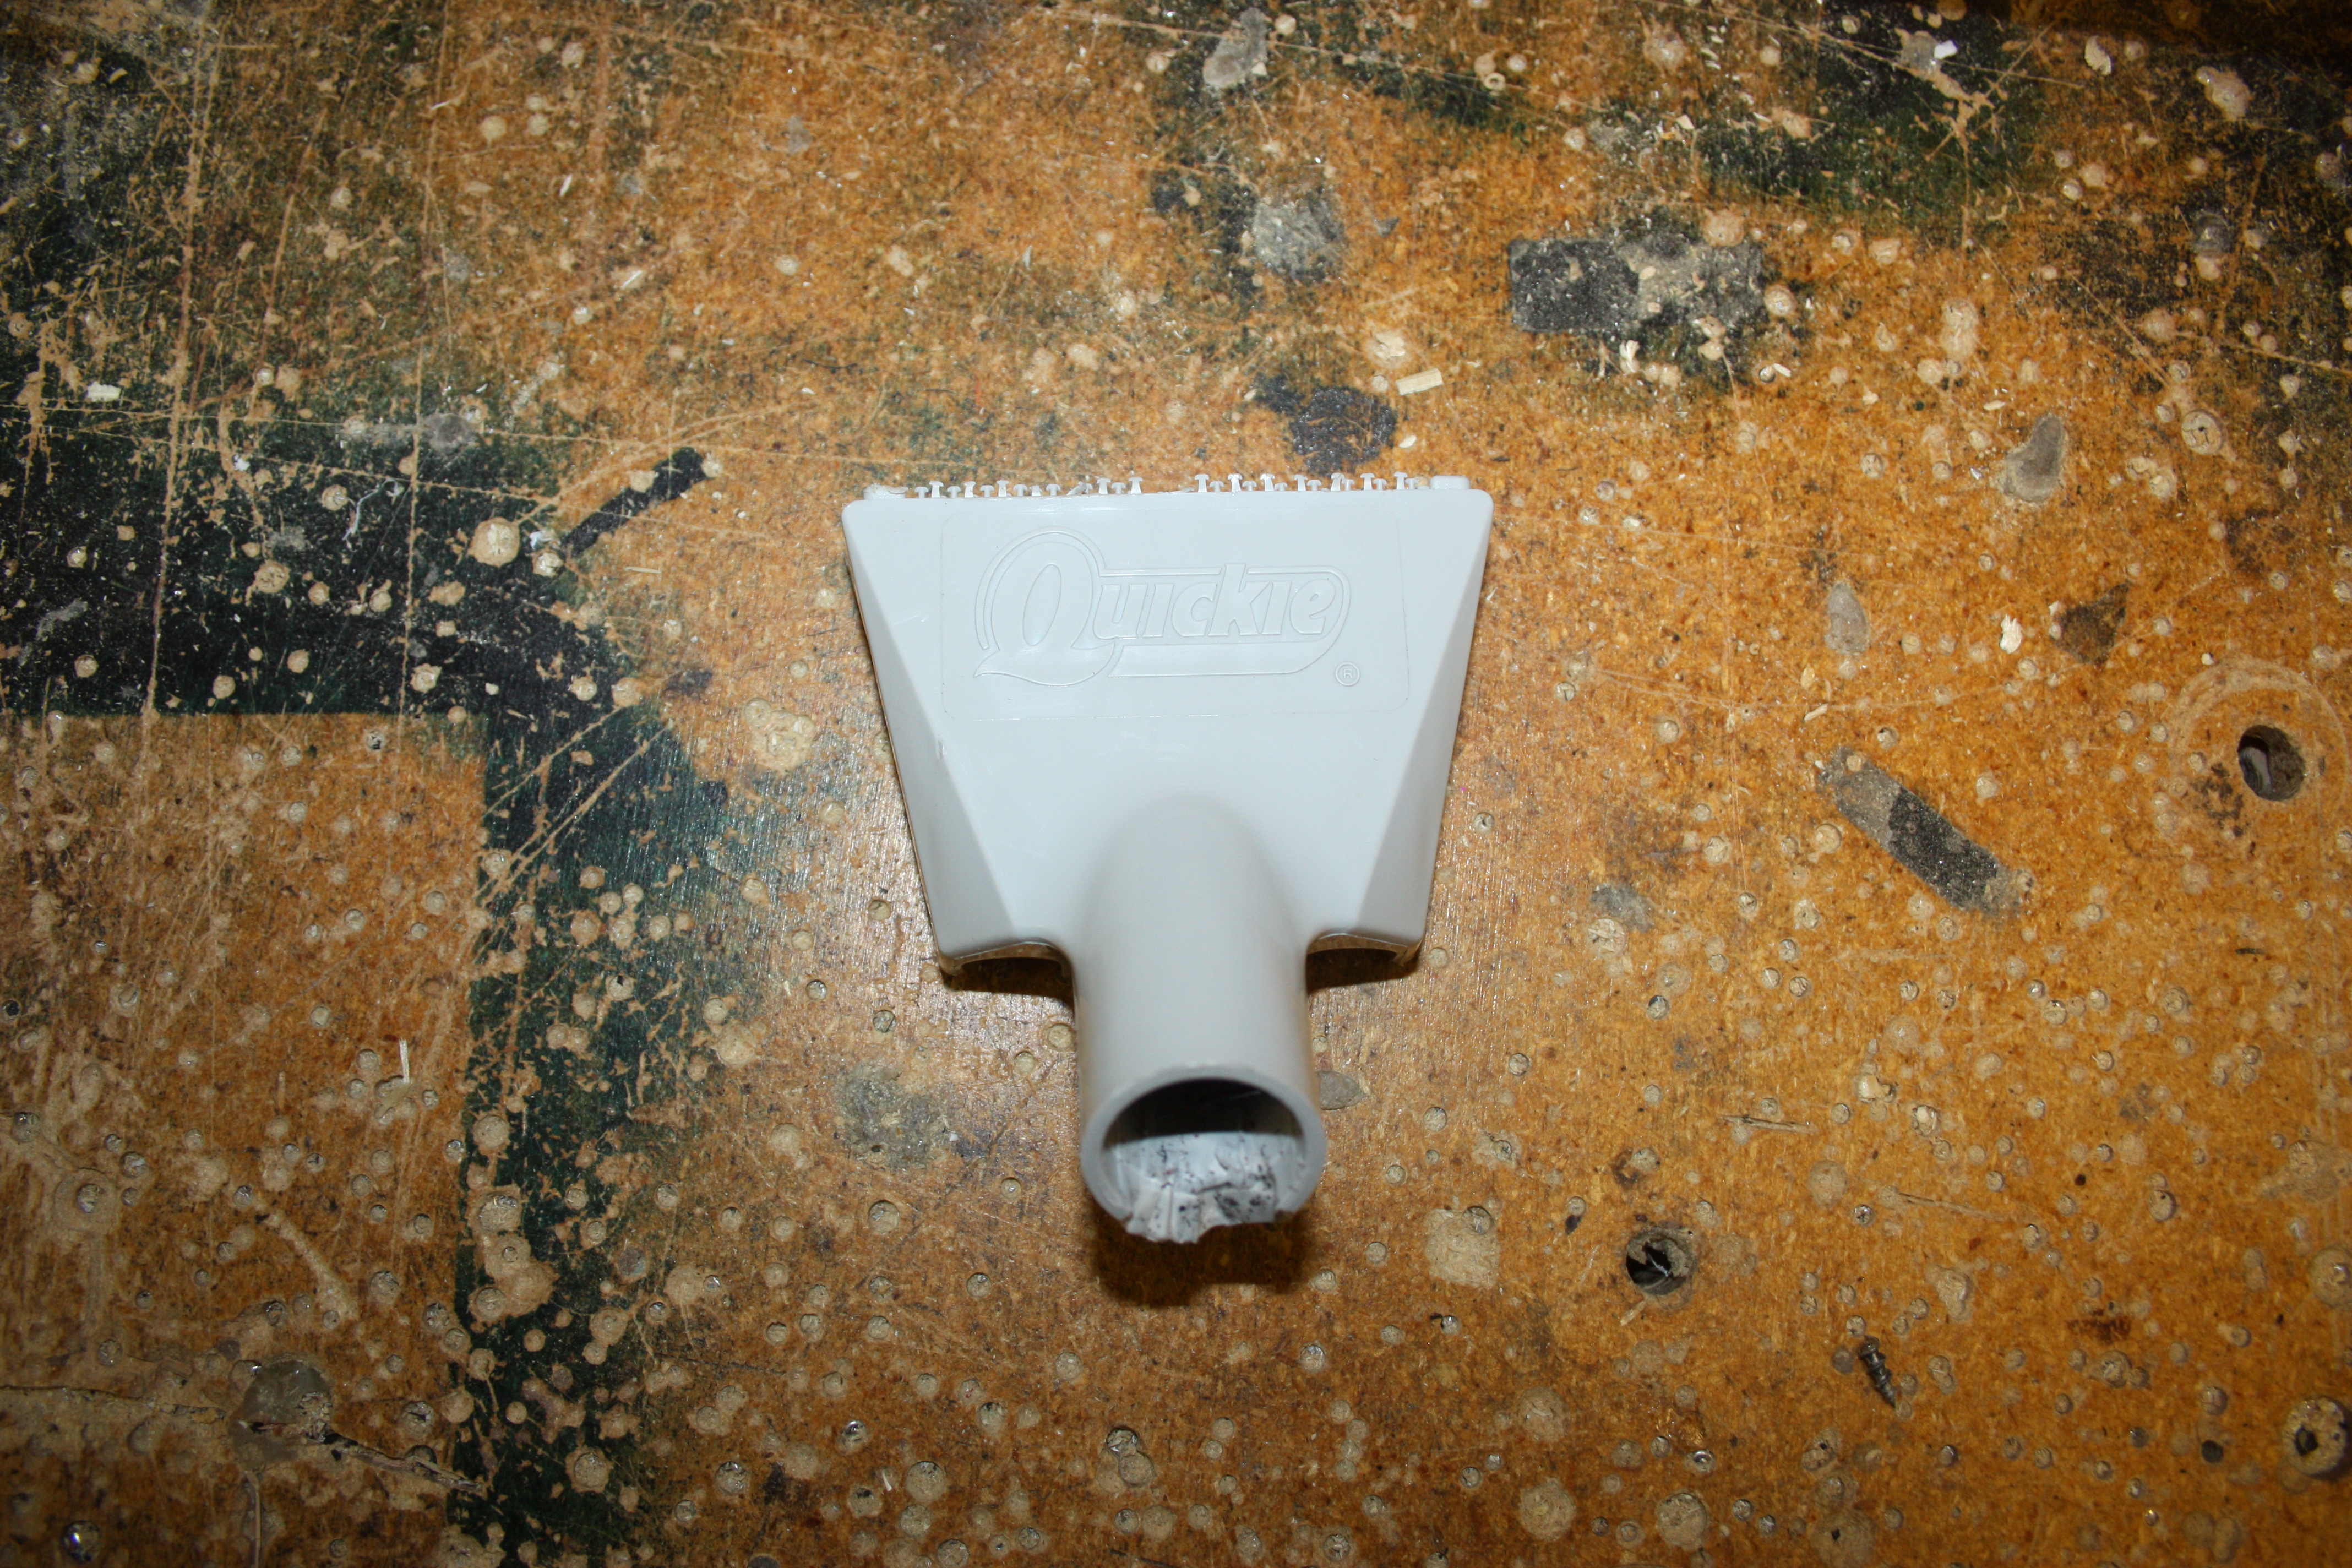
| Sponge Mount
| 1
| Attaches sponge to mop rod
| Plastic
| Injection Molded
| 47
| 
|
|
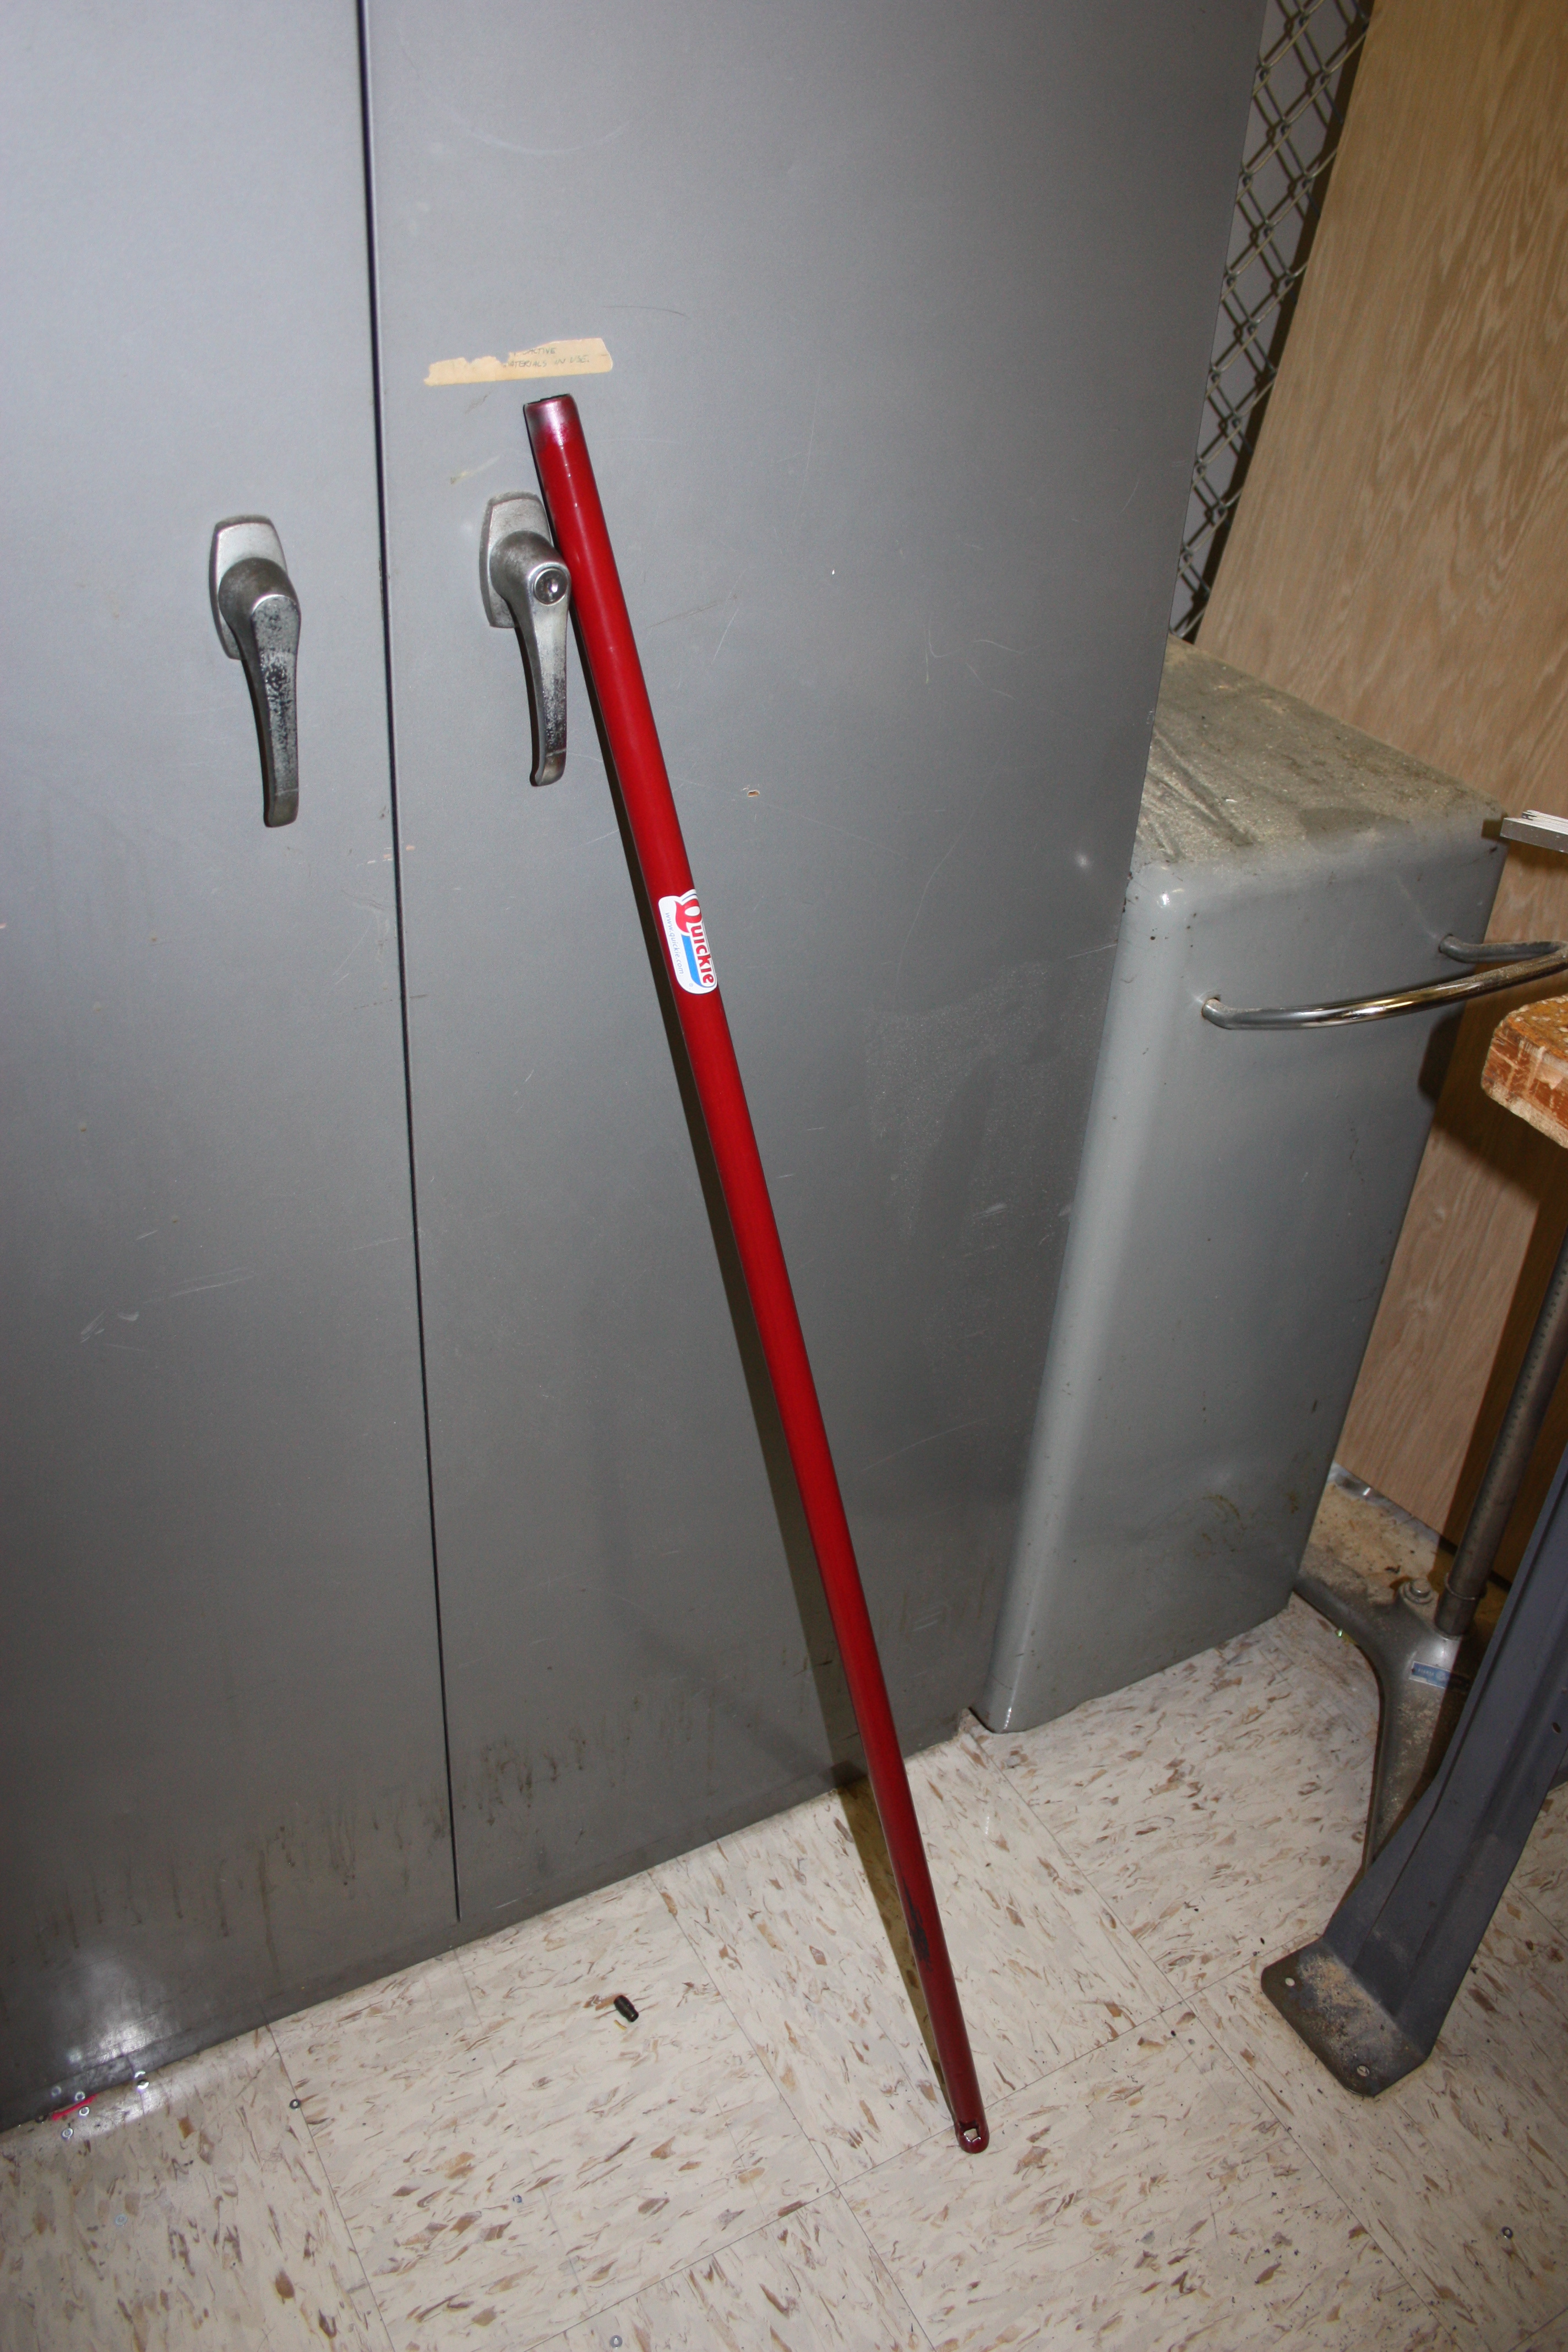
| Mop Rod
| 1
| Controls movement of the mop head
| Aluminum
| Extruded, cut
| 186
| 
|
|
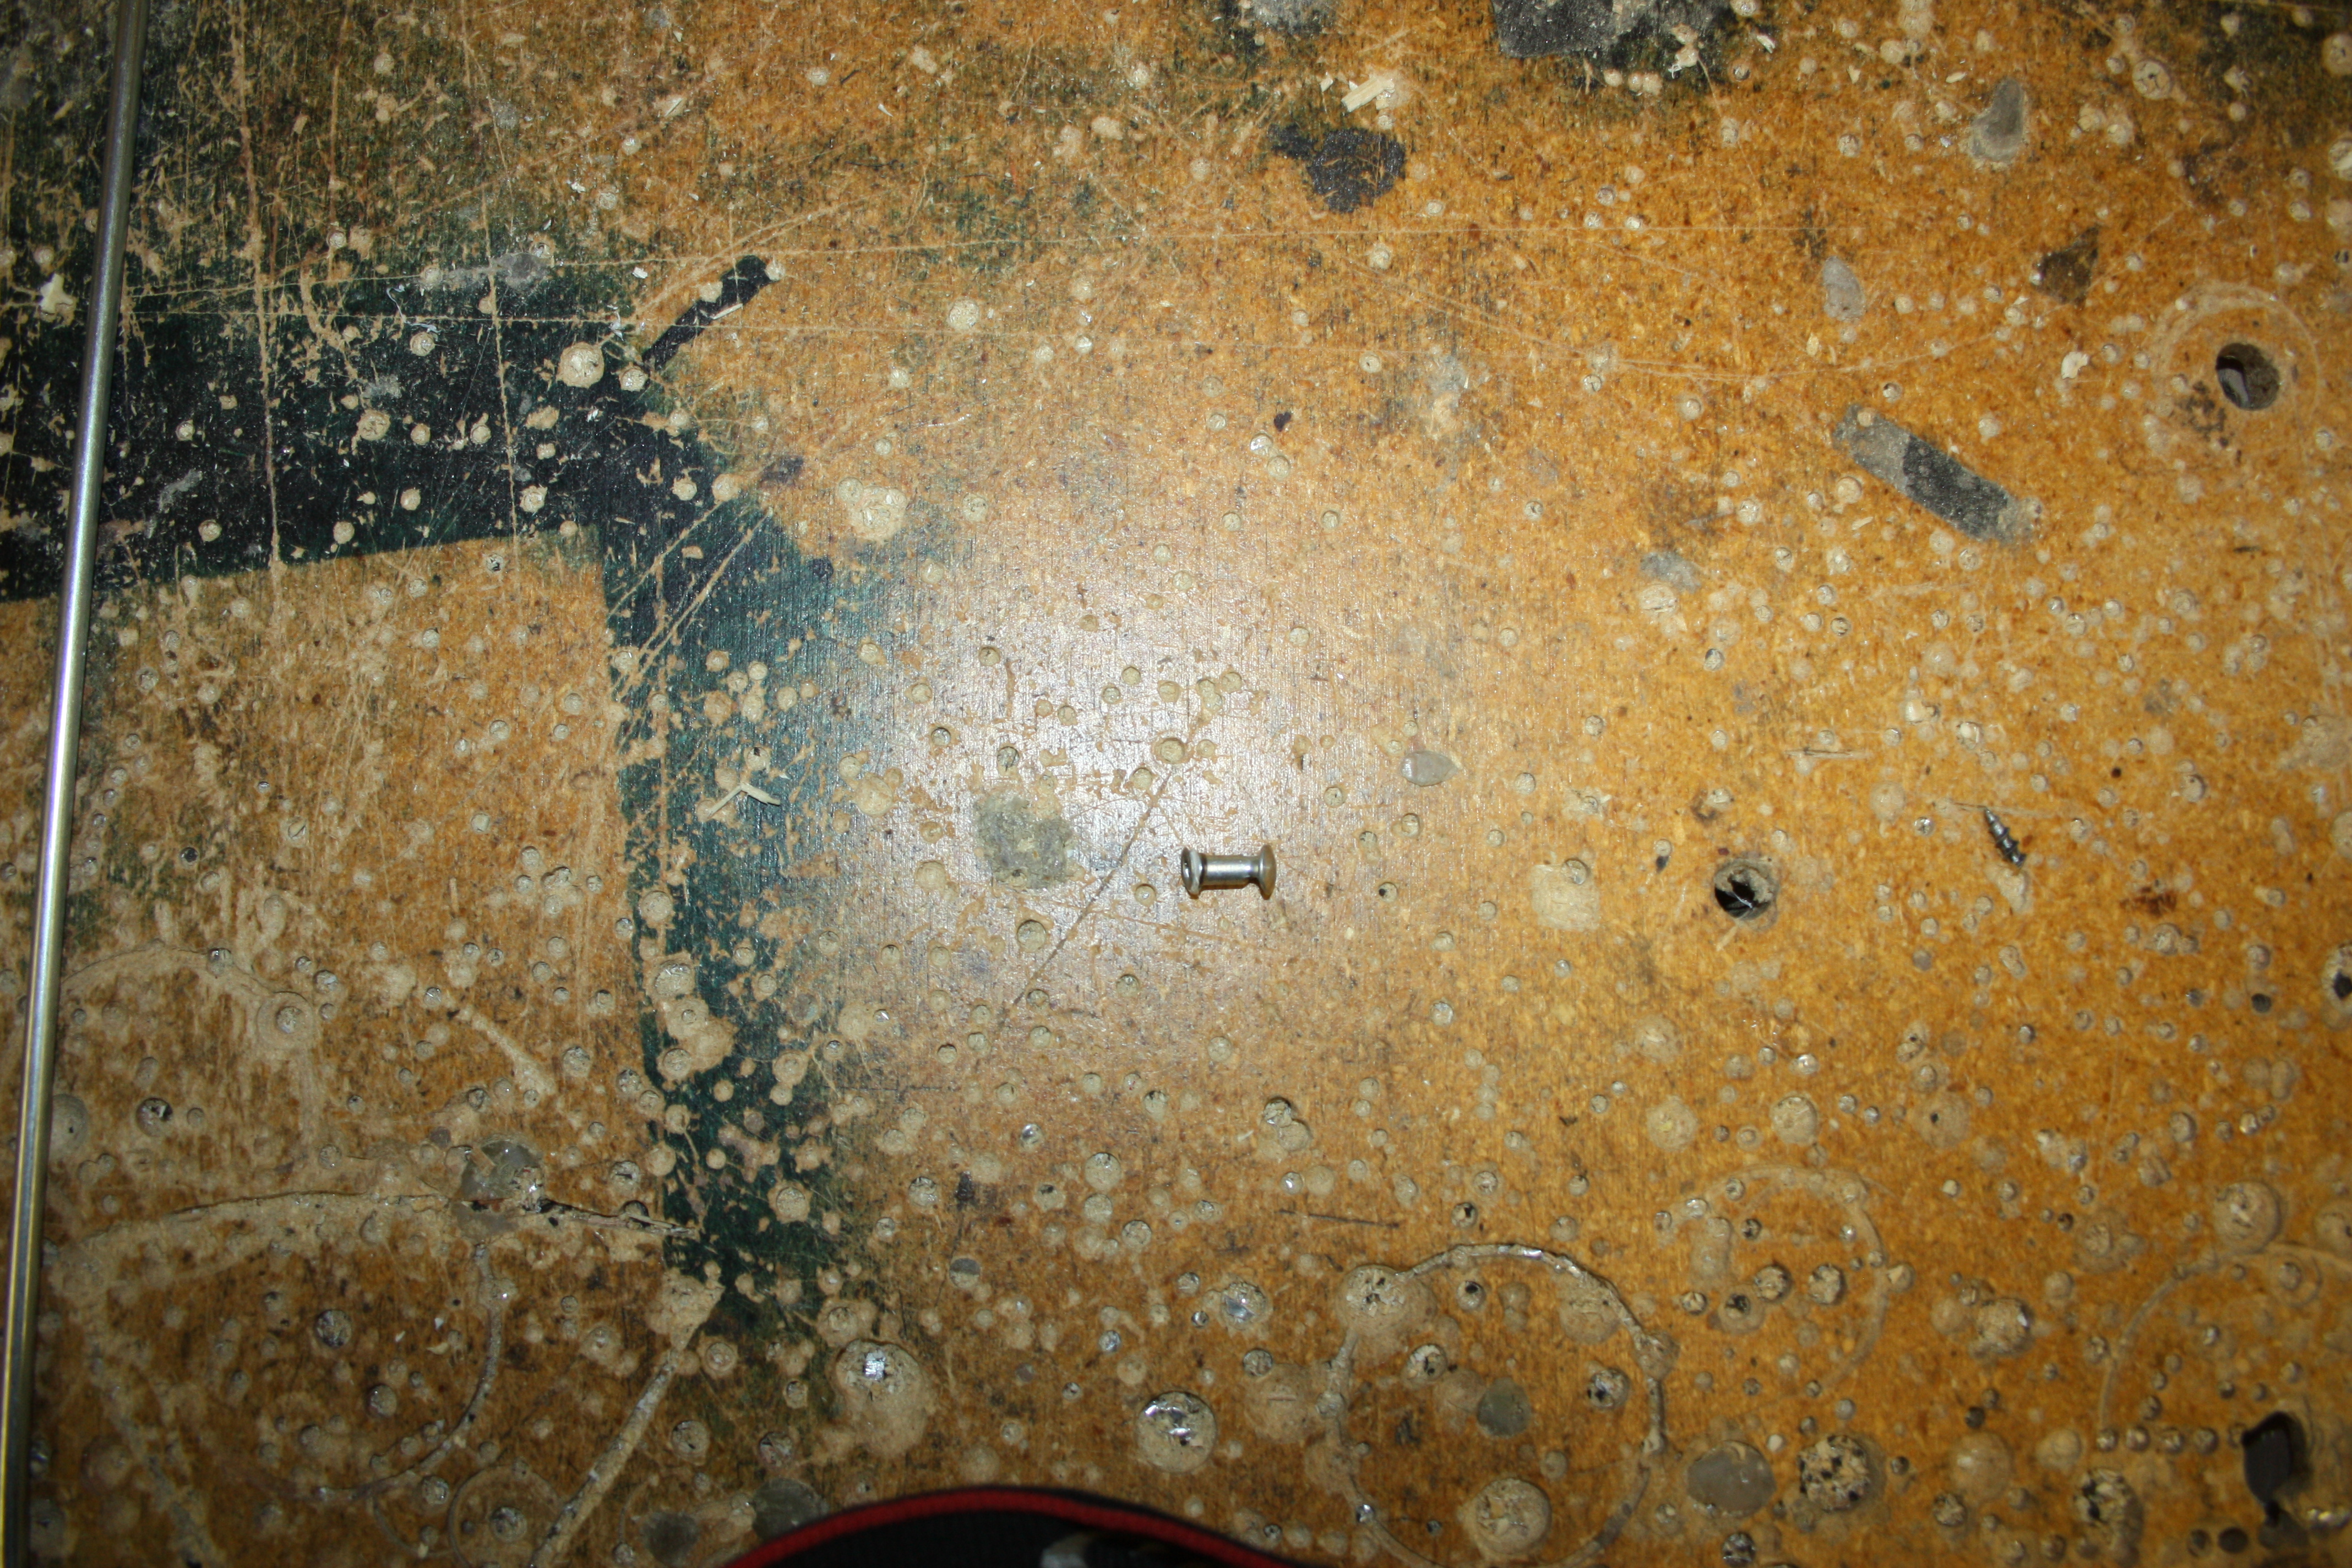
| Folding Handle Pin
| 1
| Secures handle to the folding rod
| Aluminum
| Purchased
| <1
| 
|
|
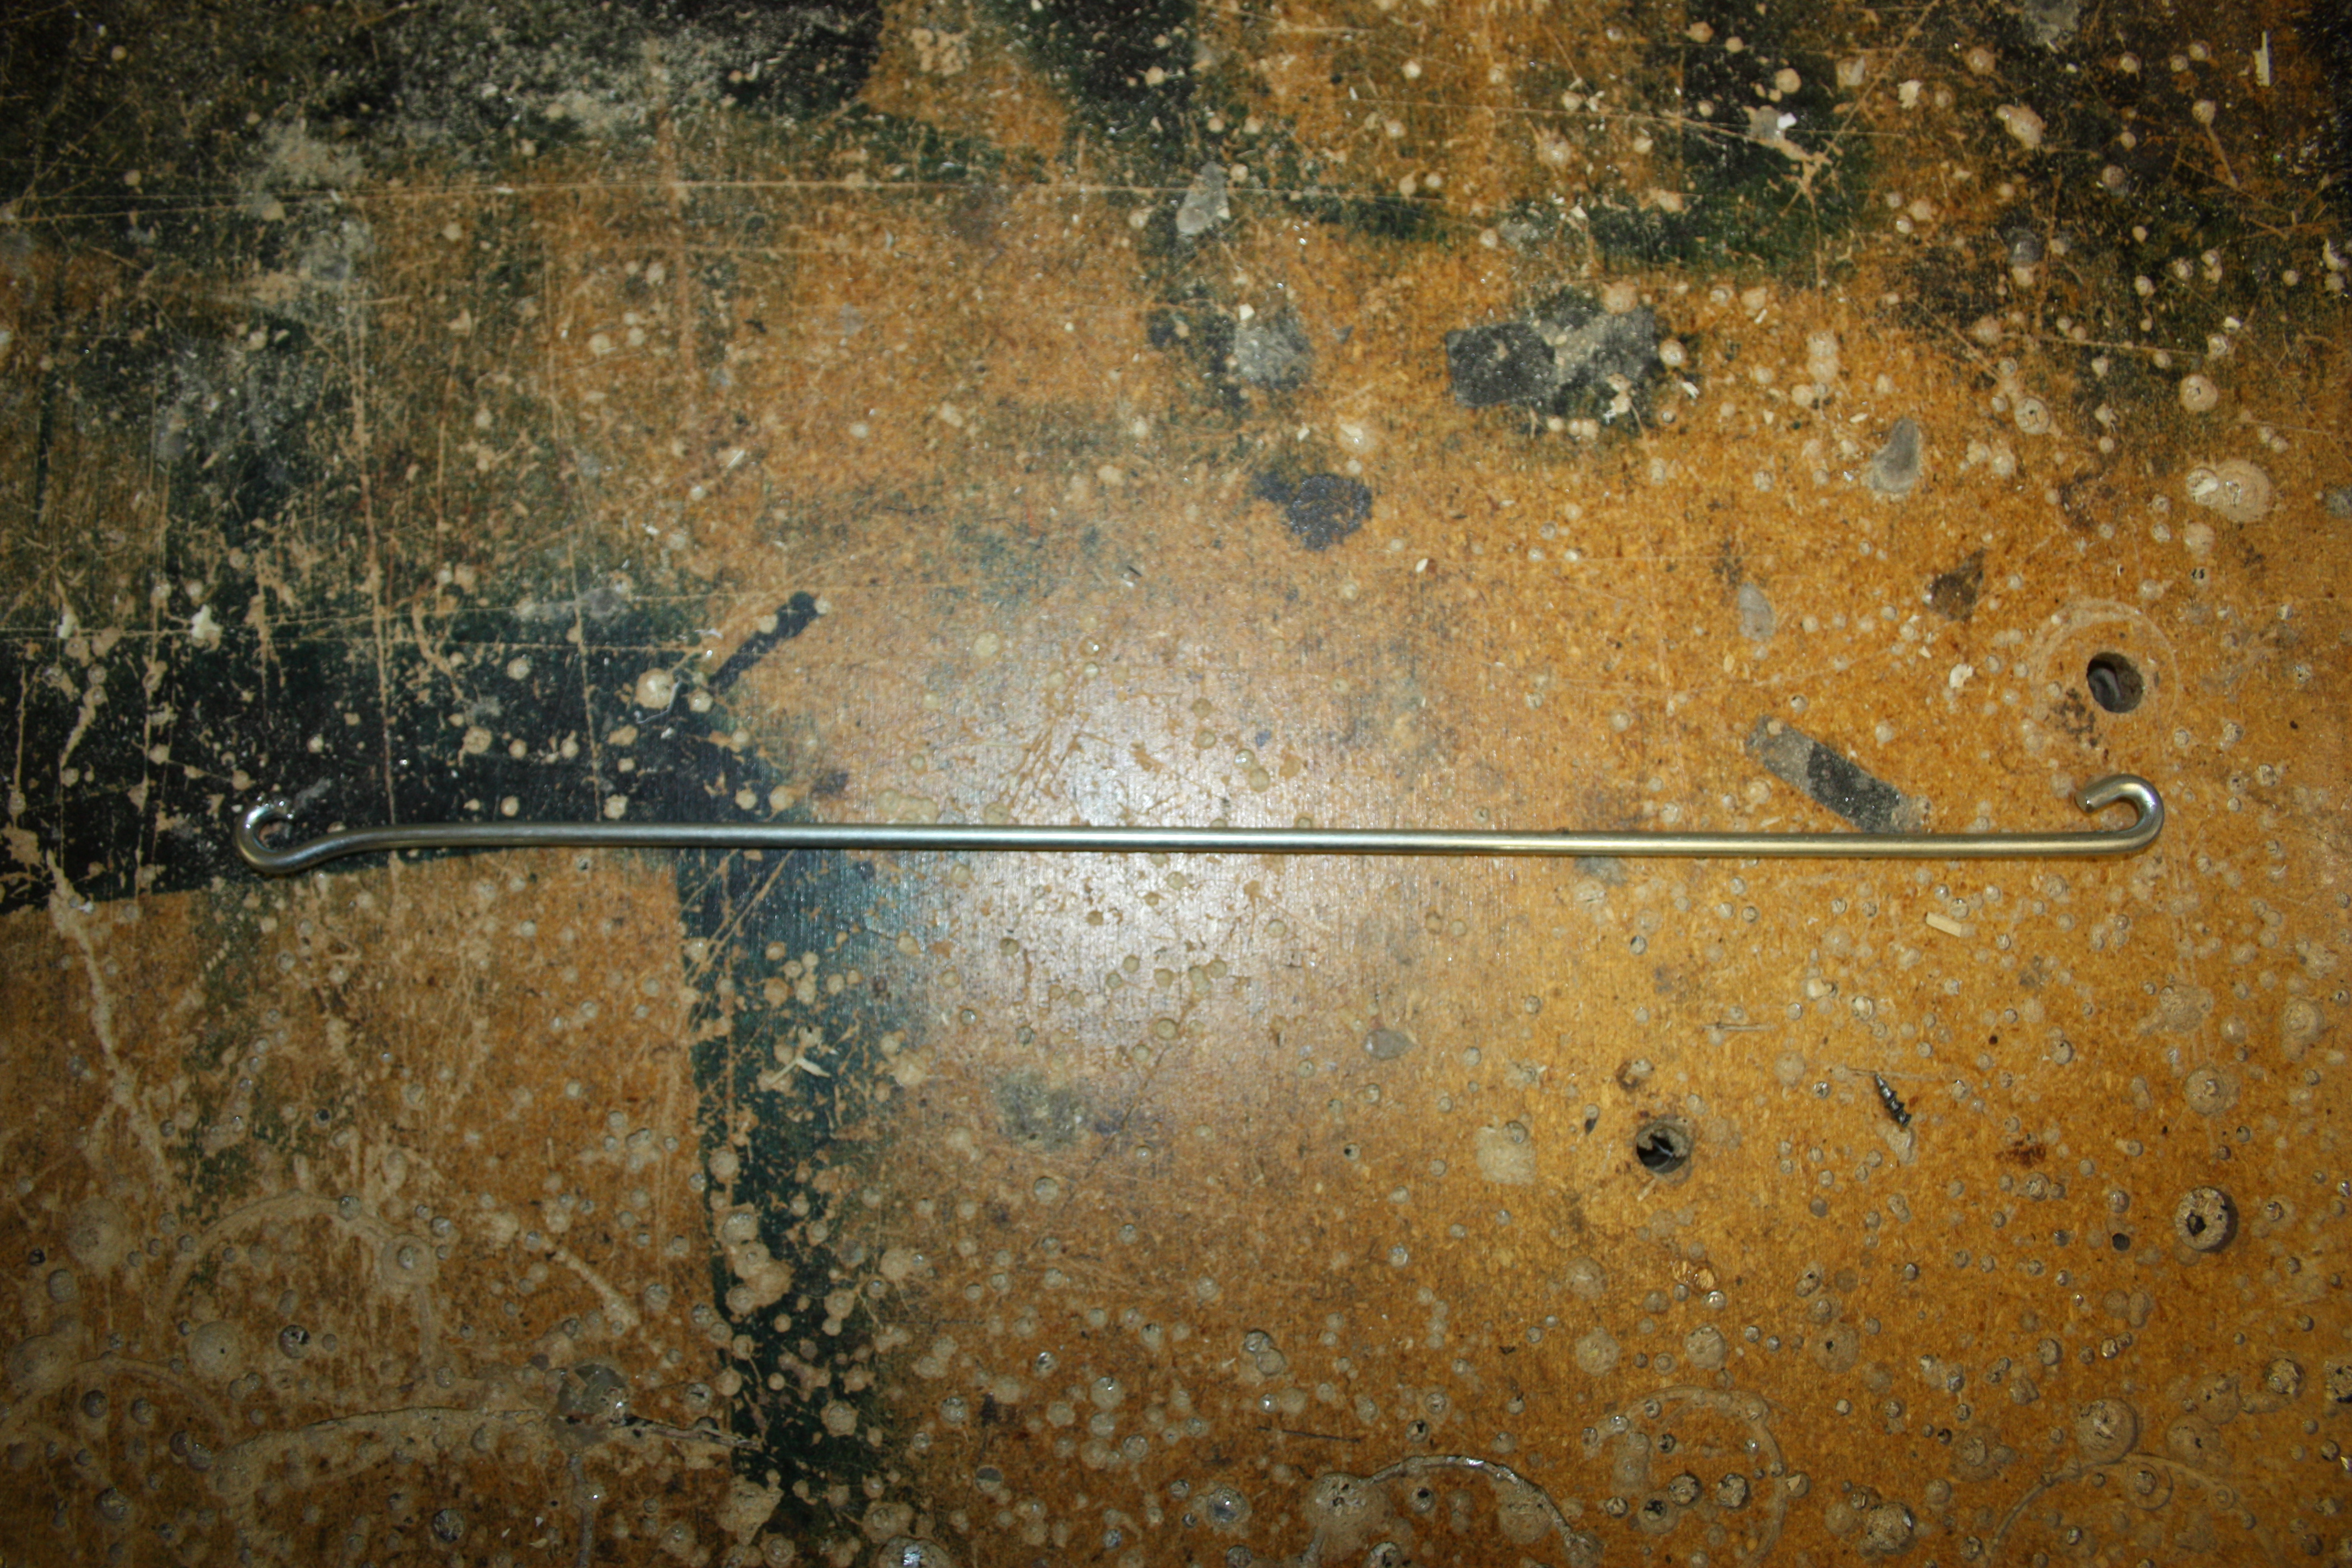
| Folding Rod
| 1
| Translated force from folding handle to folding plate spring and plates
| Aluminum
| Extruded, cut, bent
| 35
| 
|
|
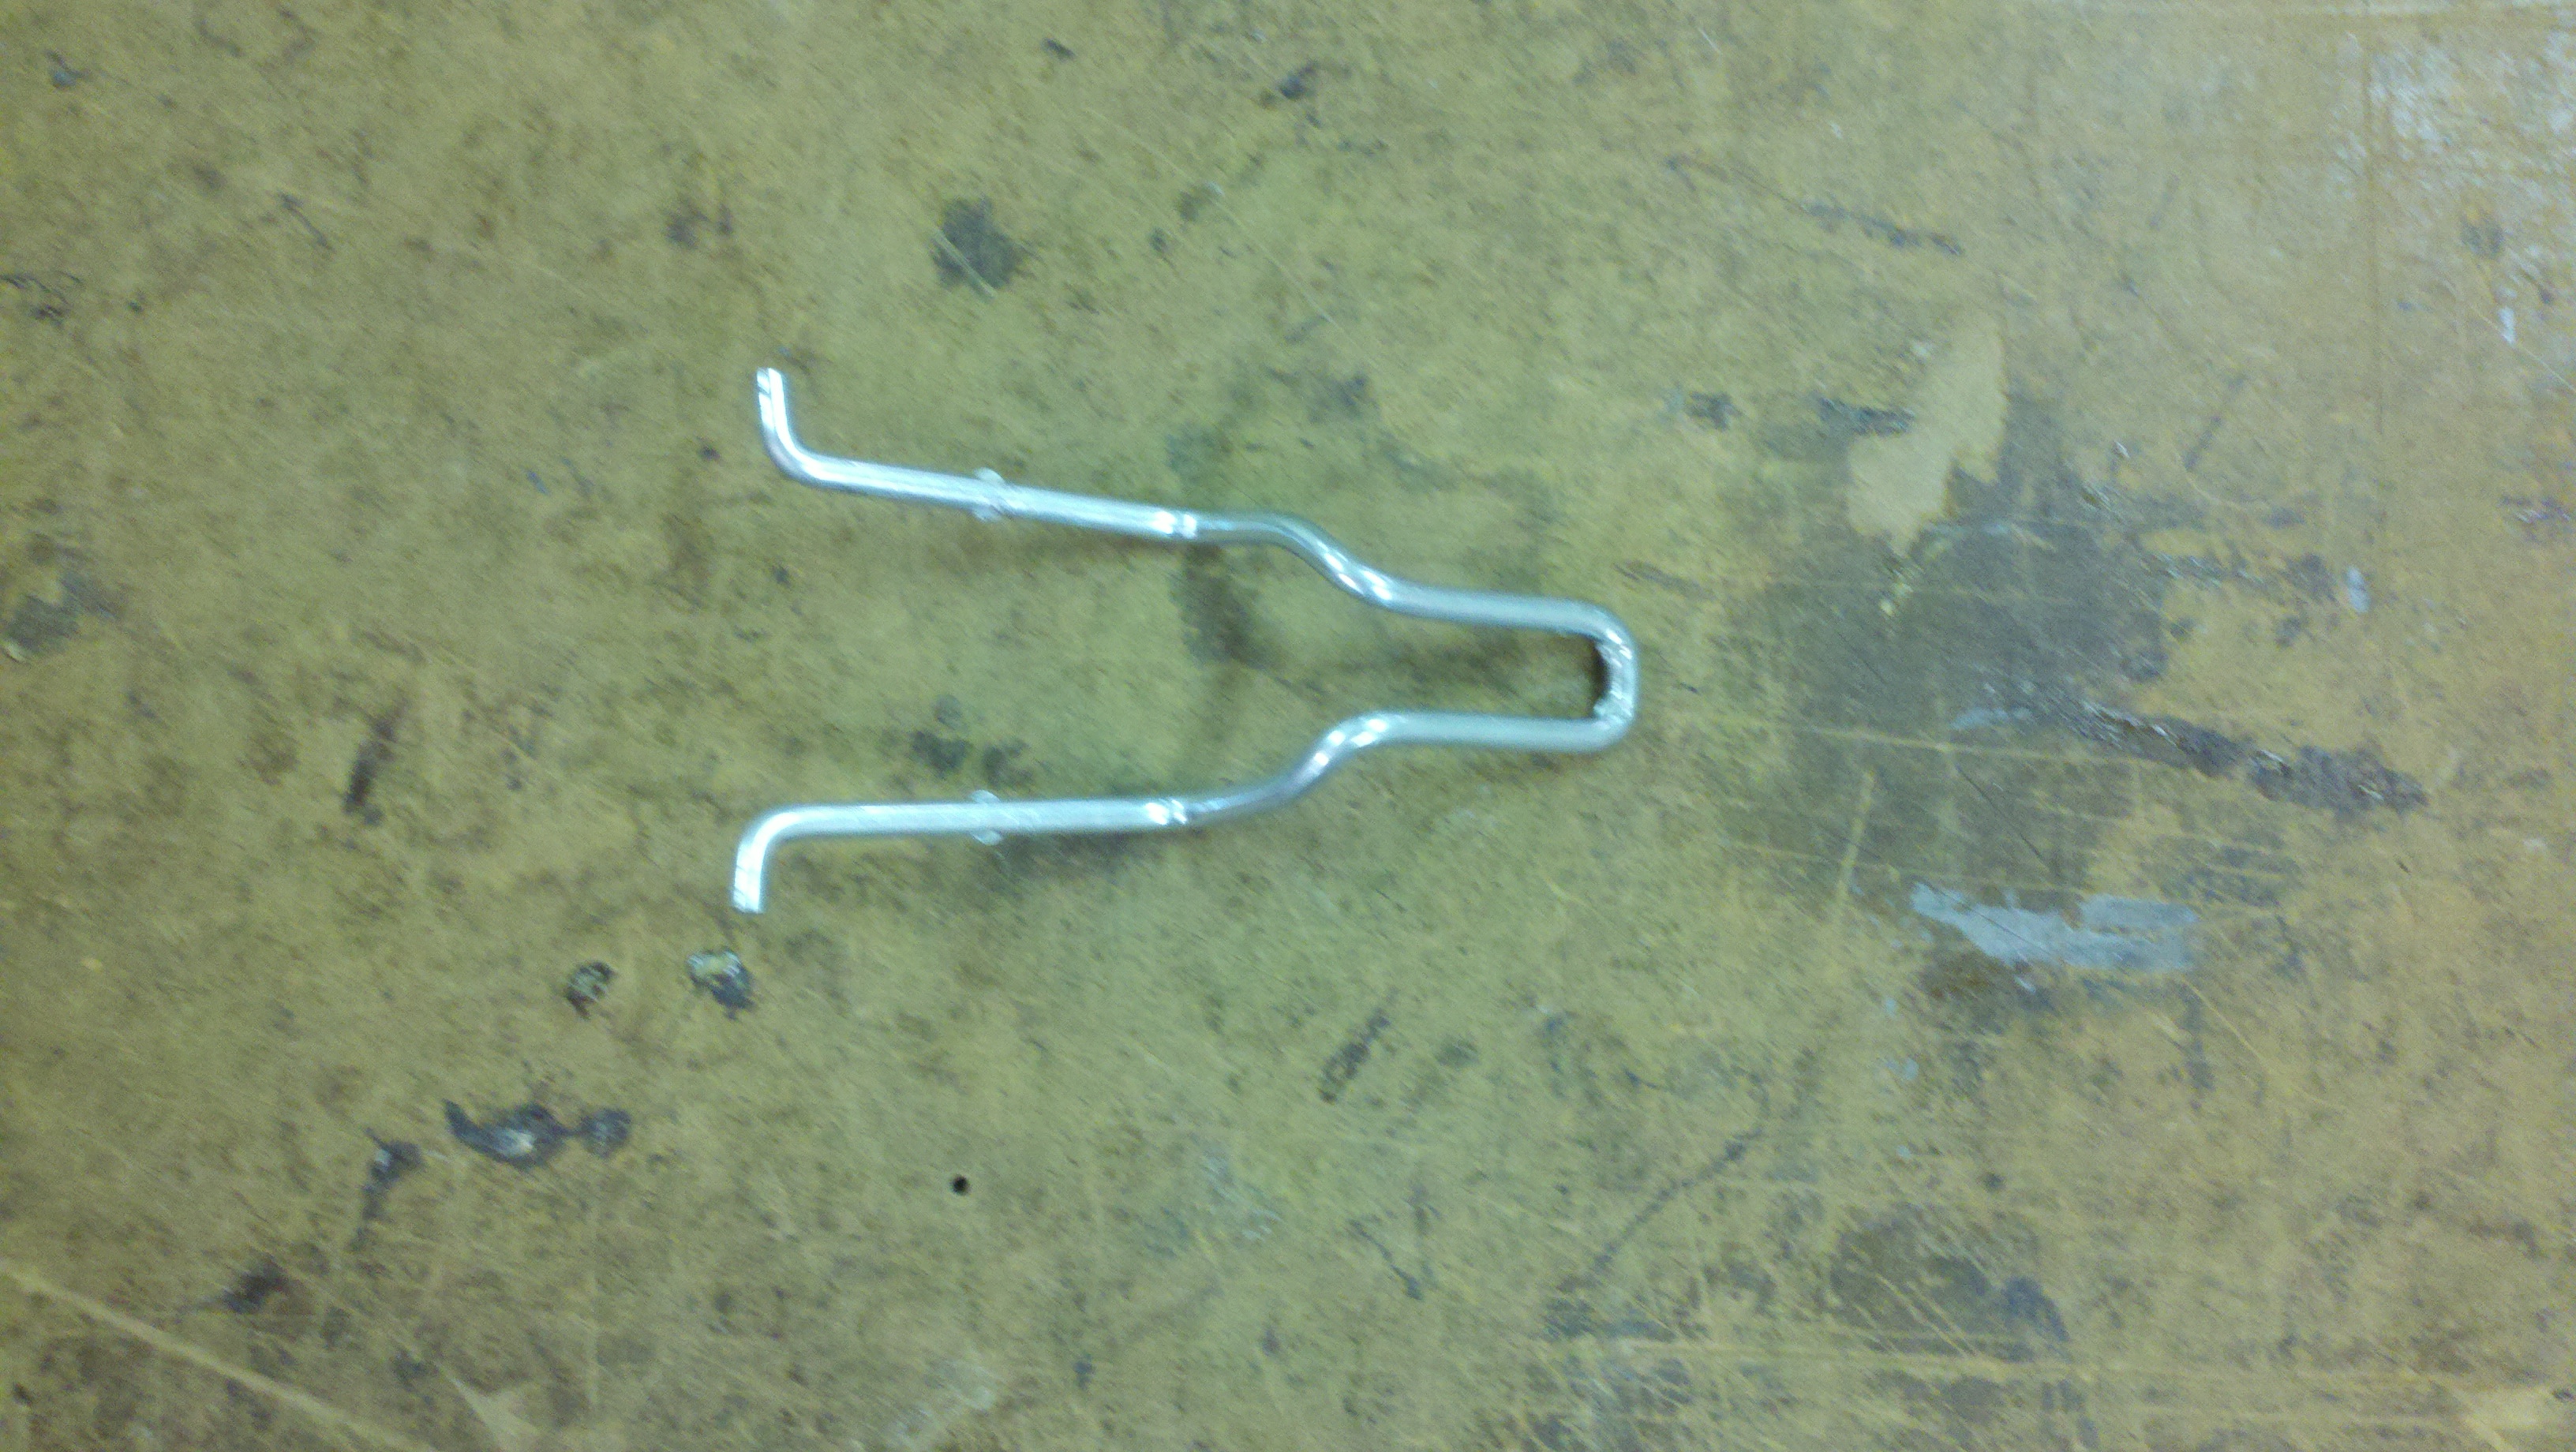
| Folding Plate Compressor
| 1
| Pushes the folding plates towards each other to squeeze out excess water
| Aluminum
| Extruded, cut, bent
| 51
| 
|
|
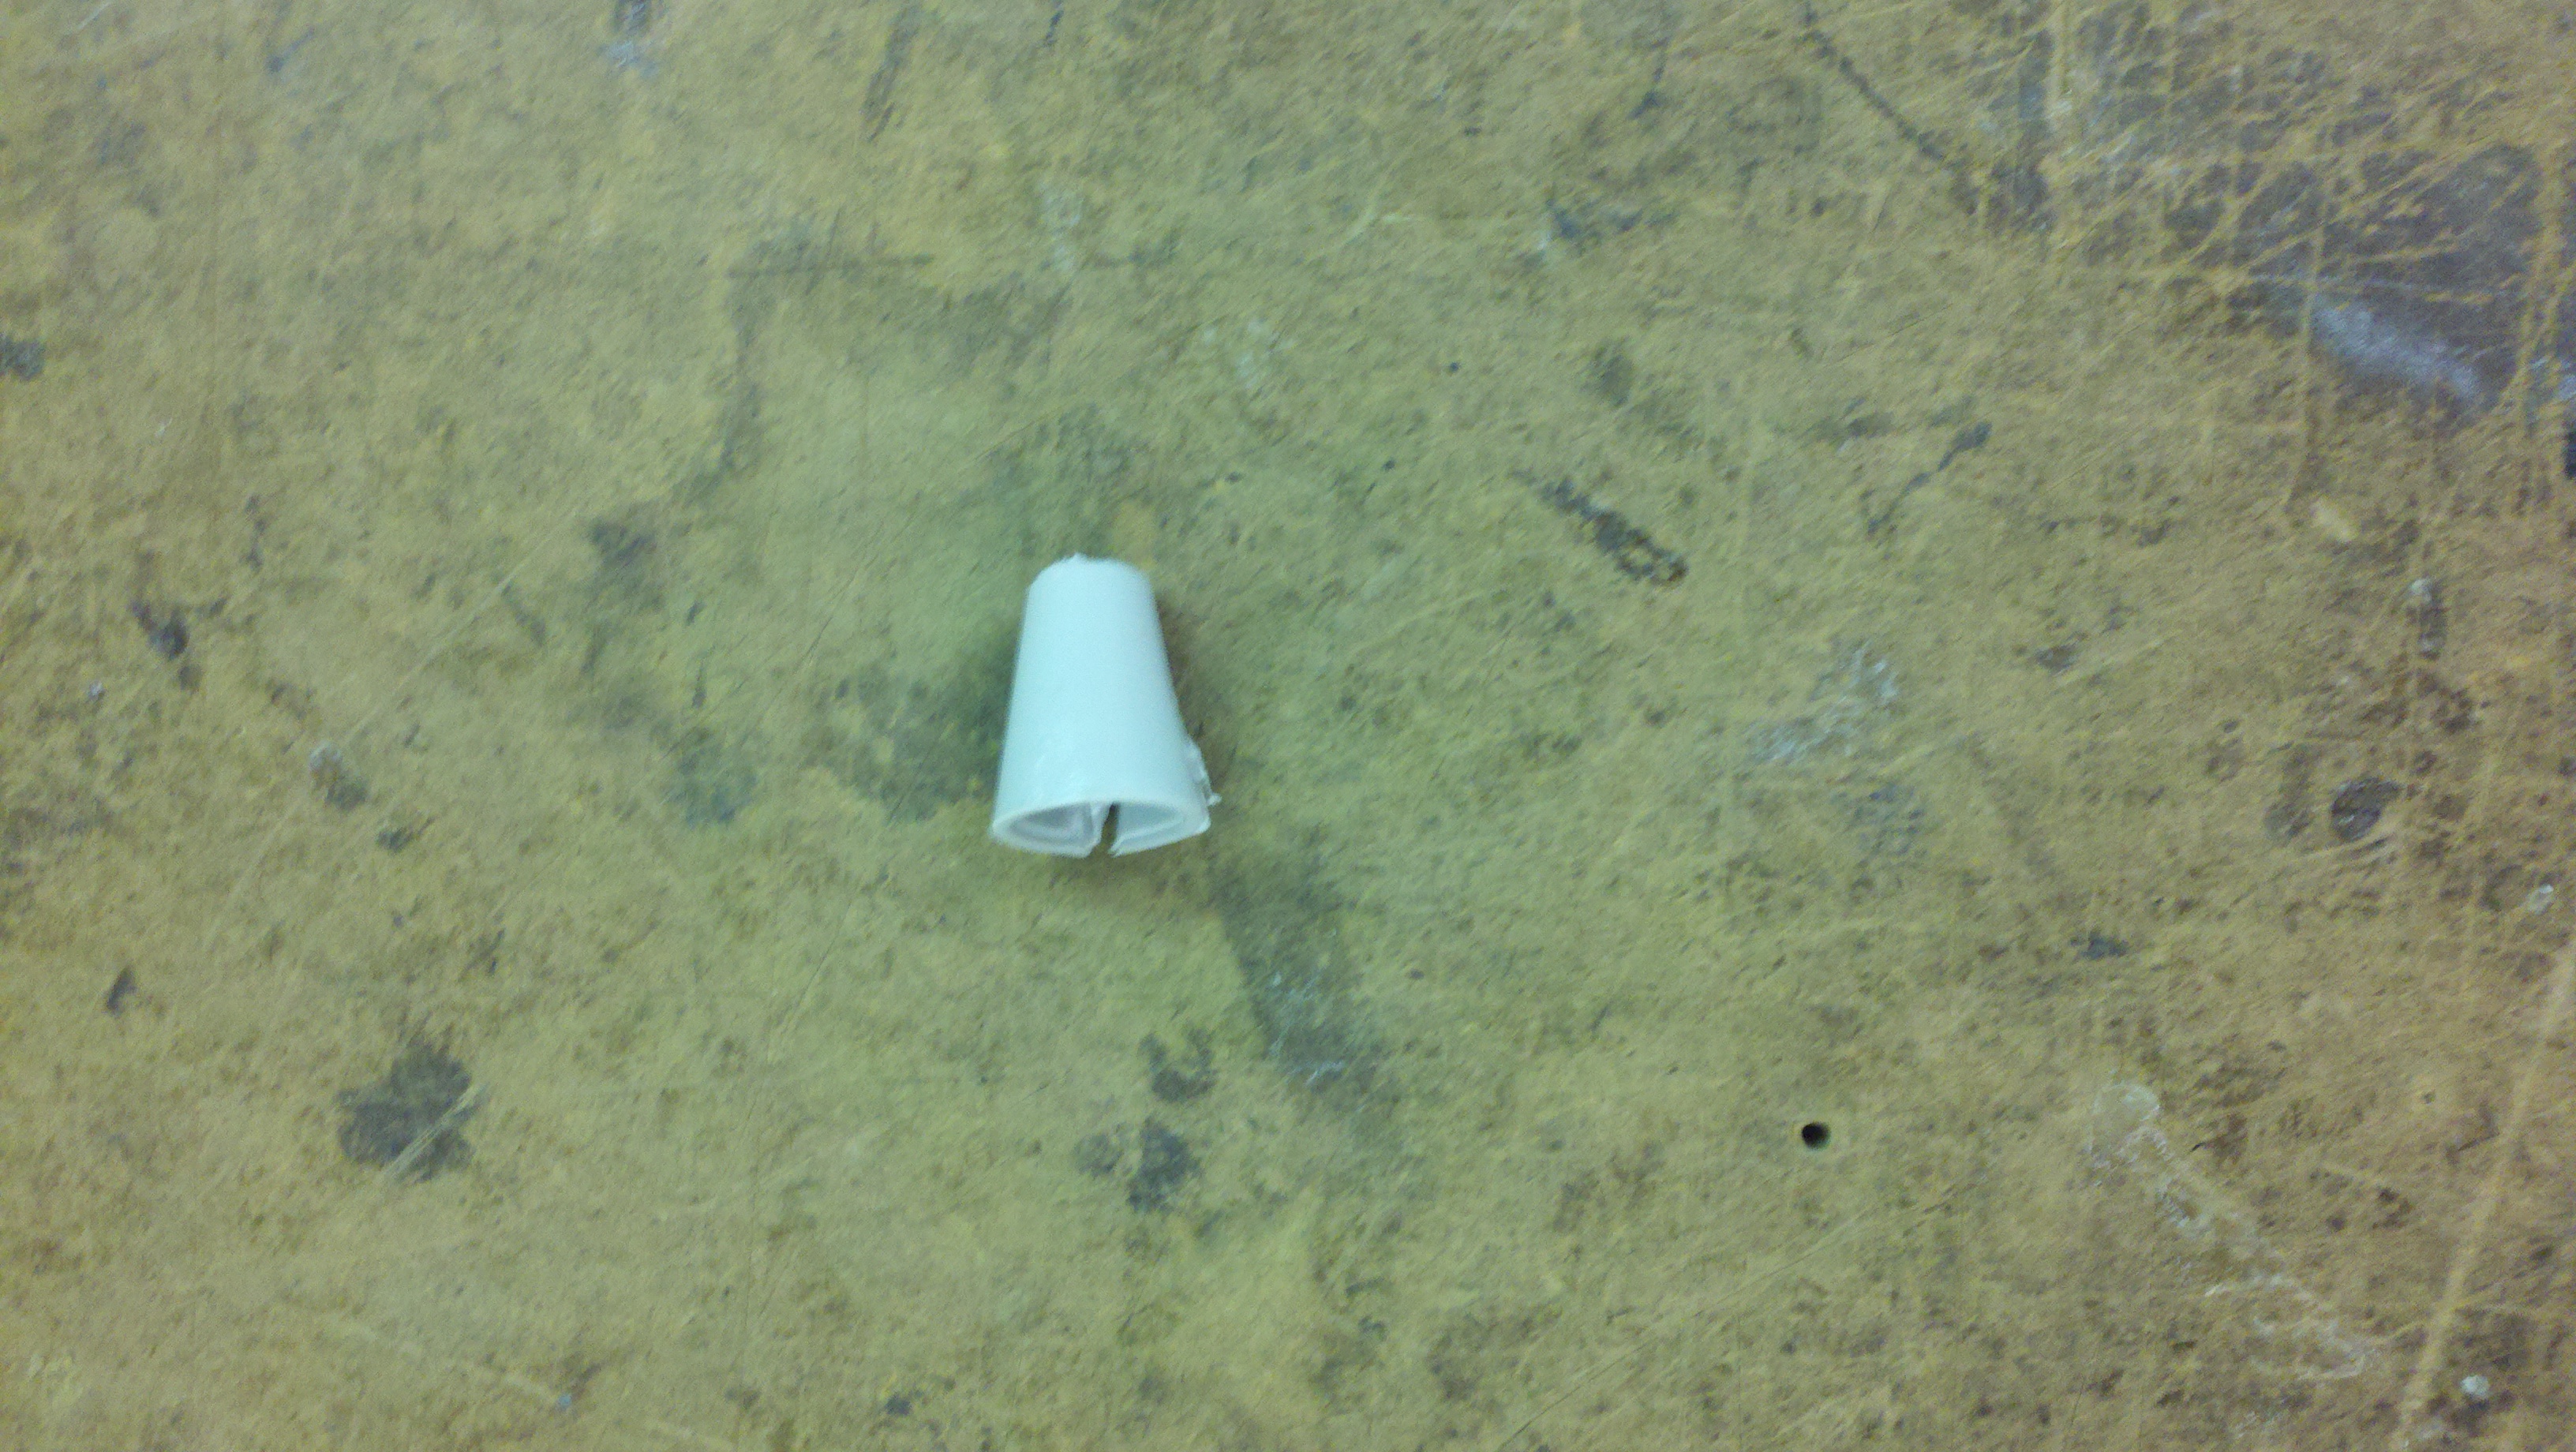
| Folding Plate Compressor Roller
| 2
| Rolls along folding plates and pushes them together as the folding handle is pushed toward the mop head
| Plastic
| Injection Molded
| 2
| 
|


