Toaster usability study
From DDL Wiki
(Difference between revisions)
(→Product Use) |
(→Product Use) |
||
| Line 9: | Line 9: | ||
|- | |- | ||
| | | | ||
| - | [[Image: | + | [[Image:Toaster_step1.JPG|192px x 155px|thumb|left|Step 1: Plug in Toaster]] |
|| | || | ||
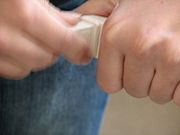
| - | [[Image: | + | [[Image:Toaster_step2.JPG|192px x 170px|thumb|left|Step 2: Get some type of bread]] |
|| | || | ||
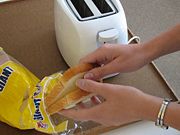
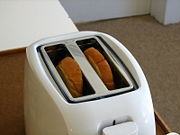
| - | [[Image: | + | [[Image:Toaster_step3.JPG|192px x 155px|thumb|left|Step 3: Place bread in Toaster slots]] |
|| | || | ||
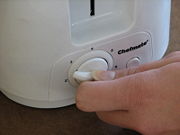
| - | [[Image: | + | [[Image:Toaster_step4.JPG|192px x 155px|thumb|left|Step 4: Set desired toasting amount]] |
|} | |} | ||
| Line 23: | Line 23: | ||
|- | |- | ||
| | | | ||
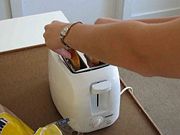
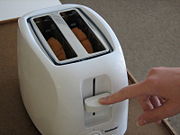
| - | [[Image: | + | [[Image:Toaster_step5.JPG|192px x 155px|thumb|left|Step 5: Pull down handle to start toasting]] |
|| | || | ||
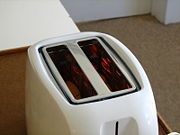
| - | [[Image: | + | [[Image:Toaster_step6.JPG|192px x 170px|thumb|left|Step 6: Wait while bread is toasting to desired level]] |
|| | || | ||
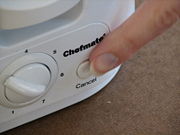
| - | [[Image: | + | [[Image:Toaster_step7.JPG|192px x 155px|thumb|left|Step 7: If you want to stop it early, press cancel]] |
|| | || | ||
| - | [[Image: | + | [[Image:Toaster_step8.JPG|192px x 155px|thumb|left|Step 8: Bread pops up when done or cancel button is pressed]] |
|} | |} | ||
| Line 38: | Line 38: | ||
|- | |- | ||
| | | | ||
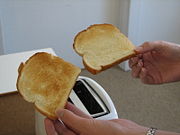
| - | [[Image: | + | [[Image:Toaster_step9.JPG|192px x 155px|thumb|left|Step 9: Bread is a beautiful golden brown! ]] |
|| | || | ||
| - | [[Image: | + | [[Image:Toaster_step10.JPG|192px x 170px|thumb|left|Step 10: Enjoy]] |
|| | || | ||
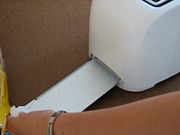
| - | [[Image: | + | [[Image:Toaster_step11.JPG|192px x 155px|thumb|left|Step 11: to clean, remove crumb tray and throw away crumbs]] |
|} | |} | ||
Revision as of 14:27, 21 September 2008
Contents |
Product Use
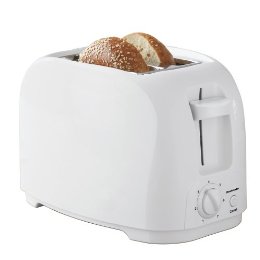
During our study, we took photographs of how a customer would interact with a toaster. Here is the general flow of a toaster's use.
User
Our users are normally people of all ages that have access to a kitchen. For this usability study, we found four different people that have interacted with a toaster on a regular basis and interviewed them about what they liked and disliked about the toaster.
Needs
We
Likes
- Golden Brown Toast
- Cancel Button
- Crumb Tray
Annoyances
- Bread gets stuck inside the toaster
- Unreliability of Toaster Settings
- Hard to clean
