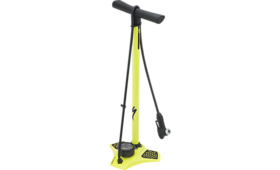
Bike pump opportunity
From DDL Wiki
Lvm@andrew.cmu.edu (Talk | contribs)
(New page: Figure 1: Competitor product used for dissection study ==Executive Summary== Describe key findings and recommendations. In particular, identify whic...)
Newer edit →
Revision as of 17:14, 7 October 2012
Contents |
Executive Summary
Describe key findings and recommendations. In particular, identify which concept you recommend pursuing for the remainder of the semester. Provice a hypothetical user scenario representative of your target market from your research findings to motivate your top solution concept.
Market Research
Provide description of market research and observations. Include pictures to communicate key observations and insight. Summarize top stakeholder product needs in alist
Product Stakeholder Needs
We have identified possible needs and wants for all possible stakeholders. The identified needs are those needs that are essential in order to encourage the stakeholder to use it. The identified wants are additional features that may benefit the stakeholder, however, they are not vital to the use of the product. For the purpose of this study, the consumer is the person pumping up the bike tire, not necessarily the bike owner.
| Stakeholder Needs and Wants | ||
|---|---|---|
| Stakeholder | Needs | Wants |
| Consumer |
|
|
| Retailer |
|
|
| Manufacturer |
|
|
| Shipping & Transportation |
|
|
Design Concepts
Provide sketches and descriptions of your top 3-5 design concepts, describing what opportunities have been identified and how they will be addressed.
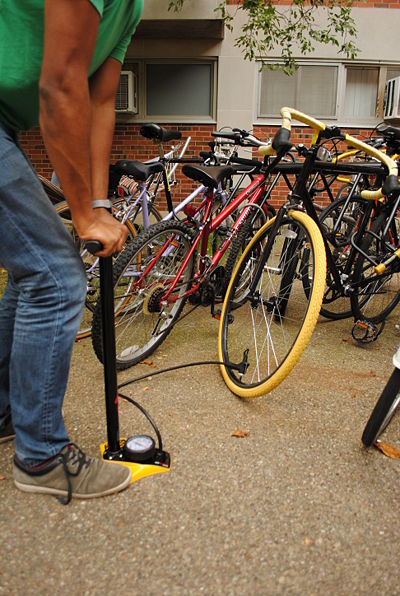
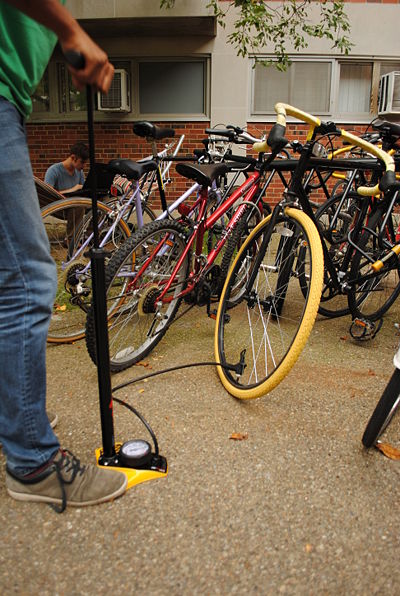
The following is a description of how our product is used and key notes and observations from the study.
Step by Step User Study
Requires: Bike tube with standard valve, bike floor pump
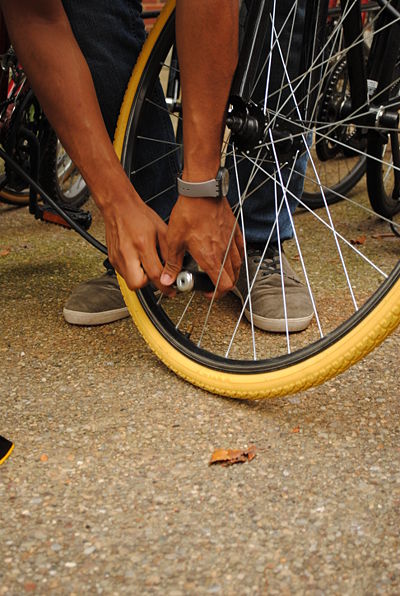
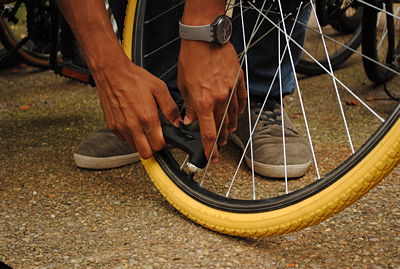
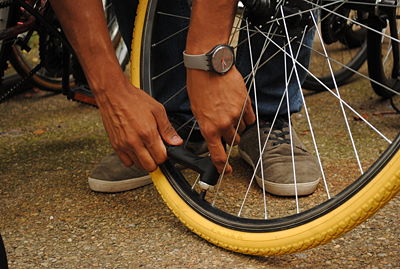
First, the user removes the tube valve cap from the bike tire. Second, the user attaches the connection valve to the tube. Third, the user locks the connection valve, creating a seal between the nozzle and the bike tube, which will then allow air to flow into the tire and pump the tire up. Fourth, the uses raises the handle, which raises the piston head inside of the main tube that is connected to the inner rod. As the piston head raises, the o-ring on the piston head is pushes down, opening the seal within the tube and allowing air to enter into the main tube. Fifth, the user depresses the handle. As the handle is depressed, the air within the main tube is pressurized to flow through the pressure-gauge mechanics and readout, through the hose, and into the tire. Sixth, the user monitors the tire pressure gauge by simply looking at the readout. Inside the mechanics of the bike, the airflow presses up on a spring within the pressure-gauge mechanics, moving a coil within the copper pressure-gauge, and in turn, moving the readout needle to accurately display the pressure on the number dial. Finally, the user continues Steps 4-6 until the desired pressure is reached. By continuously lifting and depressing the handle bar, more air is then pumped into the tire and fills the tire to a user-satisfied level of air, creating a more enjoyable bike riding experience.
Observation
We noticed that this particular floor bike pump requires that the end handle needs to be flipped up in order to create a connection on the tire. On most floor bike pumps, this handle is first at a 90-degree angle with the entire nozzle head, and is then flipped down to create the seal. This caused a little bit of confusion when users would try to pump up their bike tire, because they were unaccustomed to this style. However, once the connection and seal was created between the entire nozzle head and the tire, the user was able to easily begin pumping up their tire.
It was also observed that, during the tire pumping process, the pressure gauge would read out a higher pressure. After the handle was entire depleted, the readout needle would go down a little bit. This is most likely due to the higher pressure exerted when the tire is being pumped and then the needle adjusts once the pumping process is completed.
Group Dynamic
Update and identify team member roles during this phase and summarize process.
Team Leader: Dinesh Ayyappan
DFMA Lead: Patrick Hogan
FMEA Lead: Jonathan Wong
DFE Lead: Amber Ohiokpehai
Wiki Lead/Report Compilation: Lauren Milisits
References
Update references.
Michalek, Lectures 1-4, Pittsburgh, 9/3/2012-9/14/2012
Appendix
Include top 100 brainstorming ideas
