Ceiling-mounted bicycle lift use
From DDL Wiki
(→Use) |
|||
| Line 2: | Line 2: | ||
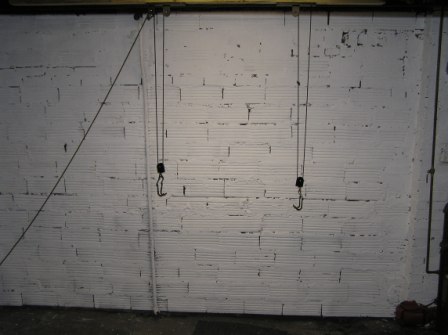
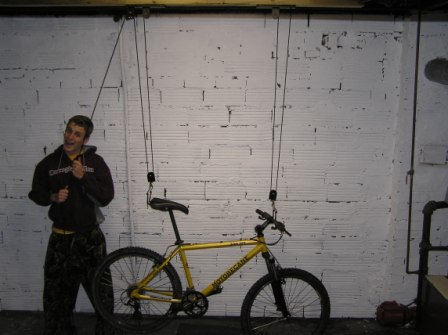
| - | 1.) Insure that the bike lift is secured to the ceiling and that the ropes and pulleys are in proper placement. Lower the pulleys so that they are low enough to easily place the front and back of the bike on. | + | 1.) Insure that the bike lift is secured to the ceiling and that the ropes and pulleys are in proper placement. Lower the pulleys so that they are low enough to easily place the front and back of the bike on the hooks. |
[[Image:Design07_Team1_Russisanidiot01.JPG]] | [[Image:Design07_Team1_Russisanidiot01.JPG]] | ||
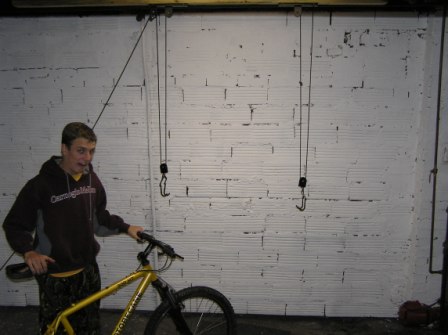
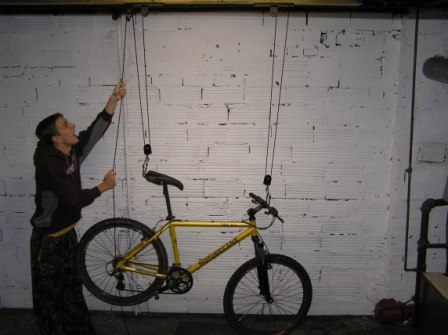
| - | 2.)Roll the bike up to the bike lift and hold it so that the handle bars are next to one set of hooks and the back of the seat | + | 2.)Roll the bike up to the bike lift and hold it so that the handle bars are next to one set of hooks and the back of the seat is next to the other set of hooks. |
[[Image:Design07_Team1_Russisanidiot02.JPG]] | [[Image:Design07_Team1_Russisanidiot02.JPG]] | ||
| Line 14: | Line 14: | ||
[[Image:Design07_Team1_Russisanidiot03.JPG]] | [[Image:Design07_Team1_Russisanidiot03.JPG]] | ||
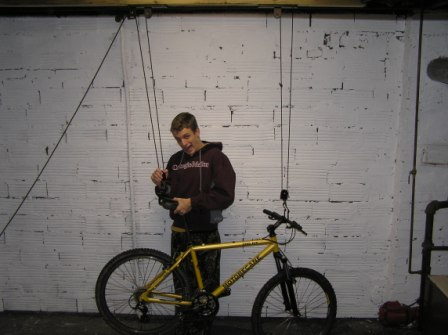
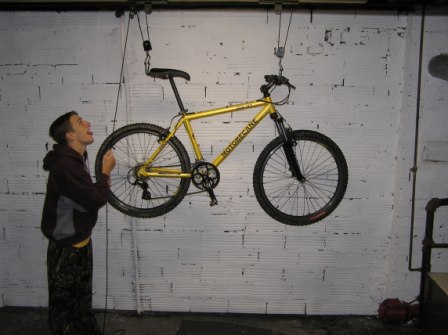
| - | 4.)Place the | + | 4.)Place the rear hooks under the back of the seat and make sure that they are secure enough to hold the bike. |
[[Image:Design07_Team1_Russisanidiot04.JPG]] | [[Image:Design07_Team1_Russisanidiot04.JPG]] | ||
Revision as of 23:05, 11 February 2007
Use
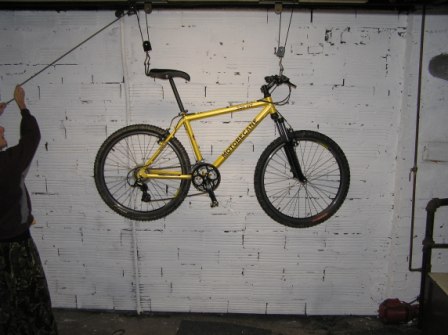
1.) Insure that the bike lift is secured to the ceiling and that the ropes and pulleys are in proper placement. Lower the pulleys so that they are low enough to easily place the front and back of the bike on the hooks.
2.)Roll the bike up to the bike lift and hold it so that the handle bars are next to one set of hooks and the back of the seat is next to the other set of hooks.
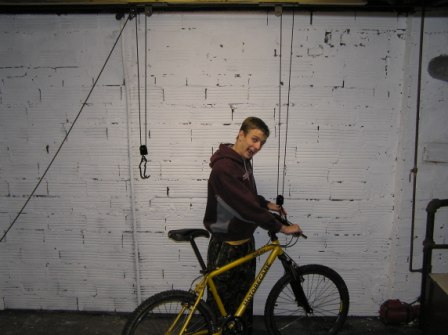
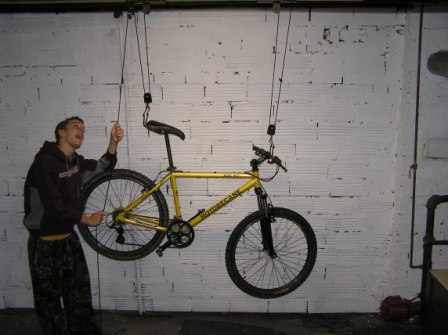
3.)Place the front hooks under the handlebars and make sure that they are secure enough to hold the bike.
4.)Place the rear hooks under the back of the seat and make sure that they are secure enough to hold the bike.
5.)Untie the rope from the wall mount and start to pull it straight down. The bike should start to lift up from the ground. If the bike seems unstable or starts to slip stop immediately and make sure your setup is correct.
6.)One hand at a time, while holding the rope with the other hand, keep reach up and pull the rope down.
7.)Since the back of the bike is generally heavier than the front it may lift faster than the front.
8.)To insure your and the bike's safety, if this happens hold the rope steady with one hand and pull the back tire of the bike down. This should pull the front of the bike up and relevel it.
9.)Continue pulling on the rope and releveling the bike until it is as high as you want. Once you are done lifting the bike hold the rope out at a 45 degree angle to lock the bike in place. Retie the rope to the holder.
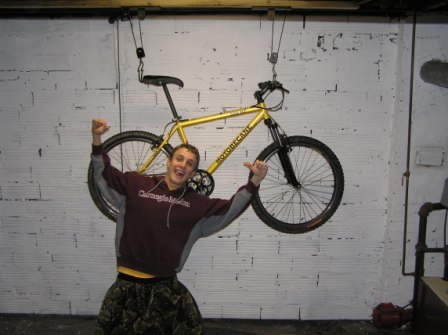
10.)You have successfully lifted your bike to the ceiling!
