Coffee grinder
From DDL Wiki
(→Design for Environment (DFE)) |
(→Design for Environment (DFE)) |
||
| Line 438: | Line 438: | ||
|- | |- | ||
! ''' ''' | ! ''' ''' | ||
| - | + | |colspan='3'| '''Failure Mode''' | |
! '''Effects of Failure''' | ! '''Effects of Failure''' | ||
! ''' S ''' | ! ''' S ''' | ||
Revision as of 01:03, 3 February 2014
Contents |
Executive Summary
The purpose of this study is to identify potential areas of improvement for a consumer coffee grinder.
The first step of this study was to conduct a user study in which we evaluated how the average consumer uses the product, taking into consideration how intuitive the product is, and to what degree the product meets the consumer's needs. We observed that the product is generally simple to use without reading the instructions, but after several uses in a short time frame, our perceived quality of the device was quite low. The product was loud and became very hot after many consecutive uses.
The second step in this study was to dissect the product while noting the assembly procedure and making inferences about the materials used in the design. By noting each component's material, manufacturing process, and function, we are able to understand the intentions of the designers, the quality of the device, and it's impact on the environment.
DFMA analysis revealed...
FMEA analysis revealed...
DFE analysis revealed...
After conducting this in-depth analysis of the coffee grinder, we have identified several areas of potential improvement which include: ...
Primary Stakeholders and Product Needs
The primary stakeholders for this product are consumers, retailers, distributors and shippers, and manufacturers. The needs of these stakeholders are outlined below.
Coffee Consumers:
- Longevity
- Quiet operation
- Aesthetically pleasing
- Small footprint/Easy to store
- Easy to clean
- Dishwasher safe parts
- Intuitive and fast operation
- Versatility
Retailers:
- Space efficient packaging
- Light
- Aesthetically pleasing
- Low unit cost
- High demand
- Stackable
Distributors and Shippers:
- Light
- Durable packaging
- Stackable
Manufacturer:
- Easy mechanical assembly
- High volume parts
- Inexpensive materials
- Low overhead costs
Product Function and Use
User Study
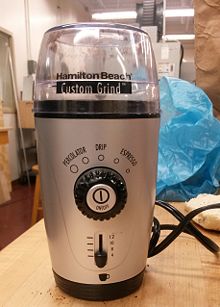
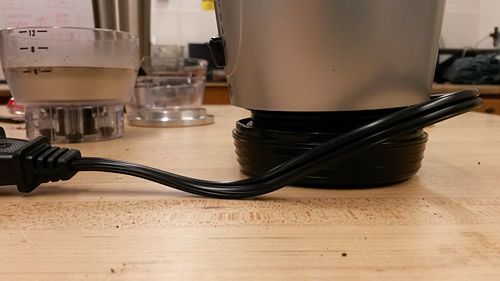
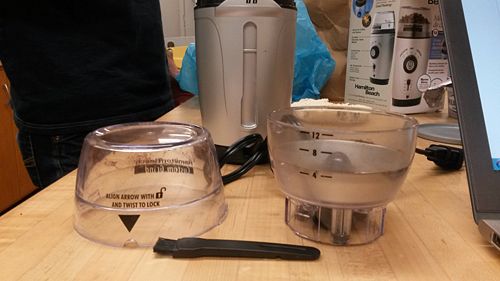
The coffee grinder is powered by a typical 110V power outlet. To free the power cord, pull down on the black cover on the bottom of the device. Unwrap the power cord, then replace the black cover. Unlock the top plastic cover by rotating it counter-clockwise.
Remove the inner cup and notice the marking lines on the side. These pertain to the number of cups of coffee you intend to brew. Fill the cup with whole coffee beans or raw spices to the desired level. Place the cup back in the device and lock the top cover. The device will not function if the cover is not locked in place.
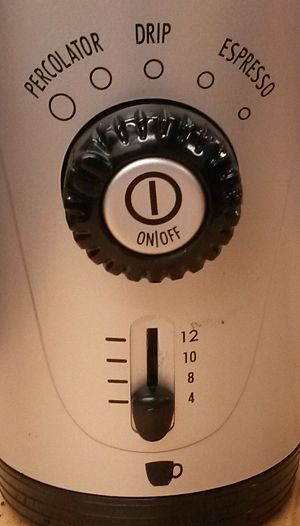
Select the quantity of coffee you desire (4, 8, 10, or 12 cups) using the switch on the front of the device. Turn the knob to the desired grind. Press the on button. The device will stop automatically, or you can manually stop the device by pressing the button again.
Mechanical Function
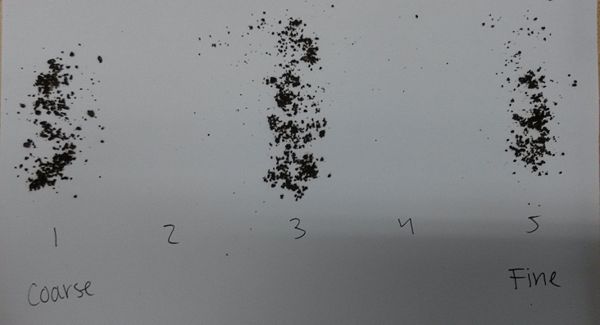
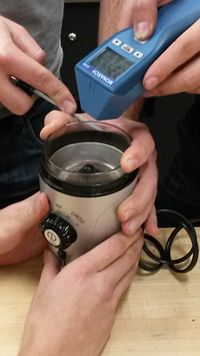
The coarseness and size selection control the motor speed (driving the blade) and the duration of operation. As one would expect, the larger quantities require longer run times. Interestingly, the finer grinds require slower motor speeds. We suspect that because the more coarse grinds run for a shorter time, a higher speed is required to get a good quality grind. We took some preliminary data to characterize the device.
Run Time in Seconds:
| Quantity | Percolator | Drip | Espresso |
|---|---|---|---|
| 12 cups | 10 | 18 | 30 |
| 10 cups | 10 | 16 | 30 |
| 8 cups | 9 | 14 | 25 |
| 4 cups | 9 | 13 | 20 |
Motor Speeds in rpm for 12 Cup Setting:
| Percolator | Percolator/Drip | Drip | Drip/Espresso | Espresso | |
|---|---|---|---|---|---|
| Speed [rpm] | 25,000 | 23,000 | 22,600 | 22,600 | 22,500 |
List of Parts
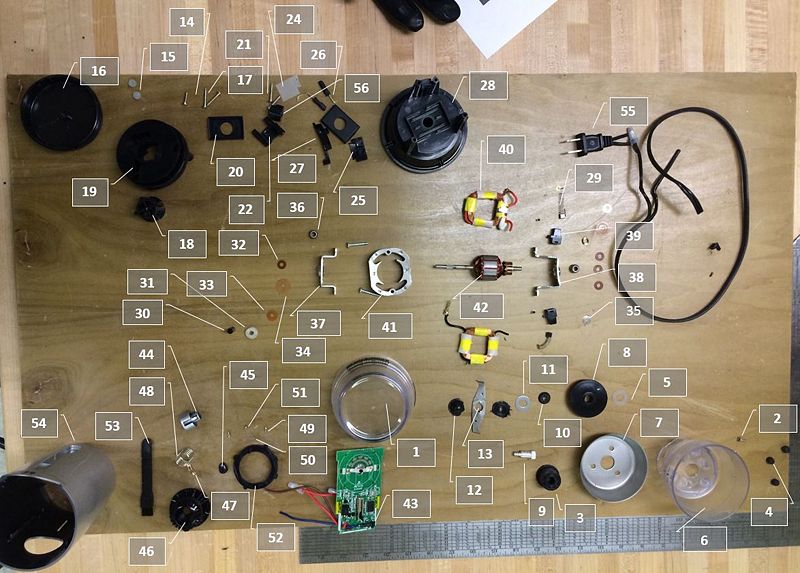
The following details the list of parts of a hands-free coffee grinder.
Bill of Materials
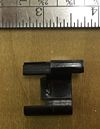
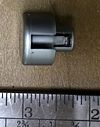
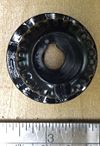
| Part Number | Name | Quantity | Mass (g) | Function | Material | Manufacturing Process/ Purchased Component | Image |
|---|---|---|---|---|---|---|---|
| Grinding Chamber Sub-Assembly | |||||||
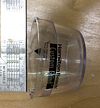
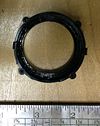
| 1 | Lid | 1 | 66 | Contains coffee | Plastic | Blow Molded | |
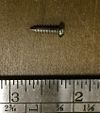
| 2 | Flat Head Screws | 3 | <1 | Cup to Scatter Shield | Steel | Catalog Purchase | |
| 3 | Female Drive Adapter | 1 | 6 | Provides Torque to Blade Assy | Plastic | Injection Molding | |
| 4 | Rubber Nipples | 3 | <1 | Vibration Isolation & Noise Reduction | Rubber | Die Cut | |
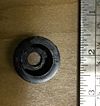
| 5 | Plastic Washer | 1 | <1 | Reduces friction of Blade Assy | Plastic | Catalog Purchase | |
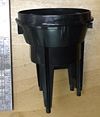
| 6 | Cup | 1 | 46 | Provides References for Coffee Bean Measuring | Plastic | Injection Molding | |
| 7 | Scatter Guard | 1 | 15 | Contains Coffee Beans behind the Blade | Tin | Stamped | |
| 8 | Dust Shield | 1 | 3 | Separates the Grinding Chamber and the Drive Assy | Plastic | Injection Molding | |
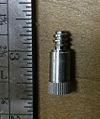
| 9 | Blade-Adapter Shaft | 1 | 2 | Transmits Torque from Part 3 to Part 13 | Plastic | Catalog Purchase | |
| 10 | Blade Gasket | 1 | <1 | Seals Blade Assy | Rubber | Injection Molding | |
| 11 | Blade Washer | 1 | <1 | Reduces friction of Blade Assy and Provides Axial Preload | Steel | Catalog Purchase | |
| Blade Sub-Assembly | |||||||
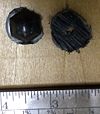
| 12 | Blade Hub | 1 | 2 | Connects blade to drive shaft | Plastic | Injection Molding | |
| 13 | Blade | 1 | 3 | Grinds Coffee | Stainless Steel | Stamped | |
| Cord Housing Sub-Assembly | |||||||
| 14 | Tamper Proof Screw | 1 | <1 | Connects cord housing assembly to main body | Steel | Purchased Part | |
| 15 | Rubber Foot Pad | 3 | <1 | Prevents Device from Slipping | Rubber | Stamped | |
| 16 | Cord Reel Container | 1 | 17 | Contains Cord While Wound | Plastic | Blow Formed | |
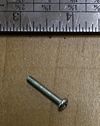
| 17 | Screw | 3 | <1 | Mates Part 19 to Part 28 | Steel | Purchased Part | |
| 18 | Power Cord Reel Center | 1 | 3 | Cord Capstan | Plastic | Injection Molded | |
| 19 | Power Cord Reel | 1 | 26 | Captures Cord | Plastic | Injection Molded | |
| 20 | Internal Motor Gasket | 2 | 3 | Seals Motor Components | Rubber | Injection Molding | |
| 21 | Screw For Part 22 | 2 | 1 | Mates Part 22 to Part 28 | Steel | Purchased Part | |
| 22 | Power Cord Retention Clip | 1 | 2 | Positively Retains The Power Cord Inside The Housing | Plastic | Injection Molding | |
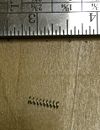
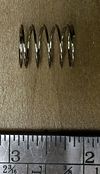
| 23 | Tiny Spring | 1 | <1 | Provides Preload to the Safety Mechanism | Steel | Purchased Part | |
| 24 | Safety Paper | 1 | <1 | Reduces Abrasion of Safety Switch | Plastic | Stamped | |
| 25 | Electrical Switch Cover | 1 | 1 | Houses Electric Switch | Plastic | Injection Molded | |
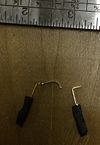
| 26 | Electrical Switch Lead | 2 | 1 | Provides Current to Electrical Switch | Copper | Purchased Part | |
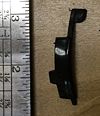
| 27 | Mechanical Switch | 1 | 1 | Actuates the Safety Switch | Plastic | Injection Molded | |
| 28 | Motor Housing | 1 | 47 | Secures motor to device | Plastic | Injection Molded | |
| AC Motor Sub-Assembly | |||||||
| 29 | Brushes | 2 | <1 | Provides Current to Commutator | Carbon | Electronic Component | |
| 30 | Motor Shaft Cap | 1 | <1 | Transmits Torque from Part 42 to Part ?? | Plastic | Injection Molded | |
| 31 | Shaft Insulator | 1 | <1 | Provides Mechanical and Electrical Insulation to the Shaft | Fiber | Stamped | |
| 32 | Spring Washer | 1 | <1 | Provides Axial Preload to locate the commutator with respect to the bushings | Copper | Purchased | |
| 33 | Small Brown Washers | 4 | <1 | Locates Part 42 Axially | Plastic | Stamped | |
| 34 | Large Orange Washers | 2 | <1 | Locates Part 42 Axially | Plastic | Stamped | |
| 35 | Small Metal Washers | 2 | <1 | Locates Part 42 Axially | Steel | Purchased | |
| 36 | Bearing | 2 | 2 | Locates Part 42 Radially | Steel | Purchased | |
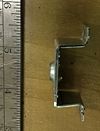
| 37 | Brush Side Bracket | 1 | 17 | Locate Part 36 on Brush Side | Steel | Stamped and Bent | |
| 38 | Non-Brush Side Bracket | 1 | 16 | Locate Part 36 on Non Brush Side | Steel | Stamped and Bent | |
| 39 | Brush Housing | 2 | 1 | Constrains Part 29 | Plastic | Injection Molded | |
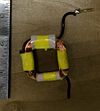
| 40 | Stator Coil | 2 | 13 | Provides Magnetic Poles | n/a | Electronic Component | |
| 41 | Steel Inductor Plate | 30 | 4 | Enhances Magnetic Poles | Steel | Stamped | |
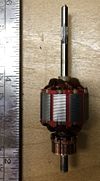
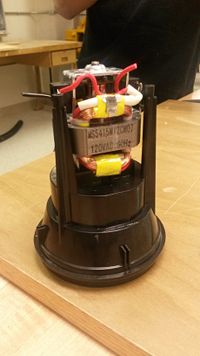
| 42 | Rotor | 1 | 77 | Provides Motor Torque | n/a | Electrical Component | |
| 43 | Circuit Board | 1 | 28 | Assembly | Electrical Component | ||
| 56 | Male Drive Adapter | 1 | 15 | Plastic | Injection Molded | ||
| Knob Sub-Assembly | |||||||
| 44 | Power Button | 1 | 2 | Allows user to operate grinder | Plastic | Injection Molded | |
| 45 | Power Button Finger | 1 | <1 | Translate power button movement to connect circuit | Plastic | Injection Molded | |
| 46 | Knob | 1 | 8 | Allows user to adjust fineness of grind | Plastic | Injection Molded | |
| 47 | Circuit Board Connector | 1 | <1 | Connects fineness knob circuit | Copper | Stamped | |
| 48 | Power Button Spring | 1 | <1 | Returns power button after press | Steel | Purchased | |
| 49 | Knob Screws | 4 | <1 | Fastens knob sub-assembly | Steel | Purchased | |
| 50 | Detent Springs | 2 | <1 | Pushes ball bearings for discrete adjustment of knob | Steel | Purchase | |
| 51 | Detent Bearings | 2 | <1 | Allows for discrete adjustment of knob | Steel | Purchased | |
| 52 | Detent Housing | 1 | 2 | Contains detent components in knob | Plastic | Injection Molded | |
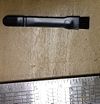
| 53 | Brush | 1 | 3 | Cleans coffee grinds | Plastic | Injection Molded | |
| 54 | Body | 1 | 74 | Houses inner components | Plastic | Injection Molded | |
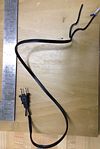
| 55 | Power Cord | 1 | Supplies electrical current from outlet to grinder | Assembly | Purchased | ||
Design For Manufacturing and Assembly (DFMA)
Design for Manufacturing [DFM]
For the most part we believe the coffee grinder was well designed for manufacturing. The majority of the components are injection molded plastic with few post machining operations. While there are a lot of components a vast majority of them came from the motor which we are fairly positive was a purchased component.
| Design For Manufacturing Analysis of Coffee Grinder | |||||||
| Minimize Part Count | Well Designed: snap fits on button and attachment for pcb | ||||||
| Room for Improvement: Power knob had many pieces to create a detent (bearings, springs,..), but the detent may have been accomplished with a simpler design | |||||||
| Standardize Components | Well Designed: | ||||||
| Room for Improvement: | |||||||
| Commonize Product Line | Well Designed: | ||||||
| Room for Improvement: | |||||||
| Standardize Design Features | Well Designed: | ||||||
| Room for Improvement: | |||||||
| Keep Designs Simple | Well Designed: | ||||||
| Room for Improvement: | |||||||
| Multifunctional Parts | Well Designed: | ||||||
| Room for Improvement: | |||||||
| Ease of Fabrication | Well Designed: | ||||||
| Room for Improvement: | |||||||
| Avoid Tight Tolerances | Well Designed: | ||||||
| Room for Improvement: | |||||||
| Minimize Secondary & Finishing Operations | Well Designed: | ||||||
| Room for Improvement: | |||||||
| Take Advantage of Special PRocess Properties | Well Designed: | ||||||
| Room for Improvement: | |||||||
Design for Assembly [DFA]
The coffee grinder has an astonishing number of parts, as can be seen in the Bill of Materials, however, there appear to be no redundant or unnecessary parts. The assembly sequence is very straightforward, with four major sub-assemblies: the cup and lid, the motor and motor housing, the circuit board and front controls, and the cord housing. The cup and lid assembly can be removed effortlessly and separately tested as one unit. The circuit board and customer-facing controls are also one unit and can be tested separately, although cannot be accessed without completely disassembling the device. There is only one way to connect the cup to the rest of the housing, which is inconvenient to the user. The cup could be improved such that it could lock to the rest of the housing in multiple configurations. The motor is sandwiched between two assemblies, the upper cup and blade assembly, and the lower power cord housing assembly. Ideally, the entire motor housing would be accessible from one side of the part, such that the assembly process is linear. Instead, the assembler must rotate the piece many ways in order to stack and secure the parts in the appropriate configuration. Also, the configuration is so specific that many interior parts, such as the motor housing, must be inserted a single way into the outer housing. An ideal design would allow for the parts to slide into place in a logical fashion. Most of the parts are either custom injection molded pieces or specific hardware, like washers and screws. Much of the hardware is consistent. For example, all of the screws take the same size Phillip's head screwdriver. A minimal amount of hardware is used to hold and connect sub-assemblies.
In summary, it is apparent that much consideration went into minimizing the number of parts and optimizing the sub-assemblies, however, the assembly process still requires a non-ideal level of meticulousness and maneuvering.
Failure Modes and Effects Analysis (FMEA)
Studying the failure modes of the coffee grinder
| Item and Function | Failure Mode | Effects of Failure | S | Causes of Failure | O | Design Controls | D | RPN | Recommended Actions |
|---|---|---|---|---|---|---|---|---|---|
| Electric Motor | Burnt out motor | Inoperable grinder | 6 | Excessive duty cycle | 5 | None | 5 | 150 | Temperature sensor to force mandatory cool down |
| Lid and body | Crack or fracture | At best, unsafe operation. At worst, inoperable grinder. | 6 | Unexpected loads e.g. leaning, dropping | 5 | None | 5 | 150 | Use more durable materials |
| Placing in dishwasher | 4 | 120 | |||||||
| Grinder blade | Fracture | Catastrophic failure of grinder resulting in a useless product | 3 | Misuse: grinding unintentional objects | 6 | Product warnings and guidelines | 8 | 144 | Yield before breaking Hardened lid |
| Manufacturing defects | 2 | 48 | |||||||
| User interface switches | Wearing of control mechanisms, breakage | Uncontrollable Grinding | 4 | Fatigue wear | 5 | None | 7 | 140 | Use fatigue resistant materials |
| Power cord | Snapping | Faulty electrical wiring Inoperable product | 5 | Excessive force from pulling | 4 | Reenforcing bracket | 7 | 140 | Better power cord directions |
| Lid Safety Switch | Switch stuck | Blade powers on when lid is off | 8 | Stiction | 2 | Friction reducing shim | 8 | 128 | Create redundant fail-safe mechanisms |
| Return spring failure | 2 | Positive mechanical engagement | 8 | 128 |
Design for Environment (DFE)
Studying the Design for Environment Execution of the Coffee Grinder
| Failure Mode | Effects of Failure | S | Causes of Failure | O | Design Controls | D | RPN | Recommended Actions | |||
|---|---|---|---|---|---|---|---|---|---|---|---|
| Electric Motor | Burnt out motor | Inoperable grinder | 6 | Excessive duty cycle | 5 | None | 5 | 150 | Temperature sensor to force mandatory cool down | ||
| Lid and body | Crack or fracture | At best, unsafe operation. At worst, inoperable grinder. | 6 | Unexpected loads e.g. leaning, dropping | 5 | None | 5 | 150 | Use more durable materials | ||
| Placing in dishwasher | 4 | 120 | |||||||||
| Grinder blade | Fracture | Catastrophic failure of grinder resulting in a useless product | 3 | Misuse: grinding unintentional objects | 6 | Product warnings and guidelines | 8 | 144 | Yield before breaking Hardened lid | ||
| Manufacturing defects | 2 | 48 | |||||||||
| User interface switches | Wearing of control mechanisms, breakage | Uncontrollable Grinding | 4 | Fatigue wear | 5 | None | 7 | 140 | Use fatigue resistant materials | ||
| Power cord | Snapping | Faulty electrical wiring Inoperable product | 5 | Excessive force from pulling | 4 | Reenforcing bracket | 7 | 140 | Better power cord directions | ||
| Lid Safety Switch | Switch stuck | Blade powers on when lid is off | 8 | Stiction | 2 | Friction reducing shim | 8 | 128 | Create redundant fail-safe mechanisms | ||
| Return spring failure | 2 | Positive mechanical engagement | 8 | 128 | |||||||
Team Members
Phil Aufdencamp - DFE Czar
Justin Barsano - DFMA Czar
Kristen Hauser - User Study, General Organization Czar
Brian Tang - FMEA Czar
References
Dieter, George E., and Linda C. Schmidt. Engineering Design. 4th Edition. New York, NY: McGraw-Hill, 2009. Print.
