Coffeemaker
From DDL Wiki
(→References) |
(→Product Use Study) |
||
| Line 9: | Line 9: | ||
= Major Product Needs for Major Stakeholders = | = Major Product Needs for Major Stakeholders = | ||
| - | = Product Use Study = | + | = Product Use Study = |
| + | == What's Easy? == | ||
| + | Easy to plug in and turn on. Coffee maker shows amount of water labeled and visible. | ||
| + | |||
| + | |||
| + | == What’s Non Intuitive? == | ||
| + | Not easy to tell if its programmable. Also, figuring out if it needs cleaning and how to clean it. | ||
| + | |||
| + | == What’s Challenging? == | ||
| + | Difficult to figure out proportions of water to ground coffee. Figuring out the first steps for draining out the plastic residue as stated on the instruction manual. | ||
| + | |||
| + | == Stakeholder Needs: == | ||
| + | A customer wants it to be easy to setup, easy to figure out the right proportions, and easy to dispense. Coffee shouldn’t come out burnt, and should be quick and reliable. | ||
| + | The retailer demands small packaging and arrangeable for stacking and shipping. The current design has large rectangular packaging and fairly light weight. | ||
| + | |||
| + | == Steps for Using Product: == | ||
| + | 1) Wash the coffee maker following the cleaning instructions on the pamphlet packaged with the product. | ||
| + | 2) Plug in the coffee maker to an outlet. Do not turn on. | ||
| + | 3) Have a cone shaped coffee filter ready and place it inside the plastic filter basket. | ||
| + | 4) For one cup of medium strength coffee, have one tablespoon of ground coffee ready and dumped into the coffee filter. | ||
| + | 5) Fill the glass pitcher with one cup of water, then lift the coffee maker lid and dump the water into the back bin of the coffee maker. | ||
| + | 6) Place the glass pitcher back inside the coffee maker onto the hot plate. | ||
| + | 7) Close the coffee maker lid and turn on the coffee maker. | ||
| + | |||
| + | == Mechanical Operations: == | ||
| + | First observations about the mechanics behind the coffee maker include a pump inside the base to channel hot water through the coffee lid and into the coffee filter, where hot water seeps down into the glass pitcher. | ||
| + | The coffee maker lid acts to open up the coffee maker channel of bringing hot water up and into the coffee filter. | ||
| + | There is an electric heater to bring the poured water up to very hot temperatures. | ||
= Parts List = | = Parts List = | ||
Revision as of 18:32, 30 January 2014
Contents |
Product Introduction
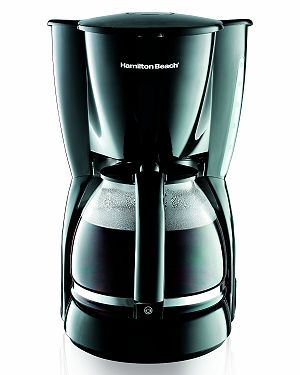
Product: Hamilton Beach 12-Cup Coffee Maker
Executive Summary
Major Product Needs for Major Stakeholders
Product Use Study
What's Easy?
Easy to plug in and turn on. Coffee maker shows amount of water labeled and visible.
What’s Non Intuitive?
Not easy to tell if its programmable. Also, figuring out if it needs cleaning and how to clean it.
What’s Challenging?
Difficult to figure out proportions of water to ground coffee. Figuring out the first steps for draining out the plastic residue as stated on the instruction manual.
Stakeholder Needs:
A customer wants it to be easy to setup, easy to figure out the right proportions, and easy to dispense. Coffee shouldn’t come out burnt, and should be quick and reliable. The retailer demands small packaging and arrangeable for stacking and shipping. The current design has large rectangular packaging and fairly light weight.
Steps for Using Product:
1) Wash the coffee maker following the cleaning instructions on the pamphlet packaged with the product. 2) Plug in the coffee maker to an outlet. Do not turn on. 3) Have a cone shaped coffee filter ready and place it inside the plastic filter basket. 4) For one cup of medium strength coffee, have one tablespoon of ground coffee ready and dumped into the coffee filter. 5) Fill the glass pitcher with one cup of water, then lift the coffee maker lid and dump the water into the back bin of the coffee maker. 6) Place the glass pitcher back inside the coffee maker onto the hot plate. 7) Close the coffee maker lid and turn on the coffee maker.
Mechanical Operations:
First observations about the mechanics behind the coffee maker include a pump inside the base to channel hot water through the coffee lid and into the coffee filter, where hot water seeps down into the glass pitcher. The coffee maker lid acts to open up the coffee maker channel of bringing hot water up and into the coffee filter. There is an electric heater to bring the poured water up to very hot temperatures.
Parts List
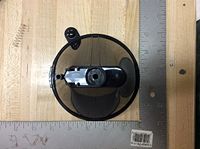
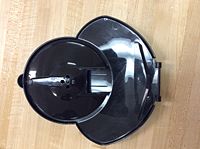
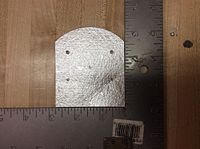
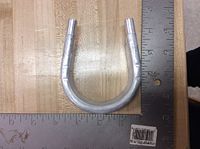
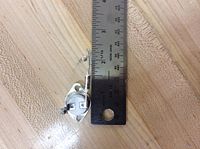
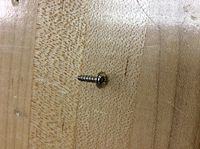
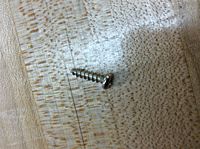
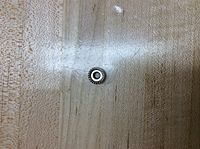
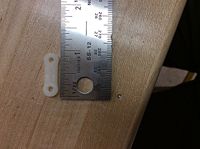
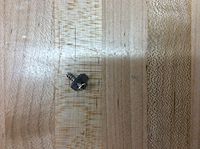
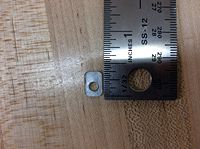
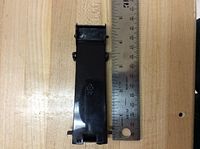
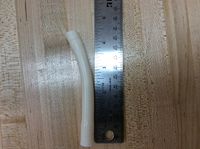
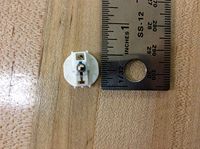
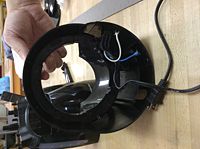
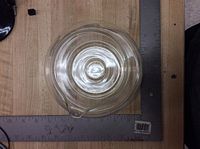
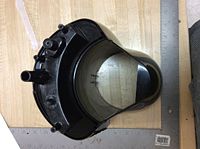
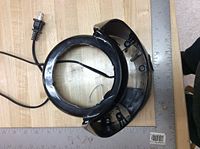
The following table is a list of all the parts that come out of the coffeemaker. The picture below is an exploded view of our coffeemaker with all the components shown and labeled.
Bill of Materials
The following is a table of individual components, assemblies and certain off the shelf parts that we took apart during our dissection process of the coffeemaker.
| Part Number | Name | QTY | Weight (g) | Function | Material | Manufacturing Process | Image |
|---|---|---|---|---|---|---|---|
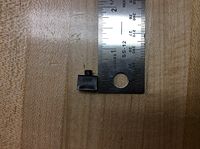
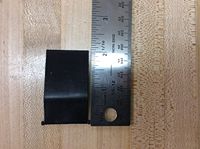
| 1 | Cubic Peg for Metal Strip | 1 | Holds the metal strip that goes around the glass container | Plastic | Injection Molding | ||
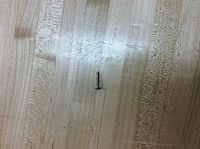
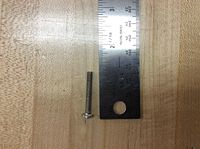
| 2 | Screw for the Glass Container | 1 | Tighten up the metal strip | Aluminum | Standard Purchase Part | ||
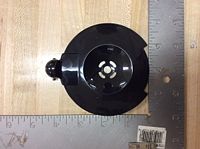
| 3 | Lid for the Glass Container | 1 | Lid of the Glass Container | Plastic | Injection Molding | ||
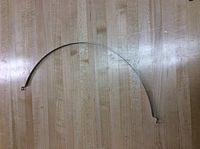
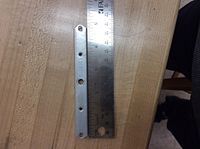
| 4 | Metal Strip for the Glass Container | 1 | Goes around the glass container | Aluminum | Rolling and Machining | ||
| 5 | Handle for the Glass Container | 1 | Handle of the glass container | Plastic | Injection Molding | ||
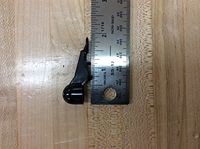
| 6 | Filter Lever | 1 | A spring controlled lever within the filter that allows the boiled coffee to go into the glass container | Plastic | Injection Molding | ||
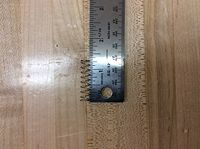
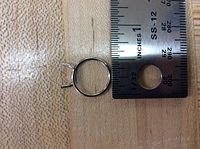
| 7 | Filter Spring | 1 | Attached to the filter lever and controls and coffee flow | Aluminum | Standard Purchase Part | ||
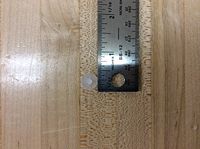
| 8 | White Filter Rubber Piece | 1 | Cover of a hole within the filter | Rubber | Injection Molding | ||
| 9 | Filter | 1 | Perform as a intermediate container for the boiled water and ground coffee | Plastic | Injection Molding | ||
| 10 | Plastic Lid | 1 | Lid for the coffeemaker | Plastic | Injection Molding | ||
| 11 | Cardboard Piece | 1 | Covers the area of thermal paste that applied onto the heater | Cardboard | Standard Purchase Part | ||
| 12 | Bottom Screws | 5 | Tighten the bottom lid with the bottom half of the coffeemaker | Aluminum | Standard Purchase Part | ||
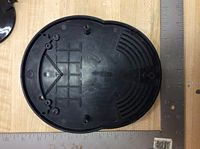
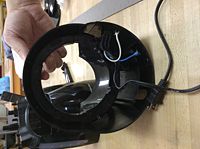
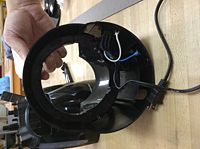
| 13 | Plastic Bottom Lid | 1 | Cover for base of the coffeemaker | Plastic | Injection Molding | ||
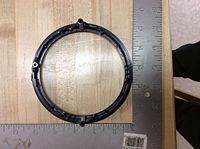
| 14 | Plastic Ring | 1 | Holds two rubber tubes in position | Plastic | Injection Molding | ||
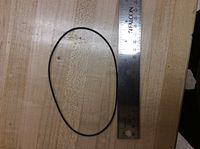
| 15 | Insulator Rubber Band | 1 | Insulation for the heater plate | Rubber | Injection Molding | ||
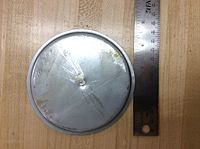
| 16 | Heater Plate | 1 | Keeps the glass container heated and in place | Aluminum | Casting | ||
| 17 | Heater Plate Screw | 1 | Attach the heater plate to the bottom lid of the coffeemaker | Steel | Standard Purchase Part | ||
| 18 | Rectangular Lid Piece | 1 | Supports the coffeemaker lid when it is open | Plastic | Injection Molding | ||
| 19 | Rubber Tube Rings | 4 | Tighten and put the tubes in place | Copper | Machining | ||
| 20 | Heater Bar | 1 | Holds the heater in place | Aluminum | Extrusion and Machining | ||
| 21 | Heater | 1 | Heats both the water and the container | Aluminum | Casting | ||
| 22 | Resistor Piece | 1 | Part of the heater circuit | Assembly | Standard Purchase Part | ||
| 23 | Little Screw for Plastic Wire Piece | 2 | Aluminum | Standard Purchase Part | |||
| 24 | Slightly Larger Screw for Heater | 1 | Aluminum | Standard Purchase Part | |||
| 25 | Nut for Heater Screw | 1 | Holds the heater in position within the coffeemaker | Aluminum | Standard Purchase Part | ||
| 26 | Plastic Piece for Wires | 1 | Functions as a connector for the wires that go into the heater | Plastic | Injection Molding | ||
| 27 | Smaller Screw | 5 | Aluminum | Standard Purchase Part | |||
| 28 | Washer for Smaller Screw | 5 | Aluminum | Standard Purchase Part | |||
| 29 | Top-Bottom Connection Screw | 3 | Connect the top and bottom half of the coffeemaker | Aluminum | Standard Purchase Part | ||
| 30 | Lid Lever | 1 | Supports the lid | Plastic | Injection Molding | ||
| 31 | Plastic Volume Meter | 1 | Meter of the coffeemaker | Plastic | Injection Molding | ||
| 32 | Lid Hinge Connected to Tubes | 1 | Connection between the lid and tubes | Plastic | Injection Molding | ||
| 33 | Transparent Tube | 1 | Rubber | Injection molding | |||
| 34 | Opaque Tube | 2 | Rubber | Injection molding | |||
| 35 | Red Ball | 1 | Part of the valve in the opaque tube | Plastic | Injection Molding | ||
| 36 | Base of Switch | 1 | Base of the switch | Plastic | Standard Purchase Part | ||
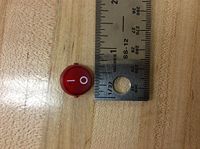
| 37 | Switch | 1 | Control on/off of the coffeemaker | Plastic | Injection Molding | ||
| 38 | Tiny Spring | 1 | Part of the switch | Aluminum | Standard Purchase Part | ||
| 39 | Tiny Piece from the Switch | 1 | Part of the switch | Plastic | Standard Purchase Part | ||
| 40 | Red Heating Connection | 2 | Rubber | Standard Purchase Part | |||
| 41 | Wires Coming out from the Heater | 2 | Rubber and Copper | Standard Purchase Part | |||
| 42 | White Capacitor Screw | 2 | Put the capacitor in place | Aluminum | Standard Purchase Part | ||
| 43 | Washer for Capacitor Screw | 2 | Washer for screw | Aluminum | Standard Purchase Part | ||
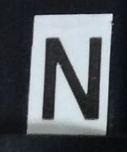
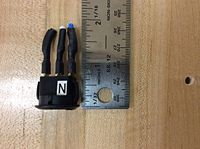
| 44 | N label | 1 | Label negative of the circuit | plastic tape | Standard Purchase Part | ||
| 45 | Switch with Three Wires | 1 | Inside part of the switch | Assembly | Standard Purchase Part | ||
| 46 | Blue Wire | 1 | Standard Purchase Part | ||||
| 47 | White Wire | 1 | Standard Purchase Part | ||||
| 48 | Black Wire | 1 | Standard Purchase Part | ||||
| 49 | Glass Container | 1 | Coffee Container | Glass | Glass Blowing | ||
| 50 | Top Part of Body | 1 | Top half of the coffeemaker | Plastic | Injection Molding | ||
| 51 | Bottom Part of Body | 1 | Bottom half of the coffeemaker | Plastic | Injection Molding |
Design For Manufacturing and Assembly (DFMA)
Failure Modes and Effects Analysis (FMEA)
Design for Environment (DFE)
Analysis Summary
Group 8 Team Members
Lucas Neffa
Andrew Vickory
Nick Ciesielski
Yang Wen
Kaifu Wang
References
1. Dieter, George E., and Linda C. Schmidt. Engineering Design. 5th Edition. New York, NY: McGraw-Hill, 2012. Print.
2. Hamilton Beach 12-Cup Coffee Maker, n.d. photograph, viewed 28 January 2014, <http://www.amazon.com/gp/product/B002EJF8TI/ref=oh_details_o00_s00_i00?ie=UTF8&psc=1>
